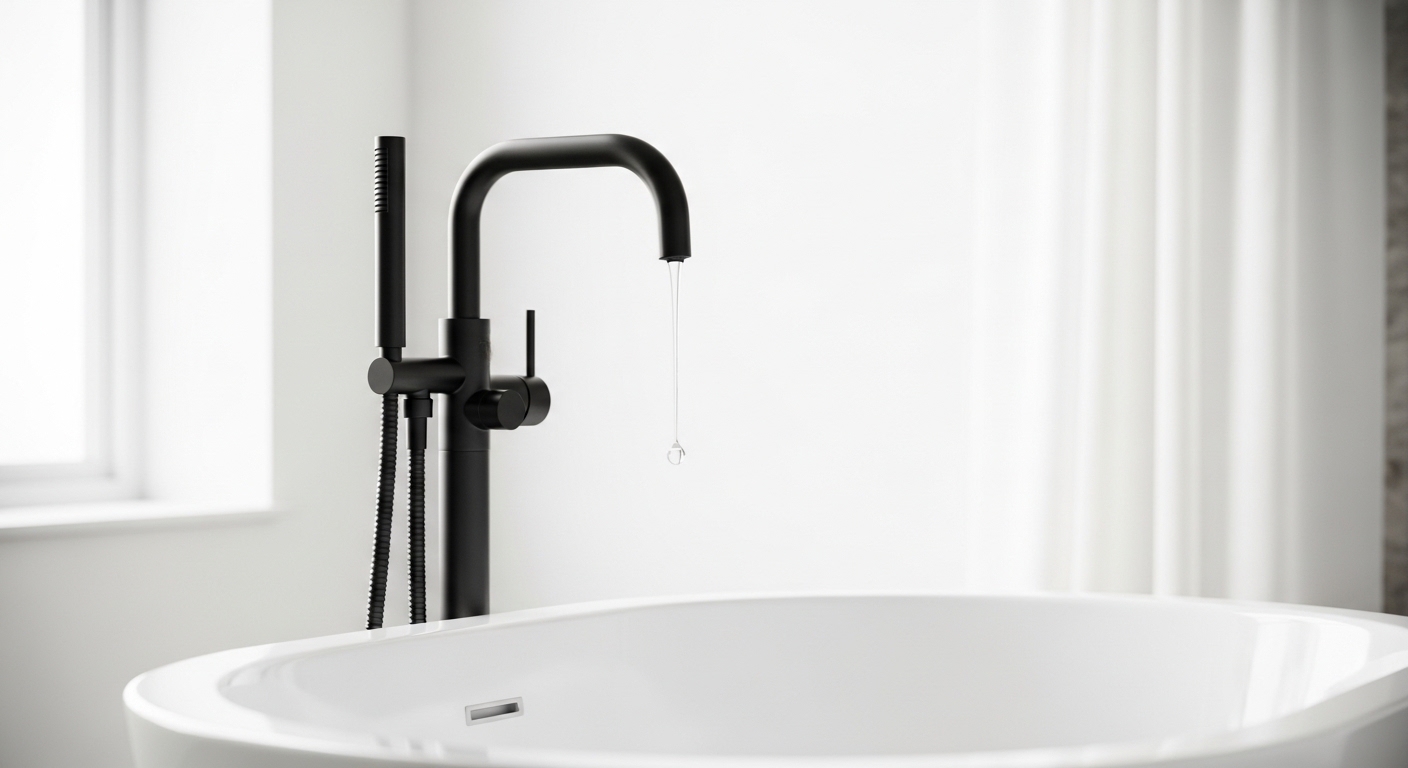
If your freestanding tub faucet dripping is driving you crazy — that slow, rhythmic plink hitting the bottom of an empty tub at 2 a.m. — here’s the honest truth: it’s rarely the disaster it feels like. In the overwhelming majority of freestanding (floor-mounted) tub fillers, a drip means one small internal part has worn out, not that the whole fixture is failing. Below, I’ll walk you through exactly why it happens, how to diagnose which part is the culprit, when you can fix it yourself, and when it’s smarter to replace the faucet outright.
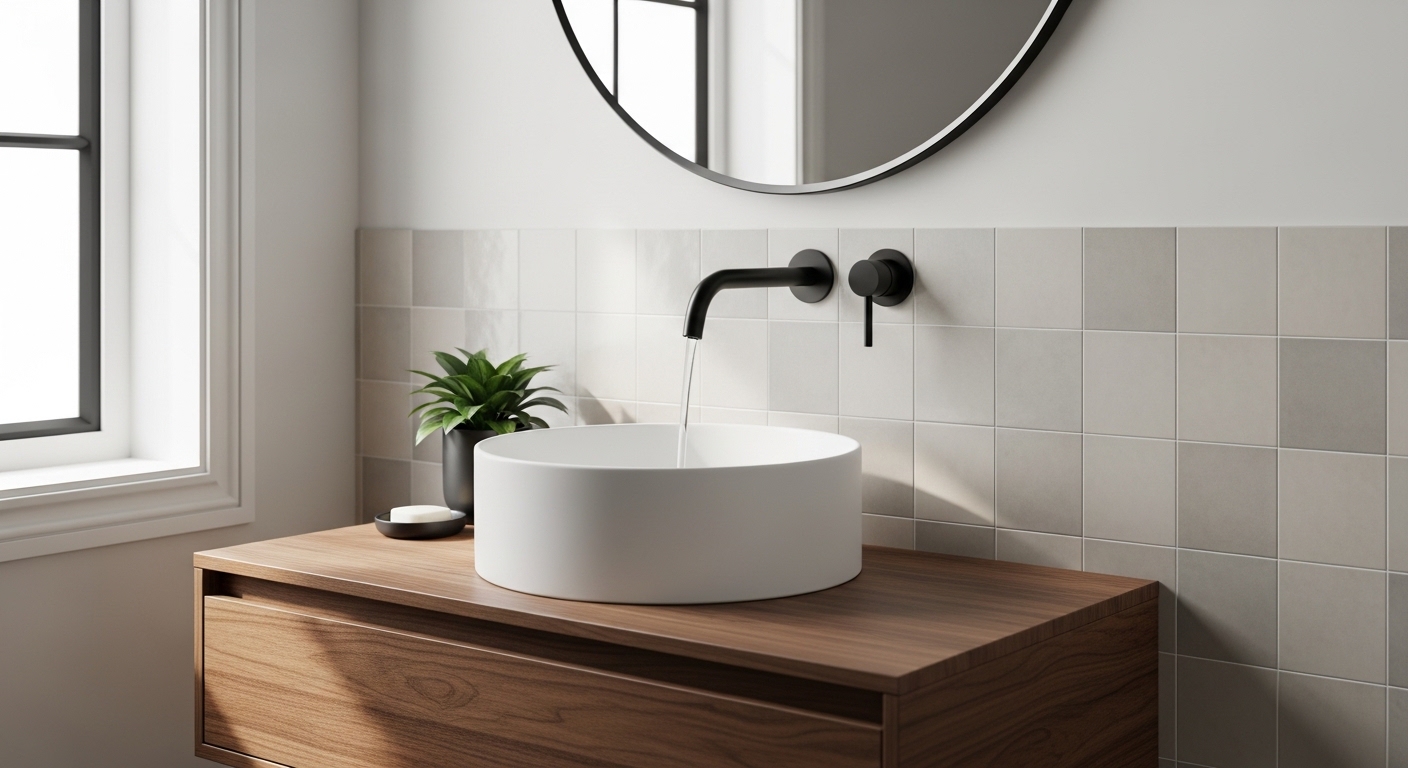
Freestanding tub faucets are a bit different from wall-mounted or deck-mounted tub fixtures. The water travels up a tall, exposed riser from the floor, which means the valve, the cartridge, and the supply connections all live in a slightly different place — and that changes how you troubleshoot a leak. Let’s get into it.
Why is my freestanding tub faucet dripping when it’s turned off?
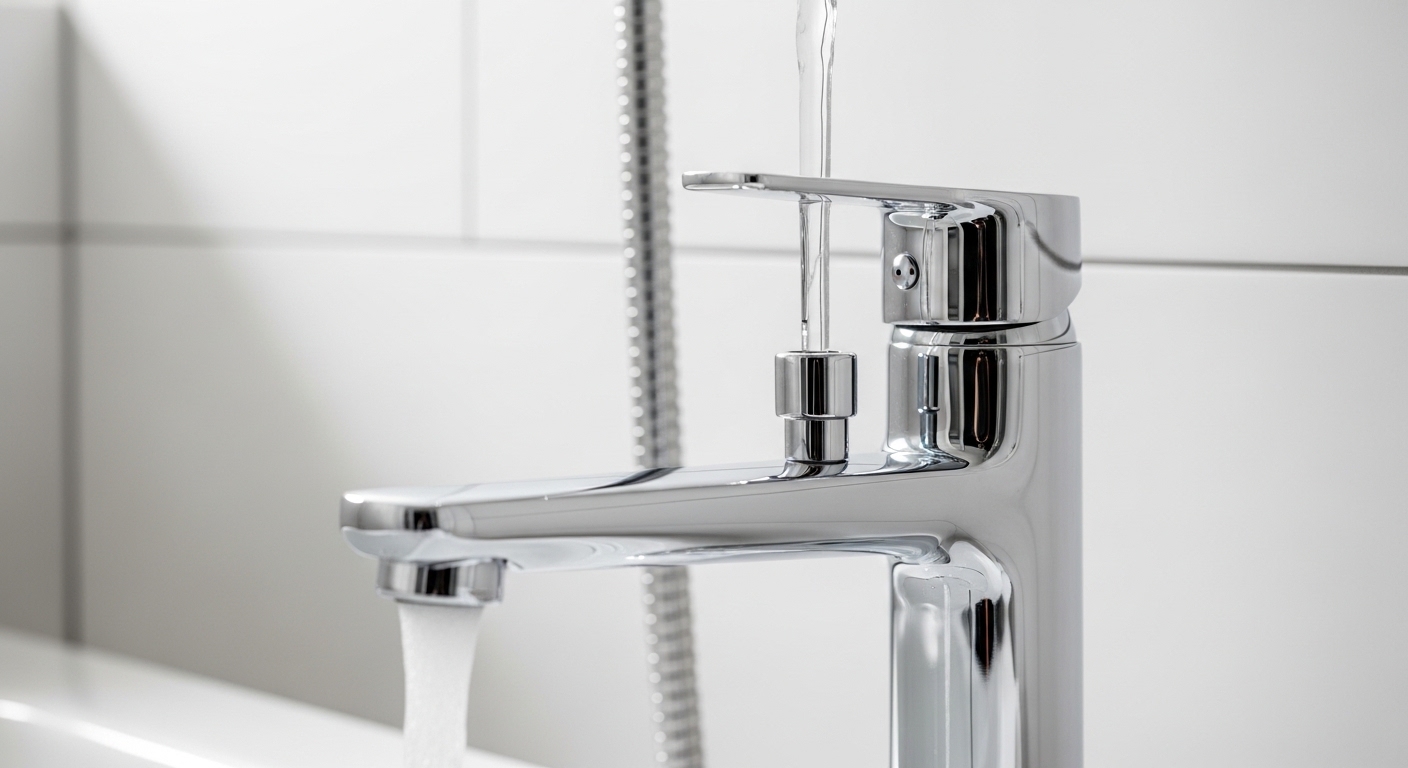
If your freestanding tub faucet drips even when the handle is fully closed, the seal inside the valve is no longer sealing — 90% of the time that’s a worn cartridge, a hardened O-ring, or grit sitting on the valve seat. Water is finding a path past a part that’s supposed to be watertight.
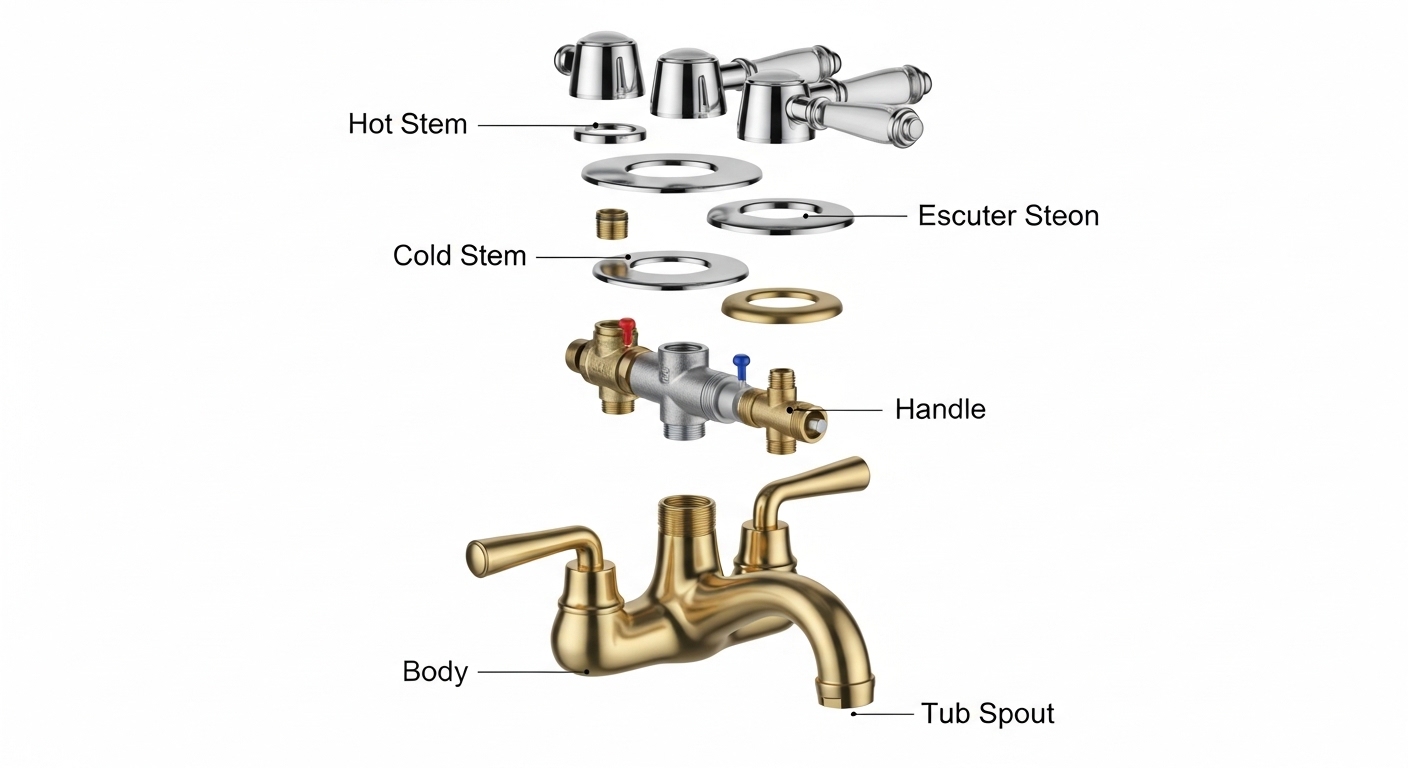
Here’s what’s actually happening inside the riser. When you turn the handle off, a ceramic disc cartridge (or in older models, a rubber washer and stem) presses against a seat to block flow. Over years of use, three things wear out:
- The cartridge: Ceramic discs develop micro-scratches or the internal seals degrade, so they never quite close fully. This is the #1 cause of dripping in modern single-handle freestanding fillers.
- O-rings and seals: The rubber rings that keep water from sneaking around the cartridge get brittle, flatten, or tear. Hot water and mineral content accelerate this.
- Mineral buildup on the seat: In hard-water homes, calcium and lime crystals collect on the valve seat. Even a perfect cartridge can’t seal against a gritty, crusted surface.
One quick diagnostic: notice when it drips. A constant drip regardless of handle position points to the cartridge or seat. A drip that only appears right after you shut the water off and then stops is usually just residual water draining out of the spout and riser — that’s normal and not a leak at all. Give it 60 seconds; if the drip truly stops, you’re fine.
How do I know if it’s the cartridge, the O-ring, or the valve seat?
Diagnose by the drip’s behavior and location: cartridge problems cause a steady drip from the spout no matter the handle position; O-ring failures usually leak around the handle base or where the riser meets the valve; and valve-seat buildup causes an intermittent or worsening spout drip in hard-water homes. Pinpointing it before you buy parts saves you a second trip to the hardware store.
Use this quick comparison to match your symptom to the likely cause and fix:
| Symptom | Most likely cause | Typical fix | Parts cost |
|---|---|---|---|
| Steady drip from spout, handle off | Worn cartridge | Replace cartridge | $20–$60 |
| Water seeping around handle base | Failed O-ring / seal | Replace O-ring kit | $5–$15 |
| Intermittent drip, white crust visible | Mineral buildup on seat | Clean seat + descale | $0–$10 |
| Drip plus low/erratic water pressure | Clogged cartridge or aerator | Clean or replace cartridge | $15–$60 |
| Leak at floor / base of riser | Loose or corroded supply connection | Re-seal or replace supply lines | $10–$30 |
| Visible crack in valve body or spout | Physical damage / corrosion | Replace faucet | $150–$600+ |
If you’re not sure whether your dripping comes from the same root cause as a leaking kitchen or bathroom faucet, the troubleshooting logic is nearly identical — our guide on how to fix a leaking kitchen faucet without calling a plumber walks through the same cartridge-and-O-ring diagnostic flow that applies to tub fillers.
Can I fix a dripping freestanding tub faucet myself, or do I need a plumber?
Yes — most freestanding tub faucet drips are a confident DIY job that takes 30–60 minutes with basic tools, as long as you can shut off the water and the leak isn’t coming from a cracked valve body or a buried supply line. You only need a plumber if the floor-mount rough-in itself is leaking under the subfloor or the valve body is physically damaged.
Here’s the step-by-step for the most common fix — replacing a worn cartridge or O-ring:
- Shut off the water. Freestanding tubs usually have shutoff valves in an access panel, a basement/crawlspace below, or at the floor rough-in. If you can’t find dedicated shutoffs, turn off the main water supply to the house.
- Open the faucet to relieve pressure. Turn the handle on and let the remaining water drain out of the riser and spout.
- Remove the handle. Pop off the decorative cap, then loosen the set screw with an Allen (hex) key. Pull the handle straight off.
- Expose the cartridge. Unscrew the retaining nut or remove the retaining clip. Note the exact orientation — take a phone photo before anything moves.
- Pull the cartridge. Use pliers or a cartridge-puller tool to draw it straight out. Inspect the O-rings and the ceramic discs for scoring, flattening, or cracks.
- Inspect and clean the valve seat. Wipe out any grit. If you see white mineral crust, wipe with a 50/50 white vinegar solution to dissolve buildup.
- Replace the worn part. Drop in an exact-match cartridge or new O-ring kit. Smear a thin film of plumber’s silicone grease on the O-rings so they seat smoothly and last longer.
- Reassemble and test. Reverse the steps, turn the water back on slowly, and run the faucet for a minute. Then shut it off and watch for 2–3 minutes to confirm the drip is gone.
The single most important detail: buy the exact-match cartridge for your faucet’s brand and model. Cartridges are not universal. A part that’s off by a few millimeters won’t seal and you’ll be right back where you started. Find your model number (often printed under the spout or in your original paperwork) before ordering.
If your tub faucet is paired with a shower setup and the drip is connected to a diverter rather than the main valve, the repair sequence shifts slightly — our buyer’s guide to bathtub faucet shower diverters covers how diverters fail and when they cause phantom drips. And if you suspect the internal stem rather than a modern cartridge, the complete guide to bathtub faucet stems explains how to identify and replace that part specifically.
How much does it cost to fix vs. replace a dripping freestanding tub faucet?
Fixing a dripping freestanding tub faucet costs $5–$60 in parts if you DIY, or $150–$350 if you hire a plumber for the labor. Replacing the entire freestanding faucet runs $150–$600+ for the fixture plus $200–$500 in labor, since floor-mount installation is more involved than a deck-mounted swap.
The economics usually favor repair. A $25 cartridge versus a $500 replacement job is not a close call when the rest of the faucet is sound. Replacement only makes sense when:
- The valve body or riser is cracked or badly corroded.
- The finish is failing/flaking and you wanted to upgrade anyway.
- Replacement cartridges for your model are discontinued and unavailable.
- You’ve already replaced the cartridge and O-rings and it still drips, indicating a worn valve seat that can’t be resurfaced.
If you do decide to upgrade, buy a quality fixture the first time so you’re not back here in two years. Our breakdown of what makes a quality bathtub faucet and which one to actually buy covers the valve and material specs that separate a faucet that drips after 18 months from one that lasts a decade. And if you’re shopping on a budget, the best bathroom faucets on sale right now shows how to get a brass-bodied, ceramic-cartridge filler without overpaying.
Does hard water cause freestanding tub faucets to drip more often?
Yes — hard water is one of the biggest hidden reasons freestanding tub faucets start dripping, because dissolved calcium and magnesium crystallize on the cartridge and valve seat, scratching the ceramic discs and preventing a clean seal. Homes with hard water often see cartridges fail in 2–4 years instead of 7–10.
You can usually spot a hard-water problem by the telltale white or chalky crust around the spout outlet and handle base. Those same minerals are working inside the valve where you can’t see them. The grit acts like sandpaper every time you turn the handle, slowly destroying the sealing surfaces.
A few ways to slow it down and extend the life of any repair:
- Descale periodically. Wipe exposed parts with a 50/50 white vinegar solution every few months to dissolve surface scale before it hardens.
- Consider a whole-home or point-of-use water softener/filter. Reducing mineral content protects every fixture in the house, not just the tub. If you’re weighing options, our complete guide to tap water filter options compares approaches by cost and coverage.
- Use silicone grease on O-rings. A thin film helps seals resist mineral adhesion and friction wear during reassembly.
- Don’t over-tighten the handle. Cranking a faucet shut hard against a gritty seat accelerates wear. Firm is enough.
If your bathroom has visible mineral problems on other fixtures too, the same cleaning approach that works on a clogged aerator applies here — see how to clean a faucet aerator clogged with hard-water buildup for the descaling method.
What tools and parts do I need before I start?
For a typical freestanding tub faucet cartridge or O-ring repair, you need an Allen/hex key set, an adjustable wrench or pliers, a replacement cartridge or O-ring kit matched to your model, plumber’s silicone grease, white vinegar, and a towel — about $30–$70 total if you don’t already own the tools.
Here’s the complete checklist so you only make one trip:
- Allen (hex) key set — for the handle set screw
- Adjustable wrench and/or channel-lock pliers — for the retaining nut
- Cartridge puller tool — optional but helpful if the cartridge is stuck
- Exact-match replacement cartridge OR O-ring/seal kit for your brand and model
- Plumber’s silicone grease (NOT petroleum-based — it degrades rubber)
- White vinegar — for descaling the valve seat
- Old towel and a small container to catch water and hold tiny parts
- A phone — to photograph the assembly order before you take it apart
Lay everything out before you shut the water off. The biggest avoidable frustration in this repair isn’t the wrench work — it’s realizing mid-job that the replacement part is the wrong size and your tub is out of commission until you can get the right one.
A note on quality and standards (and why it matters for drips)
Not all cartridges and faucets are built to the same standard, and that directly affects how soon they start dripping. Look for fixtures and replacement parts that meet recognized plumbing standards — in North America that means ceramic-disc cartridges and lead-free wetted surfaces certified to standards like NSF/ANSI 61 and 372. A faucet with a solid brass body and a quality ceramic cartridge simply outlasts a zinc-alloy fixture with a cheap cartridge, and it drips far less over its life. If long-term water safety is on your mind, our guide to identifying lead-free bathroom faucets explains what those certifications mean.
FAQ
Why does my freestanding tub faucet drip only after I shut off the shower or tub?
A short drip right after shutoff is usually just residual water draining out of the tall riser and spout — not a leak. Tall freestanding fillers hold more water in the column than a deck faucet, so it takes 30–60 seconds to fully empty. If the drip stops within a minute, it’s normal. If it keeps going, you have a worn cartridge or seal.
Can I replace just the O-ring instead of the whole cartridge?
Yes, if the cartridge body itself is still in good shape and only the O-rings are flattened or cracked, replacing the O-rings (a $5–$15 kit) is a perfectly valid fix. But if the ceramic discs inside the cartridge are scratched or worn — common in hard-water homes — a new O-ring won’t stop the drip, and you’ll need the full cartridge. When in doubt, inspect the discs for visible scoring before deciding.
How long should a freestanding tub faucet last before it starts dripping?
A quality brass-bodied freestanding tub faucet with a ceramic-disc cartridge should run 7–10 years before the cartridge needs replacing, and the faucet body itself can last 15–20+ years. Hard water, heavy daily use, and lower-grade zinc-alloy fixtures can cut cartridge life to 2–4 years.
Is a dripping tub faucet actually wasting much water?
More than you’d think. A faucet dripping once per second wastes roughly 5 gallons a day — about 2,000 gallons a year. Beyond the water bill, a constant drip can stain the tub surface and, if it’s a hot-water drip, waste the energy used to heat that water. It’s worth fixing promptly.
My faucet still drips after I replaced the cartridge — what now?
If a brand-new, correctly matched cartridge still drips, the problem is almost always the valve seat — the surface the cartridge presses against — which may be pitted or crusted with mineral deposits. Clean it thoroughly with vinegar and a soft cloth. If the seat is physically damaged or pitted and can’t be cleaned smooth, the valve body (and likely the faucet) needs replacing.
Do I need to turn off the whole house water to fix this?
Not always. Many freestanding tubs have dedicated shutoff valves in a nearby access panel, in the basement/crawlspace directly below the tub, or at the floor rough-in. Check those first. Only if you genuinely can’t locate dedicated shutoffs do you need to close the main supply for the house.
Author note & about Aleasha Faucet
Written by the Aleasha Faucet product and testing team. We design, pressure-test, and sell freestanding tub fillers, shower systems, and bathroom fixtures, and our cartridges and valve bodies are evaluated against recognized plumbing and lead-free standards. Every fixture we ship is backed by a manufacturer warranty, and the guidance here reflects hands-on repair and bench-testing experience — not generic web advice. Always follow your specific faucet’s manufacturer instructions, and when in doubt about supply-line or under-floor leaks, consult a licensed plumber.