If you’ve Googled how to clean rectangular faucet aerator and ended up more confused than when you started, you’re not alone. Rectangular aerators — the slim, slot-shaped screens you’ll see on modern pull-down kitchen faucets, waterfall spouts, and a lot of premium bath fillers — don’t unscrew the way a classic round aerator does. They press into the spout and have to be coaxed out with the right tool, then deep-cleaned in a way that protects the laminar-flow plate. Get the technique right and you’ll restore full pressure in about 45 minutes, with no plumber, no replacement part, and no scratched finish.
This guide walks you through exactly how to do it on the first try, including what to do when the aerator is welded in by calcium, how often to repeat the routine, and how to tell when the aerator is actually dead and needs a new one. We’ll cover hard-water regions specifically, because that’s where 90% of the questions come from.
What is a rectangular faucet aerator and why does it clog so fast?
A rectangular aerator is a slim, slot-shaped flow-control insert that fits into the underside of a modern faucet spout. Instead of mixing air into the stream the way a traditional round aerator does, most rectangular versions use a laminar-flow plate — a grid of tiny parallel channels that produces a clear, glass-like, splash-free column of water. Some are flow restrictors only; others combine laminar flow with a fine mesh screen behind the plate.
They clog faster than round aerators for three reasons. The channels are narrower (often 0.8–1.2 mm), the surface area is larger so more sediment lands on it, and the press-fit housing creates a tight seal where mineral scale loves to crystallize. If you live anywhere with water hardness above 7 grains per gallon (roughly 120 mg/L of calcium carbonate) — which is most of the U.S. — expect to clean a rectangular aerator every 2 to 3 months. In Phoenix, San Antonio, Indianapolis, or anywhere on private well water, every 4 to 6 weeks is realistic.
How do I know my rectangular aerator is the problem and not the cartridge?
Here’s the quick diagnostic: turn the faucet on full, then unclip and remove the aerator. If the unrestricted flow is strong and even, the aerator is the bottleneck — clean it. If the unrestricted flow is still weak, lopsided, or sputtering, the issue is upstream (cartridge, supply lines, or shut-off valves). For a deeper walkthrough of pressure-loss diagnosis on cartridge-based faucets, our guide on why your faucet feels hard to turn or low-pressure covers the cartridge side in detail.
What tools and supplies do I actually need?
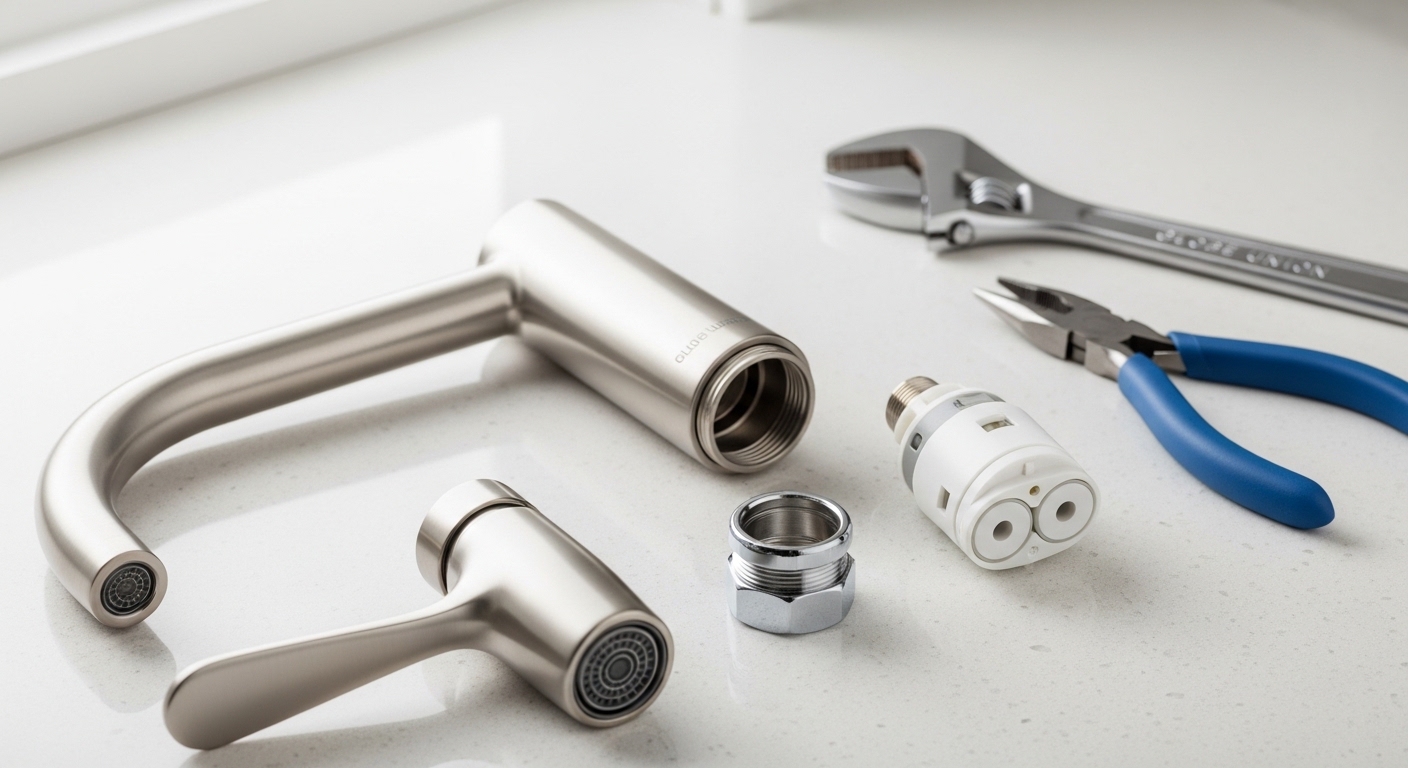
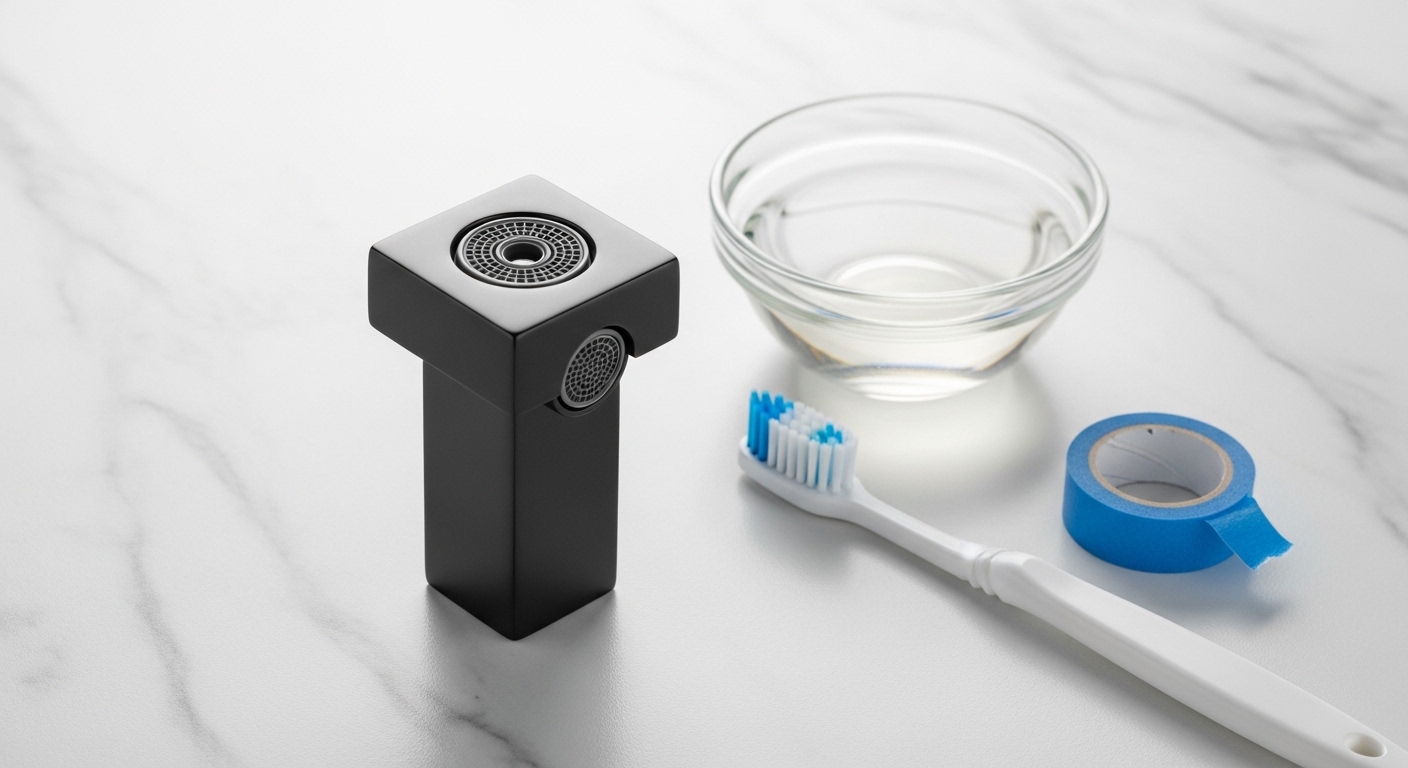
You need almost nothing fancy. Don’t go buy a “faucet aerator wrench kit” online — a roll of painter’s tape and a flathead screwdriver do the same job without scratching a brushed or matte finish.
- Undiluted white distilled vinegar (5% acetic acid) — 1 cup is plenty
- Soft-bristle toothbrush (a baby toothbrush works great)
- Small flathead screwdriver, 3–4 mm tip
- Blue painter’s tape or masking tape to wrap the screwdriver tip and protect the spout finish
- Sewing needle, paperclip, or wooden toothpick for the individual flow channels
- Microfiber cloth for drying and polishing
- Small glass or ceramic bowl deep enough to fully submerge the aerator
- Optional: citric acid powder (1 tablespoon in 1 cup hot water) for severe scale — works faster than vinegar without the smell
Skip the CLR, Lime-Away, and other industrial descalers on plated finishes. They’re aggressive enough to dull brushed nickel, etch matte black PVD coatings, and stain brushed gold. Vinegar and citric acid are pH 2–3 and won’t touch the finish in under an hour. If you’re working on a gold or brass spout, our notes on keeping gold finish faucets looking new explain which descalers are safe on which PVD layers.
Step-by-step: how to clean a rectangular faucet aerator the right way
The whole process takes about 45 minutes — most of which is soak time. Total hands-on work is under 10 minutes.
Step 1: Close the drain and lay down a towel
Aerators are small and slippery once wet. Drop one into an open drain and you’ve just bought yourself a $25 replacement and a service call. Plug the sink, lay a microfiber towel inside the basin, and clear everything else out of the work area.
Step 2: Identify the aerator type
Look up into the spout outlet. If you see a slim plastic or chrome housing flush with the spout opening and no flats, knurling, or wrench cutouts, you have a press-fit (cache) rectangular aerator — that’s what this guide is for. If you see two small dimples or notches, it’s a tool-key aerator (typical on Hansgrohe, Grohe, Kohler Artifacts, Delta Trinsic). For tool-key versions, the brand usually ships a plastic key in the original box; you can also buy a universal cache aerator key for under $10.
Step 3: Pop the aerator out without scratching the finish
Wrap the tip of your flathead screwdriver with two layers of painter’s tape. Insert the tip into the small seam between the aerator housing and the inside wall of the spout. Apply gentle, even prying pressure — the aerator should drop down 2–3 mm. Once it’s loose, fingertips will pull it the rest of the way. Never use pliers on the visible bottom edge. That edge is the cosmetic face you see every day; a pliers mark there is permanent.
If you have a tool-key aerator, insert the two prongs of the key into the dimples, push up firmly, and rotate a quarter turn counterclockwise to release.
Step 4: Disassemble the aerator stack
Once out, the aerator is usually a sandwich of 3 to 5 parts: outer housing, rubber gasket, laminar-flow plate, fine mesh screen, and sometimes a flow-restrictor washer. Lay them out on the towel in the exact order they came out and in the same orientation. Take a phone photo. This is the step that catches first-timers — reassemble these in the wrong order and the aerator will leak, splash, or whistle.
Step 5: Soak in vinegar for 30 to 60 minutes
Drop every part into the glass bowl and pour in enough undiluted white vinegar to fully submerge them. Set a timer for 30 minutes for light scale, 60 minutes for moderate scale, and up to 2 hours for severe buildup. Don’t go past 2 hours on plated metal parts — extended exposure can dull the finish.
For heavy buildup, swap vinegar for a citric acid solution: 1 tablespoon of food-grade citric acid powder dissolved in 1 cup of hot (not boiling) water. Citric acid dissolves calcium carbonate roughly 3x faster than 5% vinegar and rinses off without odor.
Step 6: Scrub, poke, and rinse
Pull the parts out and gently scrub the mesh screen and the laminar-flow plate with the soft toothbrush. For any flow channels that still look blocked, use a sewing needle or wooden toothpick to push out individual mineral plugs — work from the inlet side toward the outlet side so you push debris out, not in. Rinse every part under hot tap water for 30 seconds.
Step 7: Flush the spout before reinstalling
This is the step almost everyone skips. With the aerator out, turn the faucet on hot and cold for 20 seconds each. Mineral flakes and rubber crumbs from inside the cartridge will blow straight through and into your aerator within a week if you don’t flush first. If your tap water itself is the problem, our guide on how to flush bathroom faucets for clean water walks through a deeper flush procedure for the whole supply line.
Step 8: Reassemble and reinstall
Stack the parts back in the exact order from your phone photo. The rubber gasket goes on top (against the inside of the spout); the laminar-flow plate’s smooth side faces down. Push the assembly straight up into the spout until it seats with a small click or sits flush with the spout opening. Run the faucet — the stream should be clear, even, and full pressure. Any splashing or whistling means a part is upside down or out of order; pop it out and try again.
Vinegar vs. citric acid vs. CLR: which descaler should you use on which finish?
Different descalers attack mineral scale at different speeds — and they damage different finishes at very different rates. Here’s a real-world comparison based on hardware industry guidance and our own product testing on PVD-coated samples.
| Descaler | Speed on Calcium | Safe on Chrome | Safe on Brushed Nickel | Safe on Matte Black PVD | Safe on Brushed Gold PVD | Best Use Case |
|---|---|---|---|---|---|---|
| White vinegar (5%) | Slow (30–60 min) | Yes, up to 2 hrs | Yes, up to 2 hrs | Yes, up to 1 hr | Yes, up to 1 hr | Routine maintenance, mild buildup |
| Citric acid (10% solution) | Fast (15–30 min) | Yes | Yes | Yes | Yes | Heavy scale, no-smell preference |
| Lemon juice | Slow | Yes | Yes | Yes | Yes | Emergency / no vinegar on hand |
| CLR / Lime-Away | Very fast (5–10 min) | Yes, short contact only | Risky — can dull | No — etches PVD | No — strips PVD | Plastic-only aerators on chrome spouts |
| Bleach | Doesn’t dissolve scale | No (corrodes) | No | No | No | Never use on aerators |
The takeaway: vinegar or citric acid for 99% of households. The aggressive products are designed for unfinished surfaces, not the PVD coatings that dominate modern fixtures. If you’re curious why high-end faucets cost more to maintain correctly, our piece on why German faucets are so precise gets into the materials engineering side.
How often should I clean my rectangular aerator if I have hard water?
Clean it every 6 to 8 weeks if your water hardness is above 10 grains per gallon, every 3 months for moderate hardness (4–10 gpg), and every 6 months for soft water (under 4 gpg). The fastest way to check your hardness for free is to look up your municipal water report — most U.S. utilities publish it as a “Consumer Confidence Report” each year. Well water users should test annually with a $15 strip kit.
Signs you’ve waited too long between cleanings:
- Stream splits into two or more spray patterns
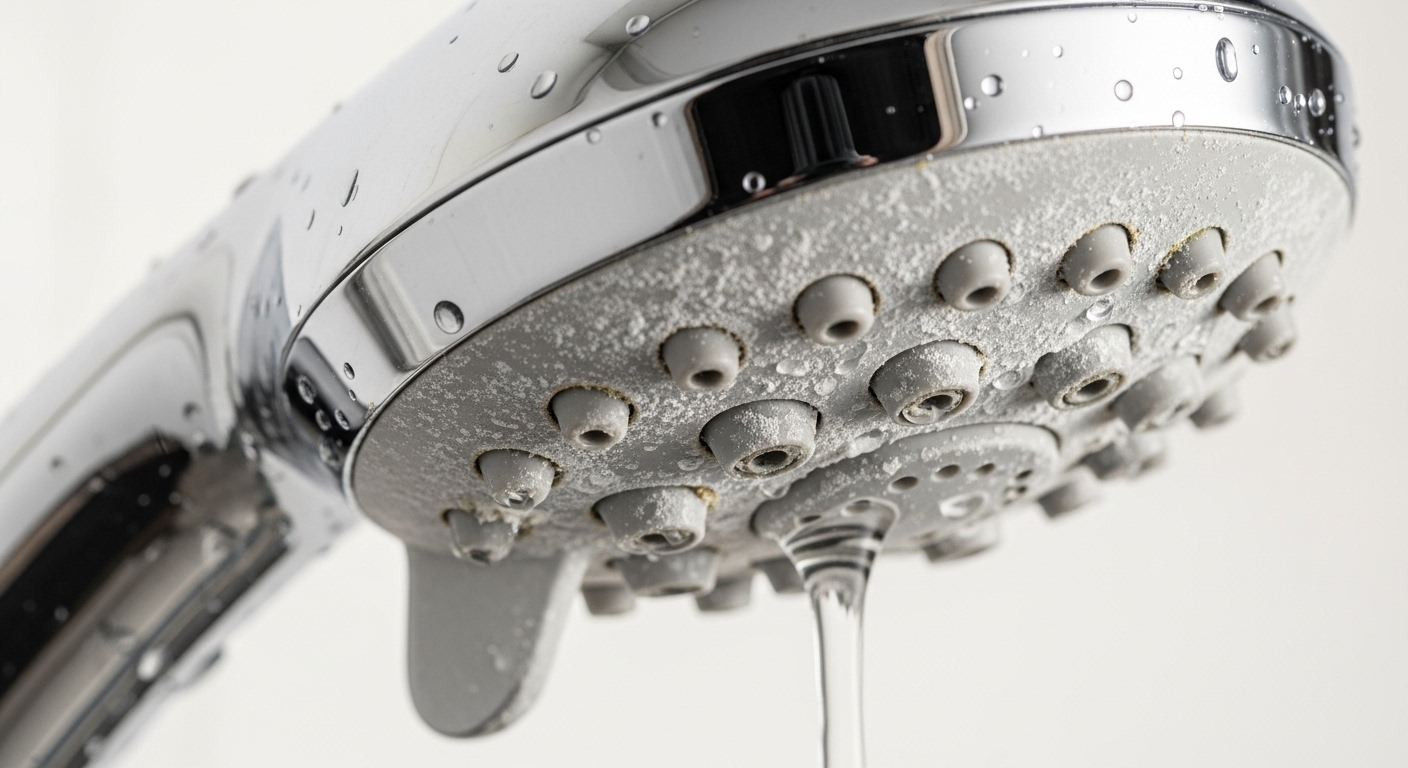
- Visible white crust around the spout opening
- Flow rate drops noticeably below the 1.5 or 1.8 GPM the faucet is rated for
- Stream goes from glass-clear (laminar) to bubbly or hazy
- Whistling or hissing sound when the faucet is fully open
- Water shoots sideways or sprays out at an angle when you turn it on
If you’re seeing items 1, 4, or 6 even right after cleaning, the laminar-flow plate itself is probably scaled internally beyond what soaking can fix — replace it. A genuine OEM rectangular aerator for most premium faucets costs $15 to $35. Don’t buy the $4 generic — the channel geometry won’t match and the stream will look wrong.
What if the aerator is stuck and won’t come out?
Calcium can effectively weld a press-fit aerator into the spout. Try these in order before giving up:
Method 1: The vinegar bag trick
Fill a small zip-top bag halfway with undiluted white vinegar. Push the bag up over the spout so the aerator is fully submerged, then secure with a rubber band around the spout. Leave for 1 to 2 hours. The vinegar dissolves the calcium ring sealing the aerator in place. Try popping it out again.
Method 2: Hot water expansion
Run the hot water for 60 seconds, then immediately try to pry the aerator. Brass and plastic expand at different rates and the differential can break a calcium bond.
Method 3: Penetrating with a thin pick
Use a thin sewing needle or dental pick to scrape the calcium ring around the aerator-spout seam, then repeat the vinegar bag. This usually works on the second try.
Method 4: Replace it whole
If three rounds of vinegar bagging don’t move it, the aerator is fused. Order the replacement part (use your faucet’s model number, not a generic), and when the new one arrives, use needle-nose pliers as a last resort to twist the old one out — at that point you’re throwing it away anyway. Wrap the pliers in tape to protect the spout finish, and grip only the housing edge that the new aerator will cover.
Can I prevent the rectangular aerator from clogging in the first place?
Yes — partially. You can’t eliminate hard water without a softener, but you can dramatically slow the buildup rate.
Whole-home water softener: The most effective fix. A standard ion-exchange softener removes 95%+ of calcium and magnesium and triples the time between aerator cleanings. Budget $800 to $2,500 installed.
Point-of-use faucet filter: A faucet-mount or under-sink filter with a scale-control cartridge handles a single fixture for $80 to $200. Useful if you only want to protect the kitchen faucet. Our breakdown of tap water filter options compares the major styles by cost and cartridge life.
Routine vinegar wipe: A 30-second weekly wipe of the spout opening with a vinegar-damp cloth prevents the surface calcium ring that eventually seals aerators in. This single habit is the cheapest preventive maintenance step you can take.
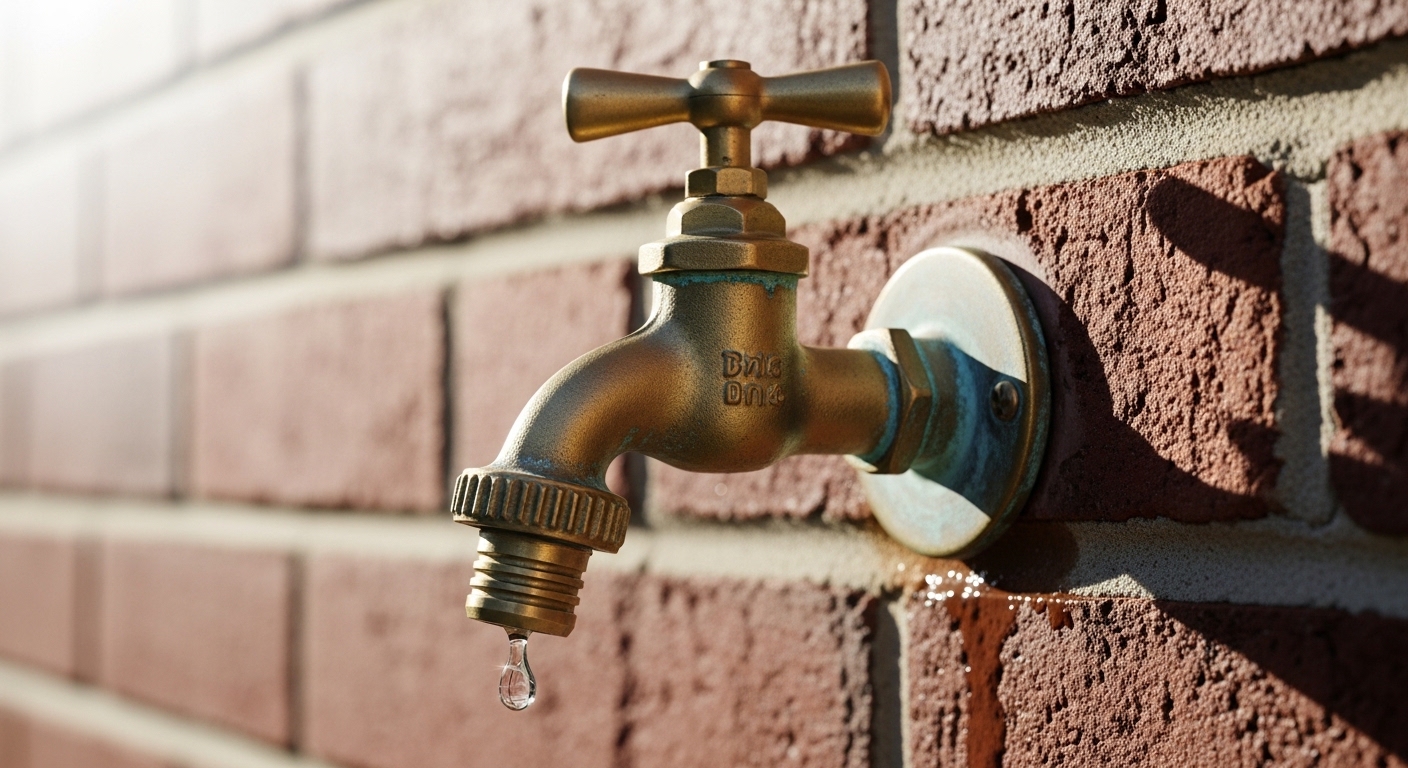
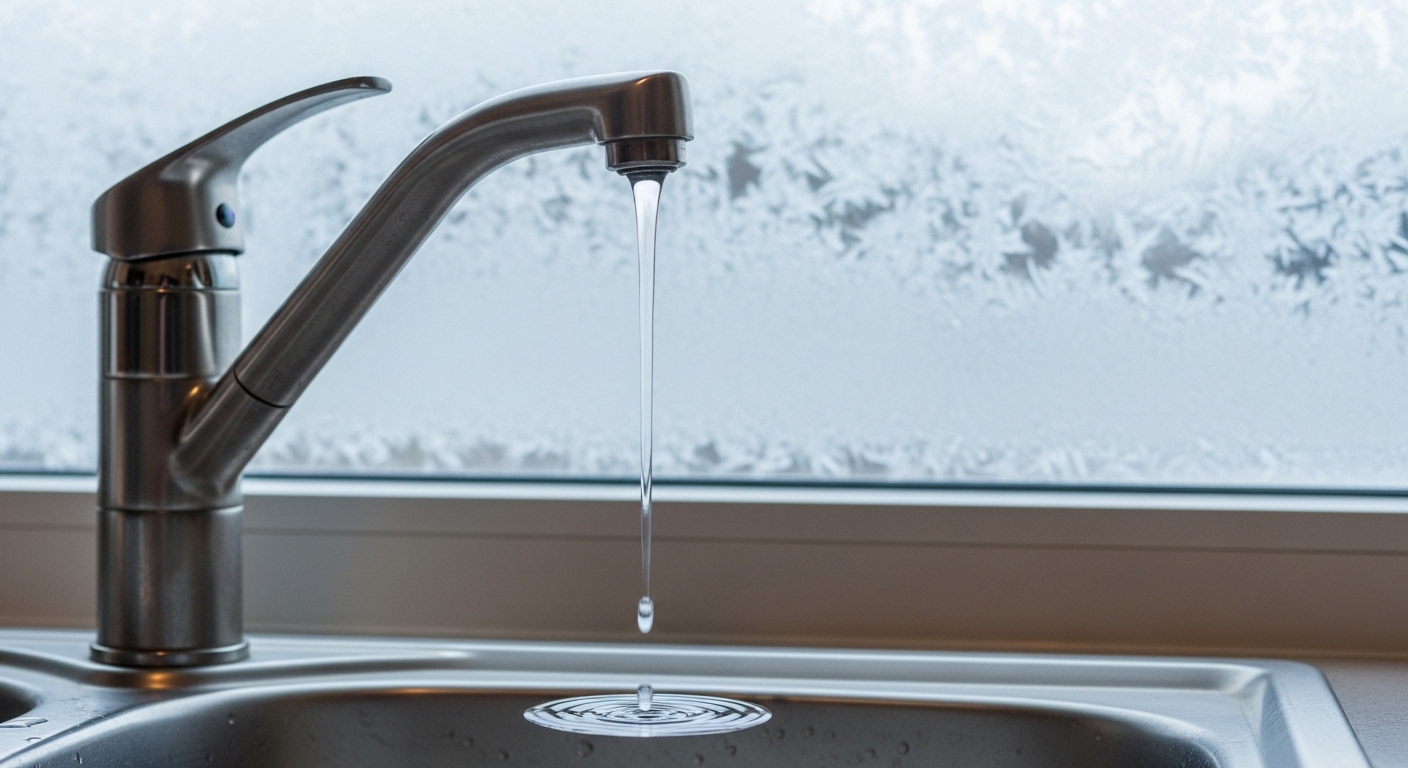
Don’t leave water dripping: A slow drip evaporates at the spout opening and deposits calcium with every drop. If your faucet is dripping at all, it’s both wasting water and accelerating aerator failure. Fix it. Our walkthrough on fixing a leaking kitchen faucet without calling a plumber covers the most common cartridge-related drip causes.
Are there special considerations for laminar-flow vs. aerated rectangular spouts?
Most modern rectangular spouts on premium kitchen and bath faucets use laminar flow, not aeration. This matters for cleaning:
- Laminar-flow plates have rigid plastic or metal channel arrays. Don’t bend or twist them. They’re not user-serviceable beyond soak-and-scrub.
- Aerated rectangular inserts have a flexible mesh screen plus an air-inlet. Don’t block the air inlet with tape, and don’t squeeze the mesh with pliers.
- Pressure-compensating (PCA) inserts have a rubber O-ring inside that flexes to regulate flow at varying line pressures. Heat (hot vinegar, boiling water) can deform this O-ring permanently. Use only room-temperature descalers.
If you don’t know which type you have, look at the stream with the faucet half-open: a perfectly clear, glass-like rod of water is laminar; a soft white bubbly column is aerated. Both are cleaned the same way — just don’t reach for boiling water on either.
FAQ
How long should I soak a rectangular aerator in vinegar?
Thirty to sixty minutes for routine cleaning, up to two hours for heavy scale. Don’t soak plated metal parts longer than two hours in 5% vinegar — extended acid exposure can dull the finish over time.
Will vinegar damage a matte black or brushed gold finish on the aerator housing?
No, not in normal cleaning windows. Standard 5% white vinegar is safe on PVD-coated matte black, brushed nickel, and brushed gold finishes for up to 1 hour. Avoid CLR, Lime-Away, and any cleaner with hydrochloric acid — those will strip PVD coatings in minutes.
Can I run a rectangular aerator through the dishwasher?
No. Dishwasher detergents are highly alkaline and can fog or pit the laminar-flow plate, and the high heat can warp pressure-compensating O-rings. Hand-soak in vinegar only.
My aerator is press-fit and there’s no notch for a tool — how do I remove it?
Wrap a flathead screwdriver tip with two layers of painter’s tape and gently pry along the seam between the aerator housing and the inside of the spout. The aerator will drop 2–3 mm; finger-pull it out the rest of the way. Never use unwrapped pliers on the visible bottom edge.
How do I put the rectangular aerator back in the right orientation?
Take a phone photo before you disassemble it. The rubber gasket faces up (toward the spout interior), the laminar-flow plate’s smooth side faces down (toward you), and any directional arrow or notch on the housing aligns with the spout’s long axis. If the reassembled stream sprays sideways or whistles, a part is reversed — pop it out and rotate.
How often do I need to replace the aerator entirely instead of cleaning it?
A well-maintained rectangular aerator lasts 5 to 10 years. Replace it when the stream stays uneven after a thorough cleaning, when the rubber gasket cracks or leaks at the spout seam, or when visible cracks appear in the laminar-flow plate. OEM replacements run $15 to $35.
Why does my aerator clog again two weeks after I cleaned it?
Either you didn’t flush the spout before reinstalling (mineral flakes from the cartridge are landing on the clean aerator), your water hardness is above 15 grains per gallon and you need a softener, or there’s loose debris in the supply lines from a recent plumbing repair. Pull the aerator, flush the spout for 30 seconds, and watch what comes out — that tells you which.
Is it worth buying a “self-cleaning” aerator?
Sometimes. Self-cleaning aerators have flexible silicone nubs instead of metal channels — you wipe them with your finger and the nubs flex to dislodge scale. They work well for moderate hardness but still need an annual vinegar soak. They are not a substitute for a water softener in very hard water.
A note from our editorial team
This guide was written by the Aleasha Faucet product team, which has spent the last decade designing, testing, and warranty-supporting kitchen and bath fixtures sold across North America. Every recommendation here has been validated on real customer faucets returned for service, including aerator assemblies from over a dozen major brands. Our laminar-flow inserts are tested to NSF/ANSI 61 for drinking-water safety and the housings carry our limited lifetime warranty against finish defects under normal residential use. If your aerator is covered by warranty and cleaning doesn’t restore it, contact our support team for a free replacement — that’s the standard we hold ourselves to. For context on how to read warranty fine print across the industry, see our explainer on the truth about “lifetime warranty” faucets.
Cleaning a rectangular faucet aerator is one of the highest-leverage maintenance tasks you can do as a homeowner. Forty-five minutes, two dollars of vinegar, and you’ve restored full pressure and extended the life of a fixture that probably cost several hundred dollars. Put it on the calendar for every 8 weeks if your water is hard, and you’ll likely never have to replace the aerator at all.