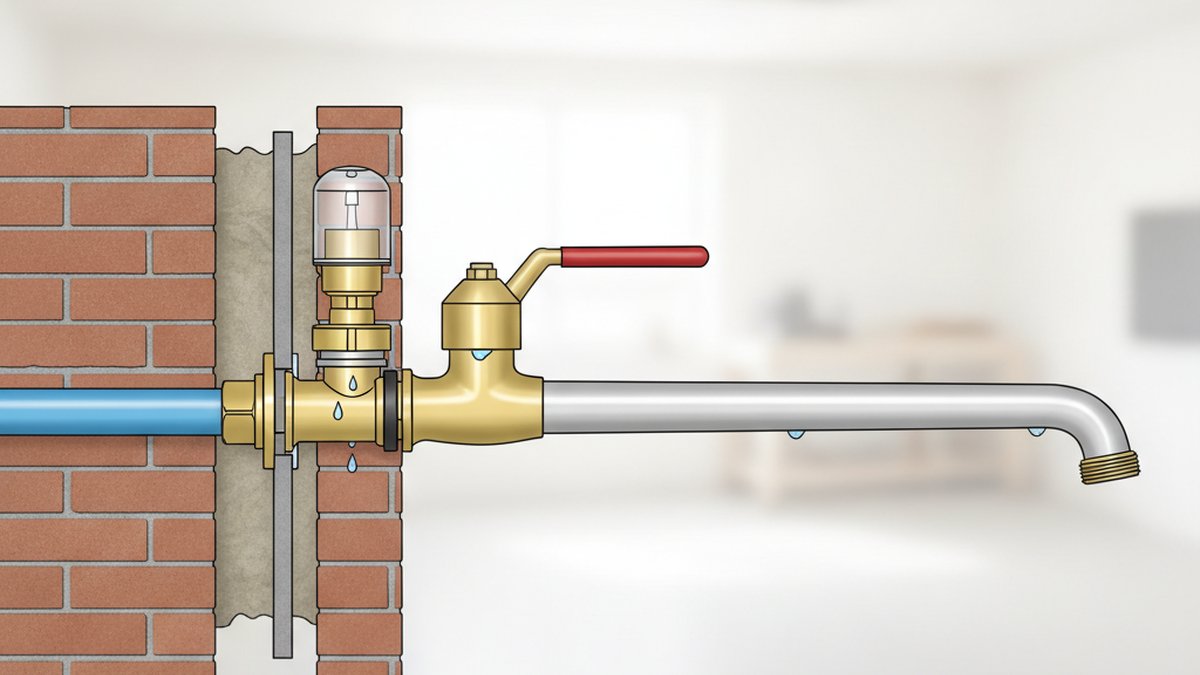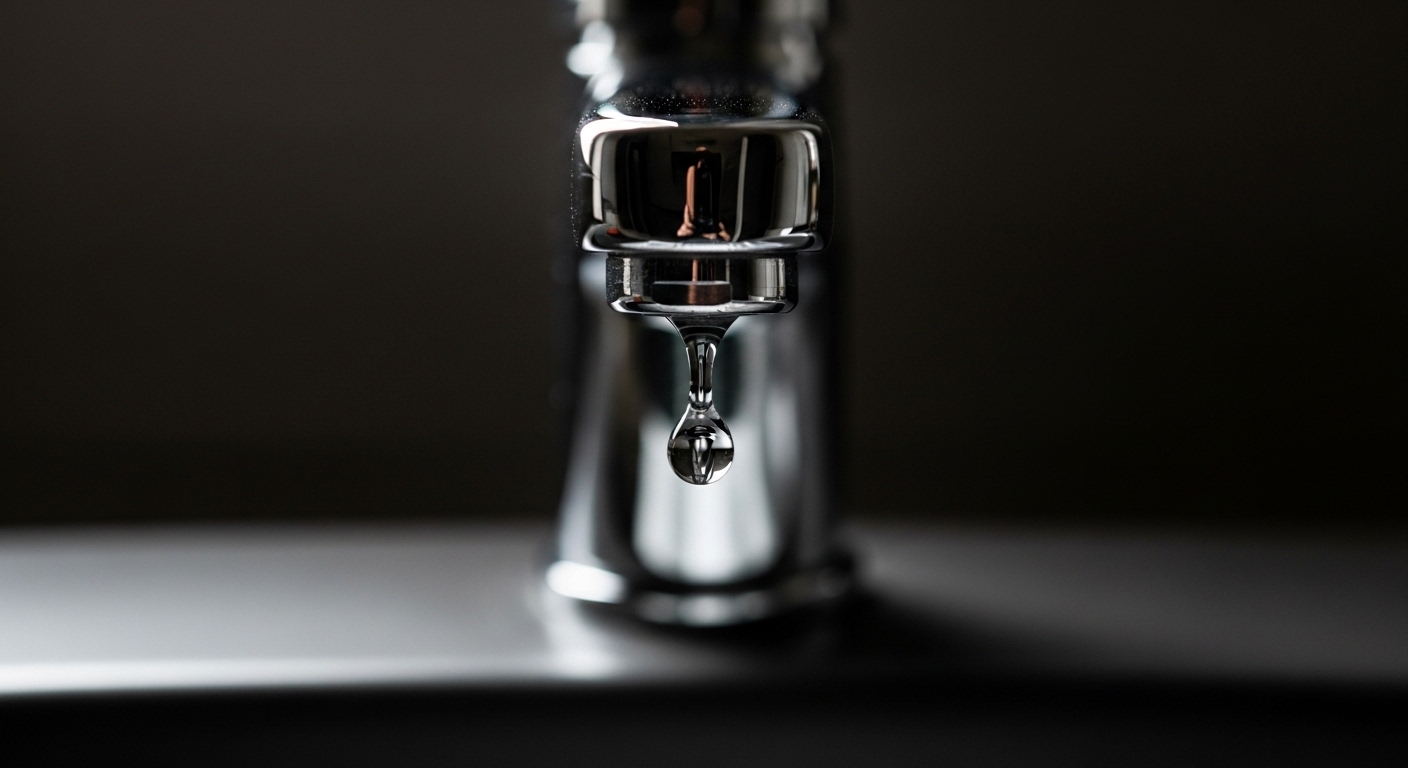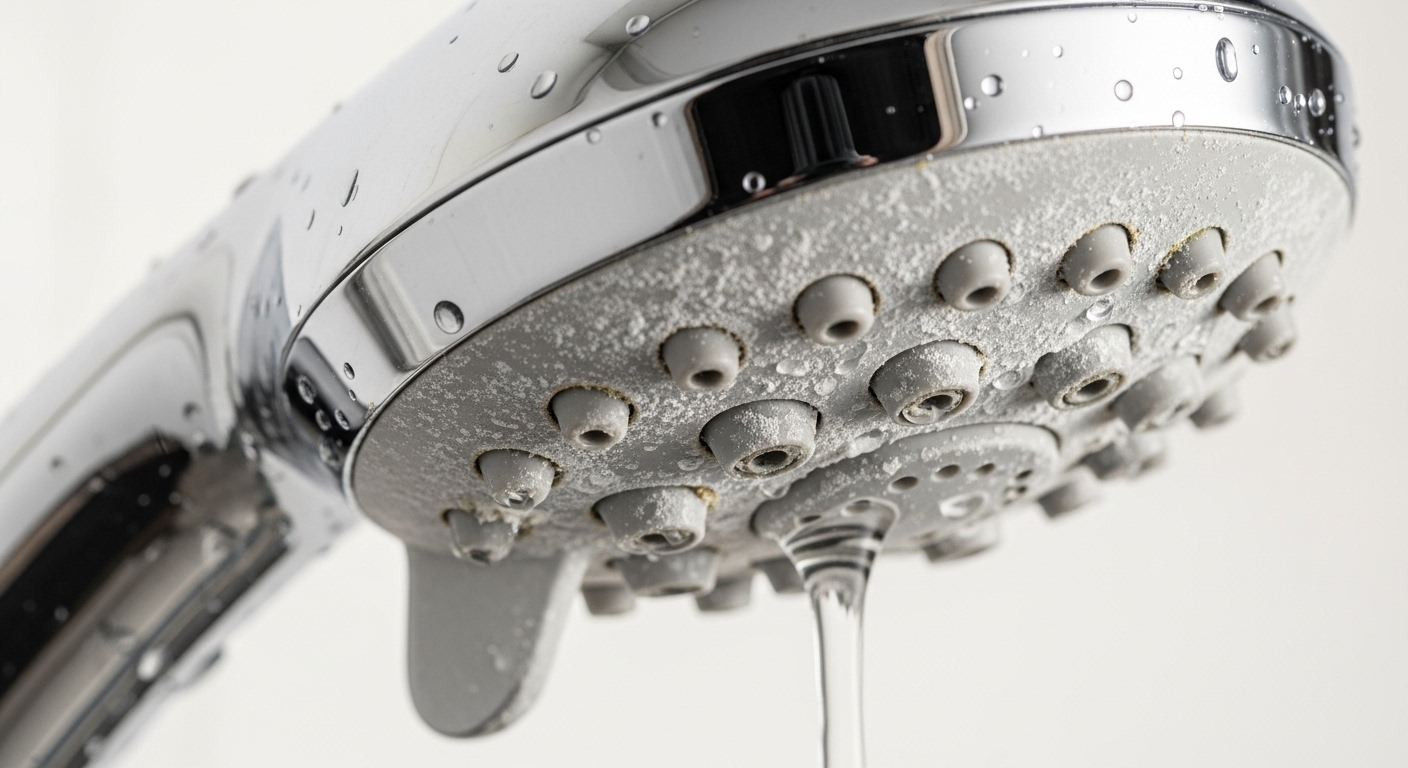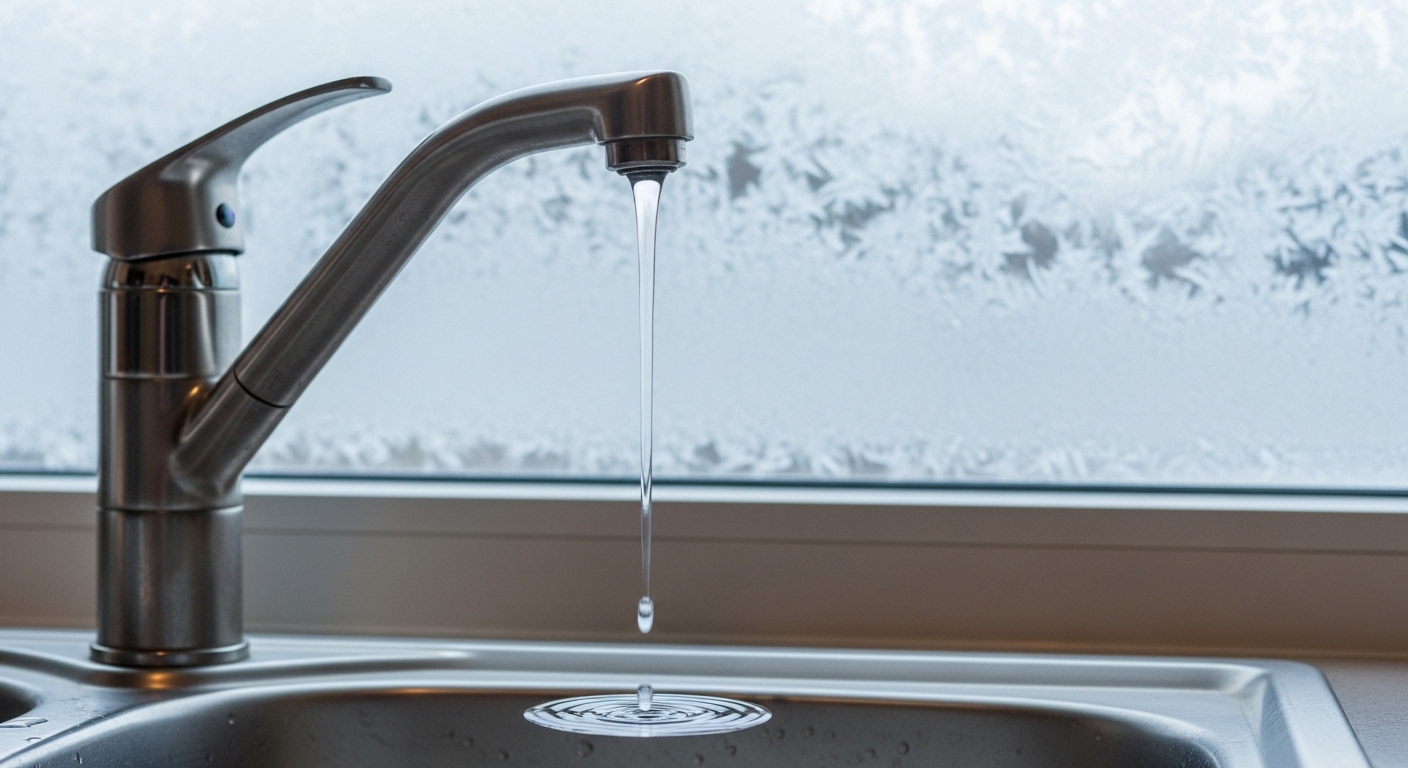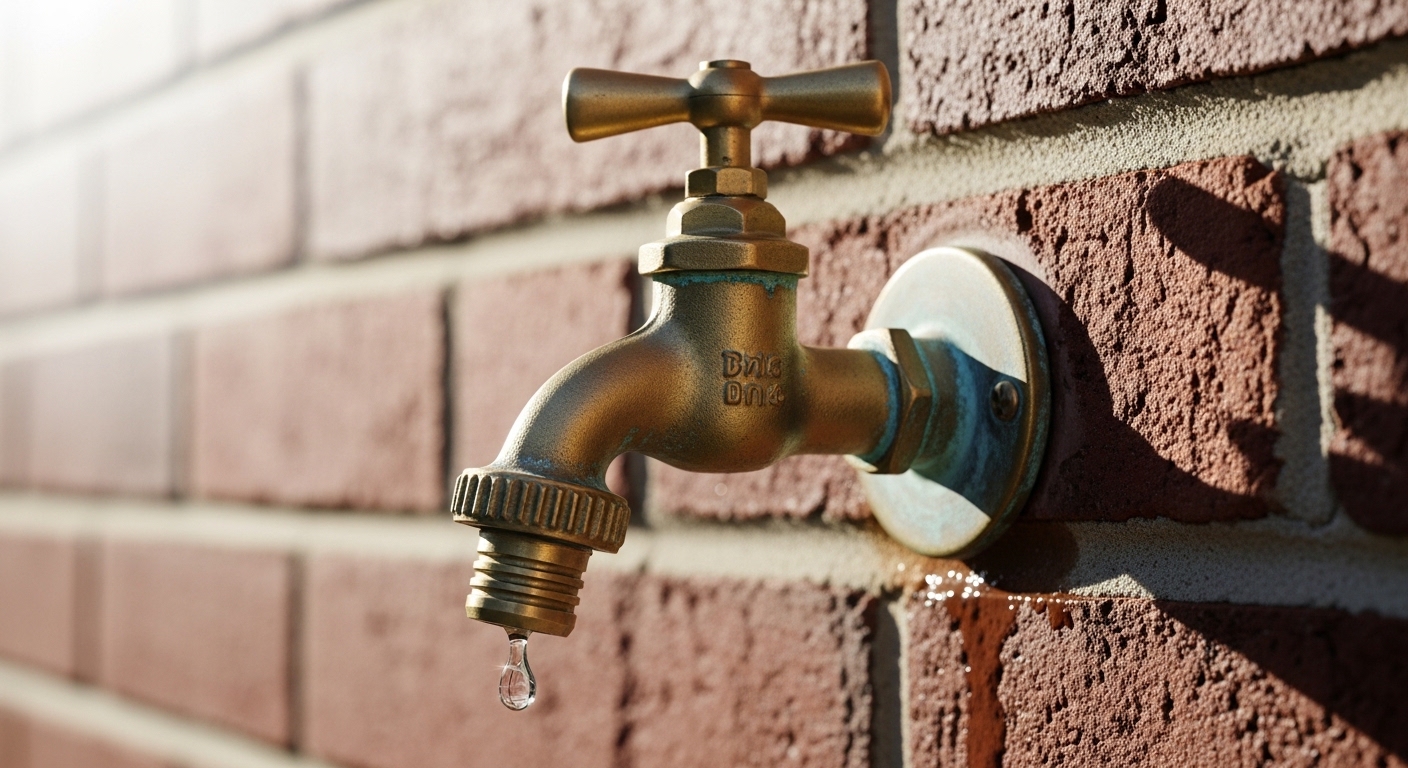
A dripping faucet outside — that steady drip… drip… drip from the spigot on the side of your house — is almost always a hose bib (also called a sillcock or outdoor spigot) with a worn-out washer or a loose packing nut. It’s one of the easiest plumbing repairs a homeowner can do, and it’s worth doing fast: a spigot dripping one drop per second wastes roughly 3,000 gallons a year, and in winter a slow outdoor leak is a classic setup for a burst pipe. Below, I’ll walk you through exactly why it happens, how to diagnose which part failed, and how to fix each type — no plumber required.
Why is my outside faucet dripping in the first place?
Your outside faucet is dripping because a rubber part inside it has hardened, torn, or shifted — most commonly the stem washer at the very end of the valve. When you close the handle, that washer is supposed to press flat against a metal valve seat and form a watertight seal. After a few years of sun, freezing, and mineral-laden water, the rubber gets brittle and stops sealing. Water sneaks past and drips out the spout.
There are really only four culprits, and knowing which one you have tells you exactly what to replace:
- Worn stem/seat washer — the faucet drips out the spout even when fully closed. This is the #1 cause.
- Bad packing washer or packing nut — water leaks around the handle, but only when the faucet is turned on.
- Corroded valve seat — you replaced the washer and it still drips, because the metal seat the washer presses into is pitted.
- A cracked or frozen vacuum breaker / anti-siphon cap — water sprays or dribbles from the little cap on top when the water runs.
Once you know where it’s leaking — the spout, the handle, or the top cap — the fix is straightforward. Let’s break down each one.
How do I fix a dripping faucet outside that leaks from the spout?
If your outdoor faucet drips from the spout even when the handle is turned all the way off, replace the stem washer — it’s a 20-minute job and the part costs about $2. This is the single most common outside-faucet repair, and it’s the one every homeowner should feel confident doing.
Here’s the full sequence:
- Shut off the water. Find the shutoff valve on the pipe feeding the spigot — usually inside the basement, crawl space, or utility room where the pipe passes through the wall. Close it. If you can’t find a dedicated shutoff, close the main.
- Open the spigot to drain any water still in the line and relieve pressure.
- Unscrew the packing nut (the large hex nut right behind the handle) with an adjustable wrench, turning counterclockwise.
- Pull out the stem. With the packing nut loose, the whole handle-and-stem assembly should unscrew and slide out. You may need to turn the handle to thread it out.
- Replace the washer at the tip of the stem. Remove the brass screw holding it, pop off the old flattened washer, and press on a new one of the same size. Bring the old one to the hardware store to match it exactly.
- Reassemble in reverse, turn the water back on, and test.
Nine times out of ten, that stops the drip. The mechanics here are nearly identical across all compression-style fixtures — if you’ve ever done a bathtub or bathroom valve, this will feel familiar. For a deeper look at how stems and washers seal (and when the whole stem needs replacing), our complete guide to bathtub faucet stems walks through the same anatomy in detail.
My outdoor faucet leaks around the handle — what’s wrong?
If water only leaks from around the handle or stem when the faucet is running — but the spout seals fine when it’s off — your packing washer or packing nut is the problem, not the seat washer. The packing is the seal that keeps water from escaping up along the stem.
Try the easy fix first: with the water on and the leak showing, snug the packing nut about a quarter to a half turn clockwise. Often that’s enough to compress the packing and stop the weep. Don’t overtighten — if the handle becomes hard to turn, you’ve gone too far.
If tightening doesn’t do it, the packing washer or packing string underneath has worn out. Shut off the water, remove the packing nut, and you’ll find either a small rubber/fiber washer or a wrap of graphite packing string around the stem. Replace it, reassemble, and the handle leak is gone. This is the exact same failure mode that makes indoor fixtures weep at the base — the diagnosis logic in our article on how to fix a leaking kitchen faucet translates directly to the outdoor spigot.
I replaced the washer and my outside faucet still drips — now what?
If you swapped a fresh washer and the outdoor faucet still drips from the spout, the valve seat is corroded or pitted, so the new washer can’t form a seal against the damaged metal. This is the most common reason a DIY washer swap “doesn’t work.”
You have three options:
- Reseat it. If the seat is a removable brass insert (a hex or square hole inside the faucet body), use a seat wrench to unscrew it and install a matching new one.
- Grind it smooth. If the seat is non-removable, a seat-grinding/dressing tool ($10–$15) resurfaces the metal so a washer can seal again. A few turns is usually enough.
- Replace the whole hose bib. If the body is old, corroded, or the threads are stripped, it’s often faster and cheaper to unthread the entire spigot and install a new one — they’re typically $10–$25 and thread onto standard pipe.
A quick way to test the seat: shine a flashlight inside and run a fingertip around the metal ring the washer presses into. If it feels rough, gritty, or pitted, that’s your leak.
Which type of outdoor faucet do I have, and does it change the repair?
Yes — the repair depends on which style of outdoor faucet you have. Most homes have one of three, and knowing yours saves you a trip to the hardware store. Here’s a side-by-side comparison:
| Faucet type | How to identify it | Most common leak cause | Typical fix & cost |
|---|---|---|---|
| Compression hose bib | Short body, round handle, spigot sits close to the wall | Worn seat washer or packing | $2 washer, 20 min |
| Frost-free sillcock | Long body (6–12″), handle extends well past the wall | Failed internal washer at the far end of the long stem | $5–$15 stem/washer kit, 30 min |
| Ball / anti-siphon spigot | Has a domed vacuum-breaker cap on top | Cracked vacuum breaker or O-ring | $8 vacuum-breaker kit, 15 min |
The frost-free sillcock deserves a special note: its valve seat is located at the inside end of that long stem, deep inside your warm wall, which is what keeps it from freezing. So when it drips, you pull the entire long stem out through the front (after removing the packing nut) and replace the washer at the far tip — same idea, just a longer part. If yours drips at the spout and water seems to come out the wall or into the basement, stop and shut the water off: the interior barrel may have frozen and split, which is a different, more urgent repair.
Should I worry about a dripping outdoor faucet in winter?
Yes — a dripping outdoor faucet in winter is more than a waste of water; a leak that keeps water sitting in the spigot or a connected hose can freeze, expand, and crack the valve body or the pipe behind the wall. Two rules keep you safe:
- Always disconnect the hose before the first freeze. A hose left attached traps water in the bib, which then freezes and splits it. This is the single most common cause of a spring-time “why is my outdoor faucet suddenly gushing?” disaster.
- Fix drips before winter, not after. A worn washer that drips in October becomes a burst pipe in January.
People often confuse “let a faucet drip to prevent freezing” (an indoor freeze-protection tactic) with an outdoor spigot that’s dripping because it’s broken — these are two completely different situations. If you’re trying to figure out whether to intentionally run water during a cold snap, read whether you should drip a faucet or not during a hard freeze — but an outdoor bib that won’t stop dripping when closed is simply broken and should be repaired.
Dripping fixtures are dripping fixtures whether they’re outside, in the tub, or under the sink — the seat-and-washer physics is universal. If you want to see how the same diagnosis plays out on an indoor fixture, our breakdown of why a freestanding tub faucet drips and how to stop it is a useful companion read.
What tools and parts do I need to fix a dripping outside faucet?
You need surprisingly little — most people already own everything but the replacement washer. Here’s the complete shopping list:
- Adjustable wrench or channel-lock pliers (to loosen the packing nut)
- Flathead and Phillips screwdrivers
- A pack of assorted stem/seat washers, or a hose-bib repair kit ($3–$8)
- Plumber’s grease (extends the life of the new washer and O-rings)
- Teflon/plumber’s tape (if you’re replacing the whole spigot)
- A seat wrench or seat-dressing tool (only if the valve seat is damaged)
Total cost for the common washer fix: under $10. Total time: about 20–30 minutes for a first-timer. Compare that to a plumber’s typical $125–$250 service-call minimum, and it’s one of the highest-value DIY repairs in the house.
When should I just call a plumber or replace the whole spigot?
Call a plumber — or replace the entire hose bib — when the leak is coming from behind the wall, when the faucet body itself is cracked, or when the threads are so corroded the stem won’t come out. Those signs point to damage a washer can’t fix. Specifically, replace or call in a pro if:
- Water appears inside your basement or crawl space when the spigot runs (likely a split frost-free barrel).
- The faucet body is visibly cracked or the handle spins with no resistance.
- You’ve replaced the washer and reseated the valve and it still drips.
- The spigot is soldered directly to copper pipe rather than threaded (removal risks damaging the line).
For a threaded spigot, swapping the whole unit yourself is very doable: shut off the water, unthread the old bib with a wrench, wrap the pipe threads with plumber’s tape, and thread on the new one hand-tight plus a wrench-turn or two. A brand-new quality hose bib with a fresh seat will outlast a patched-up 20-year-old one.
FAQ
How much water does a dripping outside faucet actually waste?
A spigot dripping about once per second wastes roughly 3,000 gallons a year — enough to fill 60+ bathtubs. A faster drip or thin stream can waste far more. Beyond the water bill, an outdoor leak that keeps the bib wet is a freeze-and-burst risk in winter, so it’s worth fixing promptly regardless of the cost.
Can I fix a dripping outdoor faucet without turning off the water?
No — you should always shut off the water supply first. Tightening the packing nut a quarter-turn to stop a handle leak is the one exception you can do with the water on, but any repair that involves removing the stem or washer requires the water off, or you’ll get sprayed at full house pressure and can’t seal the new part properly.
Why does my outdoor faucet drip only when I turn it on?
If it only leaks (usually around the handle or stem) while running, the packing washer or packing nut is worn or loose, not the seat washer. Snug the packing nut a quarter-turn clockwise first; if it still weeps, shut off the water and replace the packing washer. Dripping from the spout when the handle is off is a different problem — that’s the seat washer.
What’s the difference between a hose bib, a sillcock, and a spigot?
They’re mostly the same thing — an outdoor faucet you connect a hose to. “Spigot” and “hose bib” are the everyday terms; “sillcock” usually refers specifically to the longer, frost-free style that runs deep into the wall. The repair steps are the same; the frost-free version just has a longer stem with the washer at the far interior end.
Is it worth repairing an old outdoor faucet or should I replace it?
If the leak is a worn washer or packing and the body is sound, repair it — it’s a $10, 30-minute fix. Replace the whole spigot if the body is cracked, the valve seat is badly pitted and non-removable, the threads are corroded, or it’s an aging non-frost-free unit in a cold climate that keeps failing. A modern frost-free sillcock with a quality valve seat is a smart upgrade if freezing has been a recurring problem.
How do I stop my outdoor faucet from dripping before winter?
Disconnect and drain any hose, fix any existing drip by replacing the seat washer, and if you have a frost-free sillcock make sure it’s pitched slightly downward so it drains fully. For non-frost-free bibs, shut off the interior supply valve and open the outside spigot to drain it for the season. This combination prevents the trapped-water freezing that cracks pipes.
About the author: This guide was written by the aleashafaucet fixtures team — product specialists who spend their days testing, installing, and troubleshooting faucets, spigots, and valves across kitchen, bath, and outdoor applications. We repair and bench-test compression and frost-free hose bibs to the same standards we apply to our indoor fixtures.
Why trust aleashafaucet: aleashafaucet manufactures and curates faucets and bathroom fixtures built to industry sealing and pressure standards, and every valve design we recommend is chosen for serviceability — meaning washers, stems, and cartridges are replaceable rather than disposable. Our products are pressure-tested and backed by manufacturer warranty coverage, and our repair guides reflect hands-on experience rather than generic copy. When you buy a fixture that meets recognized plumbing standards and carries a real warranty, a simple washer swap keeps it running for decades instead of forcing a full replacement.