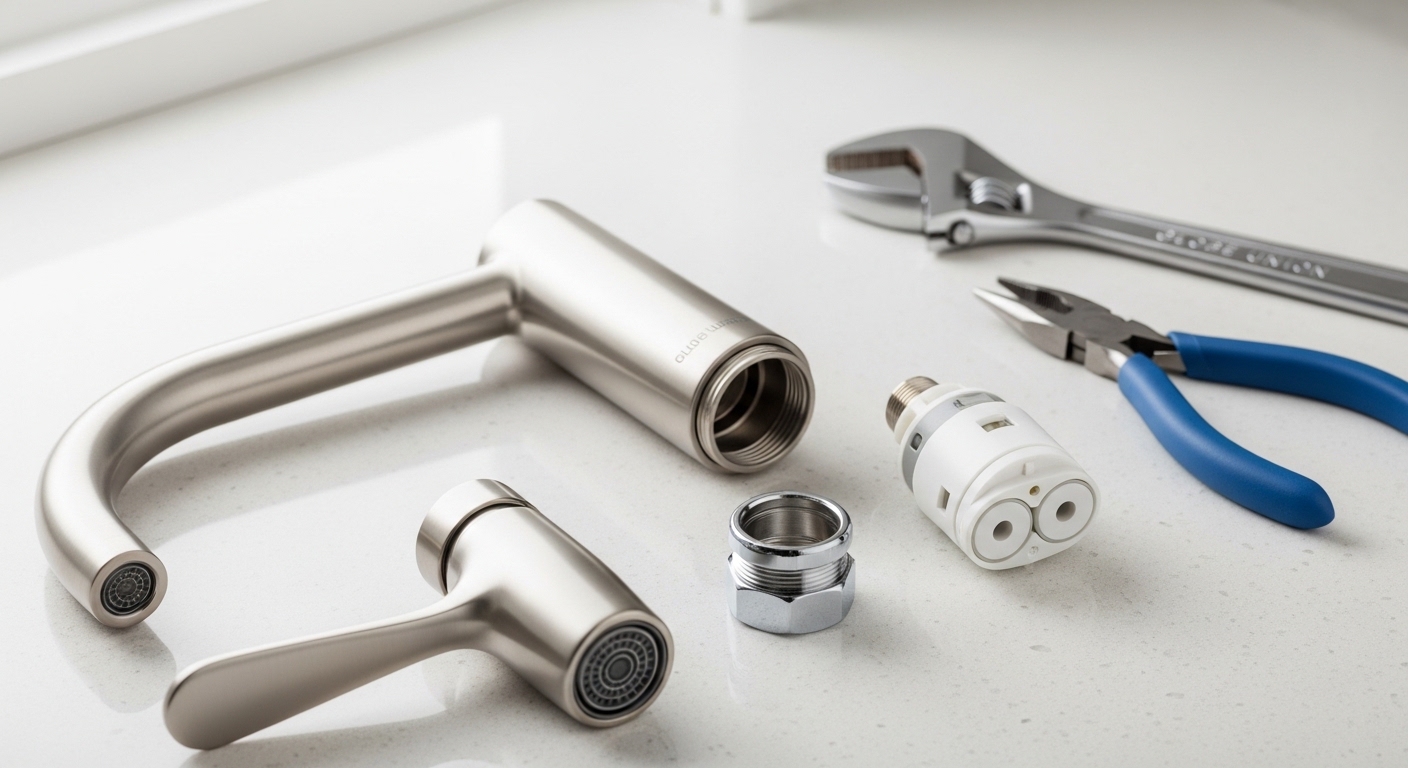
A Globe Union faucet cartridge replacement is the single most common fix for a Globe Union faucet that drips, sputters, won’t shut off fully, or mixes hot and cold wrong — and it’s genuinely a DIY job for almost anyone. Globe Union is one of the largest OEM faucet manufacturers in the world; they build faucets sold under dozens of retail and house brands (including many big-box store labels), which is exactly why so many people own one without realizing it. The good news: the internal cartridge is a standardized, swappable part, and swapping it costs a fraction of a new faucet.
Below I’ll walk you through how to identify your exact cartridge, the tools you need, the step-by-step swap, and how to avoid the three mistakes that turn a 20-minute job into a leaky weekend. I’ve done this repair on both kitchen and bathroom Globe Union valves, so this is the real-world version — not a spec sheet.
How do I know if my Globe Union faucet actually needs a new cartridge?
If your faucet drips after you shut it off, is hard to turn, whistles or sputters, or won’t get fully hot or cold, the cartridge is almost always the culprit — not the whole faucet. The cartridge is the valve inside the faucet body that controls water flow and temperature. When its internal seals, springs, or ceramic discs wear out or get clogged with mineral scale, you get exactly those symptoms.
Here’s the quick diagnostic I use before buying any part:
- Constant drip from the spout even when the handle is fully off → worn cartridge seals or scored ceramic discs.
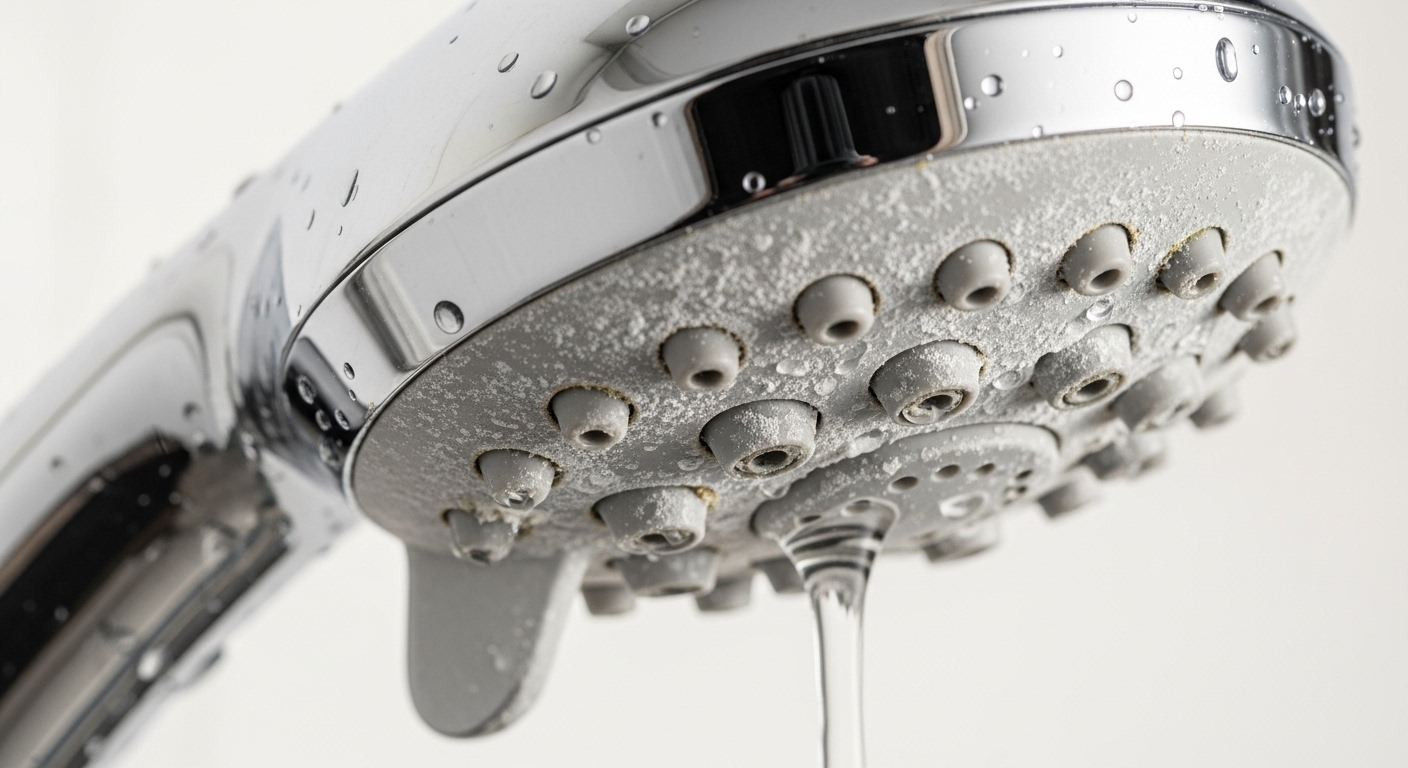
- Handle is stiff or gritty to turn → mineral buildup inside the cartridge (common with hard water).
- Water won’t reach full hot or full cold → the cartridge’s mixing chamber or alignment is worn.
- Low flow or sputtering → could be the cartridge, but first rule out a clogged aerator, which is a cheaper, faster fix.
That last point matters. Before you tear the faucet apart, unscrew the aerator at the tip of the spout and check it. If flow is your only complaint, a two-minute cleaning may solve it — here’s how to clean a clogged faucet aerator before you assume the cartridge is dead. If the problem is dripping or temperature, though, the cartridge is your fix.
Which Globe Union cartridge do I actually need — and why can’t I just grab any one?
You need the exact cartridge that matches your specific faucet model, because Globe Union makes many cartridge styles and they are not interchangeable. A cartridge that’s a millimeter too tall, has the wrong stem shape, or uses a different port layout will leak or won’t let the handle seat. This is the #1 reason DIY cartridge swaps fail.
There are three reliable ways to identify the right part, in order of accuracy:
- Pull the old cartridge and match it physically. The most foolproof method — take the old one to the store or photograph it next to a ruler to compare online. Match length, stem shape (splined vs. flat), tab/notch orientation, and inlet port pattern.
- Find the model number. Look under the sink on the faucet body, on the original box, or on paperwork. Globe Union / brand model numbers cross-reference to a specific cartridge part number.
- Identify the cartridge type. Most modern Globe Union single-handle faucets use a ceramic-disc cartridge; older or two-handle units may use a compression stem or a ball-style valve.
Because Globe Union supplies so many house brands, a “Globe Union” cartridge and the branded cartridge sold at the retailer are frequently the exact same part with a different sticker. If you can’t find a Globe Union-labeled cartridge, matching the store brand your faucet was sold under often gets you the identical piece.
| Cartridge Type | Found In | Typical Symptom When Failing | Replacement Difficulty |
|---|---|---|---|
| Ceramic disc | Most single-handle Globe Union faucets | Drip, stiff handle, temp won’t max out | Easy (15–30 min) |
| Compression stem | Older two-handle units | Drip at spout, requires new washer/seat | Easy–Moderate |
| Cartridge/sleeve (two-handle) | Widespread bathroom faucets | Handle drips, hot/cold leak | Easy |
| Ball valve | Some kitchen single-handle designs | Leak at base, low flow | Moderate (more parts) |
What tools and parts do I need for a Globe Union faucet cartridge replacement?
You need surprisingly little: the correct replacement cartridge, an adjustable wrench, needle-nose pliers, and an Allen (hex) key for the handle set screw. That’s the core kit. A few extras make the job smoother and prevent a second trip.
- Replacement cartridge ($10–$30) — the exact match for your model.
- Adjustable wrench or channel-lock pliers — to loosen the retaining nut.
- Needle-nose pliers — to grip and pull the cartridge straight up.
- Allen/hex key set — most handles are held by a tiny hex set screw.
- Phillips screwdriver — for handles held by a screw under a decorative cap.
- Plumber’s grease (silicone) — a light coat on the new cartridge O-rings makes it seat smoothly and seal better.
- White vinegar and an old toothbrush — to scrub mineral scale out of the faucet body before the new cartridge goes in.
- A rag and a bucket — for the water still sitting in the lines.
Skip the plumber’s grease and you’ll fight to seat the cartridge and may get a slow weep at the O-rings. It’s a $5 tube that pays for itself.
How do you replace the cartridge step by step (the 20–40 minute version)?
Here’s the full process. Work slowly on the first one — once you’ve done it, the second faucet in your house takes ten minutes. Turn off the water first; skipping that step is how ceilings get wet.
- Shut off the water. Close both supply valves under the sink (turn clockwise). No shutoffs down there? Turn off the main. Then open the faucet to release pressure and drain the lines.
- Plug the drain. A dropped set screw or clip disappearing down the drain is a classic DIY heartbreak. Cover it with a rag.
- Remove the handle. Find the set screw — usually a hex screw behind or under the handle, sometimes hidden under a small decorative cap (pop it off with a flat blade). Loosen the screw and lift the handle straight up.
- Remove the trim/dome and retaining piece. Unscrew the decorative cap or bonnet nut. Underneath you’ll find either a threaded retaining nut or a horizontal U-shaped brass/plastic clip. Unscrew the nut with your wrench, or pull the clip straight out with pliers.
- Pull the old cartridge. Grip the stem with needle-nose pliers and pull straight up with a slight wiggle — never side to side, which can crack the housing. If it’s stuck from mineral buildup, a cartridge-puller tool or gentle twisting works. Note the orientation (tabs/notches) as it comes out — the new one goes in the same way.
- Clean the faucet body. Scrub scale and old debris out of the valve pocket with vinegar and a toothbrush. A clean seat is what makes the new cartridge seal.
- Install the new cartridge. Lightly grease the O-rings, then push it in straight, aligning the tabs/notches exactly as the old one sat. If the alignment is off, your hot and cold will be reversed and the handle won’t reach full range.
- Reassemble. Reinstall the retaining nut or clip, the dome/trim, and the handle. Snug the retaining nut firmly but don’t overtighten — you can crack the cartridge or strip threads.
- Turn the water back on slowly and test hot, cold, and full off. Check under the sink and around the base for any weeping. Let it run a minute.
If it drips at the spout after all this, the cartridge orientation is usually wrong or the retaining nut isn’t seated evenly. If it weeps at the base, re-check the O-rings and grease. This same logic applies across brands — the workflow mirrors a Glacier Bay faucet cartridge replacement, since many of those valves share the same OEM design language.
Why is my Globe Union faucet still dripping after I replaced the cartridge?
Nine times out of ten it’s one of three things: the cartridge is slightly the wrong model, it’s installed in the wrong rotational orientation, or the retaining nut is uneven so the cartridge isn’t compressing against its seals. Fix those before assuming you got a defective part.
Run through this checklist:
- Wrong part. Even a visually similar cartridge with a different port pattern will drip. Compare old and new side by side one more time.
- Orientation off. The tabs must seat in their notches. If you forced it in rotated, water bypasses the seals.
- Retaining nut not even. Loosen it and re-snug it evenly. Uneven pressure tilts the cartridge.
- Dirty valve seat. Grit left in the body keeps the new cartridge from sealing flush. Pull it, re-clean, reinstall.
- Damaged faucet body. Rare, but if the internal seat is pitted or cracked from years of scale, no cartridge will fully seal — that’s when a whole-faucet swap makes sense.
If your leak is actually coming from a spout O-ring rather than the cartridge (water seeping from where the spout swivels, not the handle), that’s a different fix — the same idea as a kitchen faucet spout O-ring replacement, where you replace the ring seals around the spout base instead of the internal valve.
Is it worth replacing the cartridge, or should I just buy a new faucet?
Replace the cartridge if the faucet body is solid and you like the faucet — a $10–$30 cartridge and 30 minutes beats a $100–$300 new faucet plus a full reinstall every time. Buy new only if the faucet body itself is corroded or cracked, the finish is failing, parts are genuinely unavailable, or you simply want to upgrade the look or function.
Here’s how the numbers usually shake out:
| Option | Typical Cost | Time | Best When |
|---|---|---|---|
| Replace cartridge (DIY) | $10–$30 | 20–40 min | Faucet body is fine, you like the faucet |
| Plumber replaces cartridge | $100–$200 | 1 visit | No comfort with DIY / stuck cartridge |
| Buy & install new faucet (DIY) | $80–$350 | 1–2 hrs | Corroded body, want an upgrade |
| New faucet + plumber | $250–$600 | 1 visit | Full replacement, no DIY |
For the overwhelming majority of Globe Union owners, the cartridge swap is the smart call. These faucets are well-built OEM units — the valve wearing out doesn’t mean the faucet is done. If you do decide to upgrade instead, the internal repair skills carry over; understanding valve stems and cartridges helps whether you’re fixing a kitchen faucet or working on a bathtub faucet stem in another part of the house.
How do I make the new cartridge last longer?
The number one cartridge killer is hard-water mineral scale, so anything that reduces scale or flushes it out extends cartridge life. Cartridges in hard-water homes can wear out in 2–4 years; in soft-water homes they routinely last 8–10+.
- Clean the aerator every few months — trapped grit upstream ends up abrading the cartridge.
- Exercise the handle through its full range occasionally to keep discs from scaling in one spot.
- Consider whole-home or point-of-use water treatment if you have very hard water — it protects every valve in the house, not just this one.
- Use only silicone plumber’s grease on the O-rings — petroleum grease degrades rubber seals over time.
- Don’t crank the handle hard to stop a drip — that scores the ceramic discs and creates the very leak you’re fighting.
A note on expertise, testing & warranty
Author note: This guide was written by the aleashafaucet product and repair team, drawing on hands-on repair of single- and two-handle Globe Union-built faucets across kitchen and bath applications. We test faucet components and cartridges for flow consistency, drip-free shutoff, and seal integrity as part of our product evaluation process.
Brand credibility: aleashafaucet specializes in faucets, shower systems, and bathroom fixtures, and we help customers repair and upgrade fixtures every day. Quality ceramic-disc cartridges are commonly rated for hundreds of thousands of open/close cycles and are frequently backed by manufacturer warranties — when you buy a replacement, keep the packaging and check whether your original faucet carries a lifetime or limited warranty, since some brands ship free replacement cartridges to the original owner. Always confirm your specific model’s cartridge spec before purchase, and follow the manufacturer’s torque and installation guidance so you don’t void any coverage.
FAQ
Are Globe Union faucet cartridges universal or interchangeable?
No. Globe Union makes several cartridge styles that differ in length, stem shape, and port layout, and they are not interchangeable. Always match your exact model — the safest method is to pull the old cartridge and physically compare it to the replacement before installing.
How long does a Globe Union faucet cartridge last?
It depends heavily on water hardness. In soft-water homes a quality ceramic cartridge often lasts 8–10 years or more; in hard-water areas mineral scale can wear it out in 2–4 years. Regular aerator cleaning and reducing scale extends its life.
Can I replace the cartridge myself, or do I need a plumber?
Most people can do it themselves in 20–40 minutes with an adjustable wrench, needle-nose pliers, and a hex key. It’s a beginner-friendly repair. Call a plumber only if the old cartridge is seized in place and you can’t extract it, or if you’re not comfortable shutting off and testing the water.
Why is my faucet dripping worse after I changed the cartridge?
Almost always the cartridge is the wrong model, installed in the wrong rotational orientation, or the retaining nut is seated unevenly so the seals aren’t compressed. Remove it, re-clean the valve seat, confirm the tabs line up with their notches, and re-snug the nut evenly.
Do I need plumber’s grease when installing a new cartridge?
It’s strongly recommended. A light coat of silicone (not petroleum) plumber’s grease on the O-rings helps the cartridge seat smoothly, improves the seal, and makes the handle turn better. Skipping it can cause a slow weep at the O-rings and a stiff handle.
Where is the model number on a Globe Union faucet?
Check the underside of the faucet body under the sink, the original box or installation paperwork, and any sticker on the supply lines or mounting hardware. If you can’t find it, identifying the store house-brand the faucet was sold under often cross-references to the identical Globe Union cartridge.