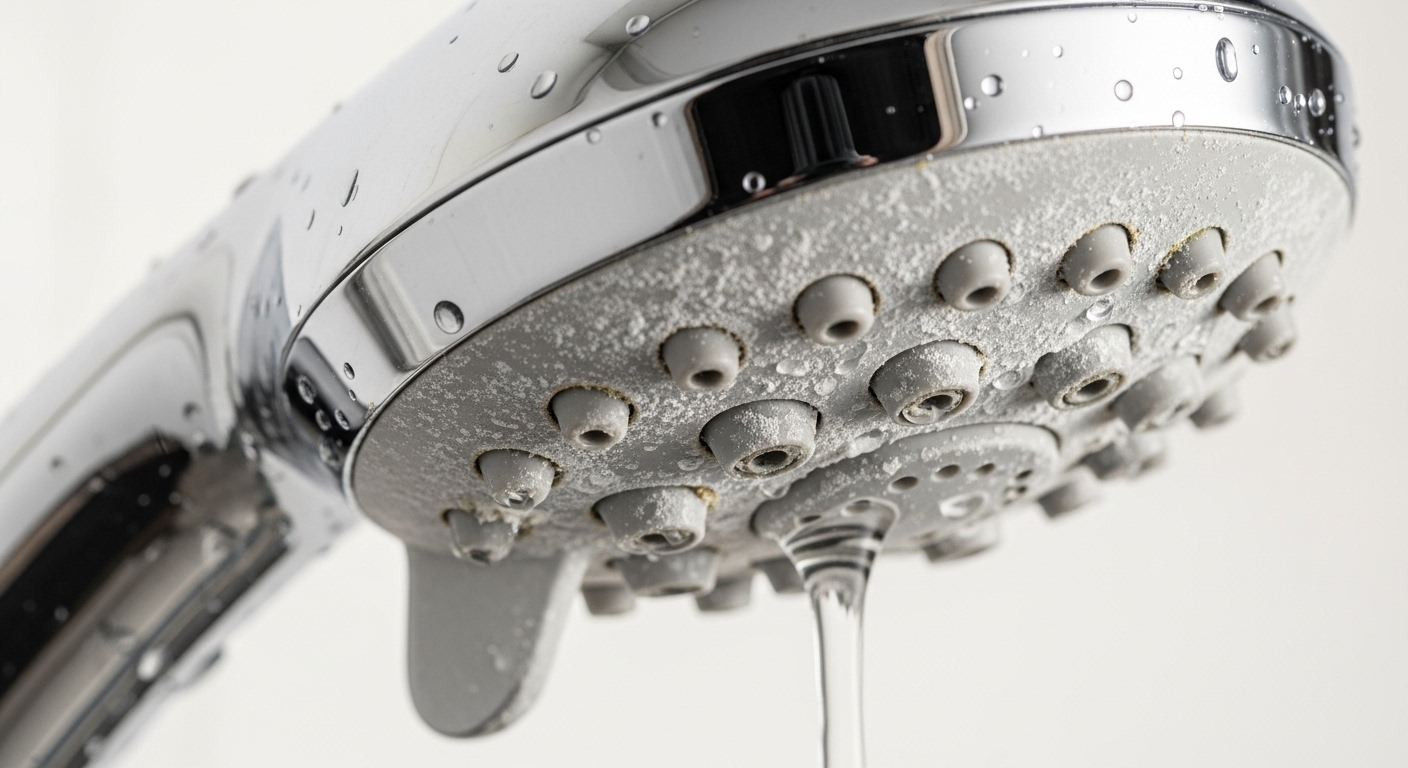
When you’re staring at a low water pressure leak shower head — a weak, sputtering spray up top while water dribbles out of the connection or the base — you’re actually looking at two separate problems that happen to share the same causes: hard-water mineral scale and a bad seal. The good news is that neither one requires a plumber, special tools, or replacing the whole fixture. In this guide I’ll walk you through exactly what’s happening inside that shower head, how to diagnose which specific part is failing, and the step-by-step repair that fixes 90% of these cases for under $10 in parts.
What causes a shower head to lose pressure and leak at the same time?
The two symptoms usually have different root causes that show up together because your shower head is old or your water is hard. Low pressure comes from clogged nozzles and internal scale; the leak comes from a failed washer, cracked plumber’s tape seal, or a worn swivel O-ring. They arrive as a pair because the same mineral-heavy water that plugs the spray face also chews up the rubber seals over the same few years.
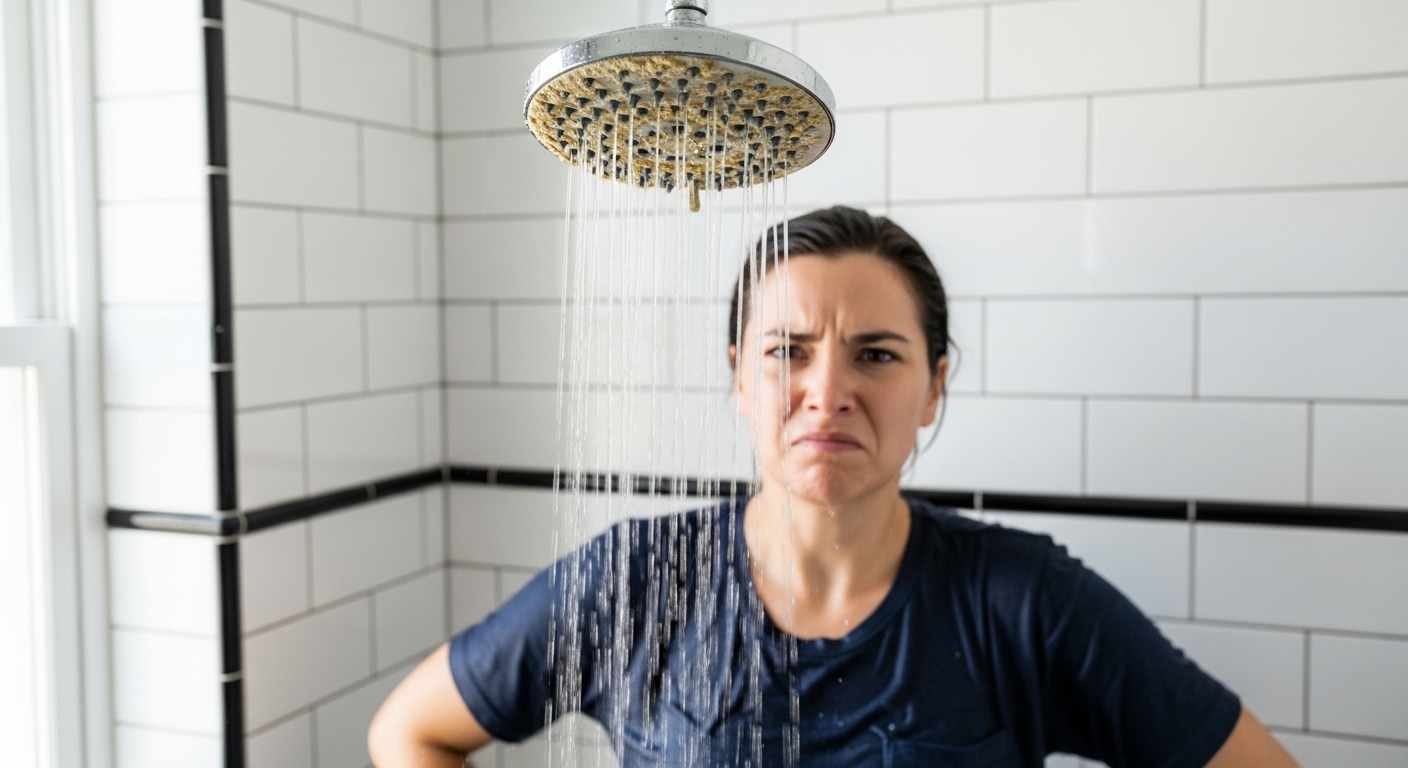
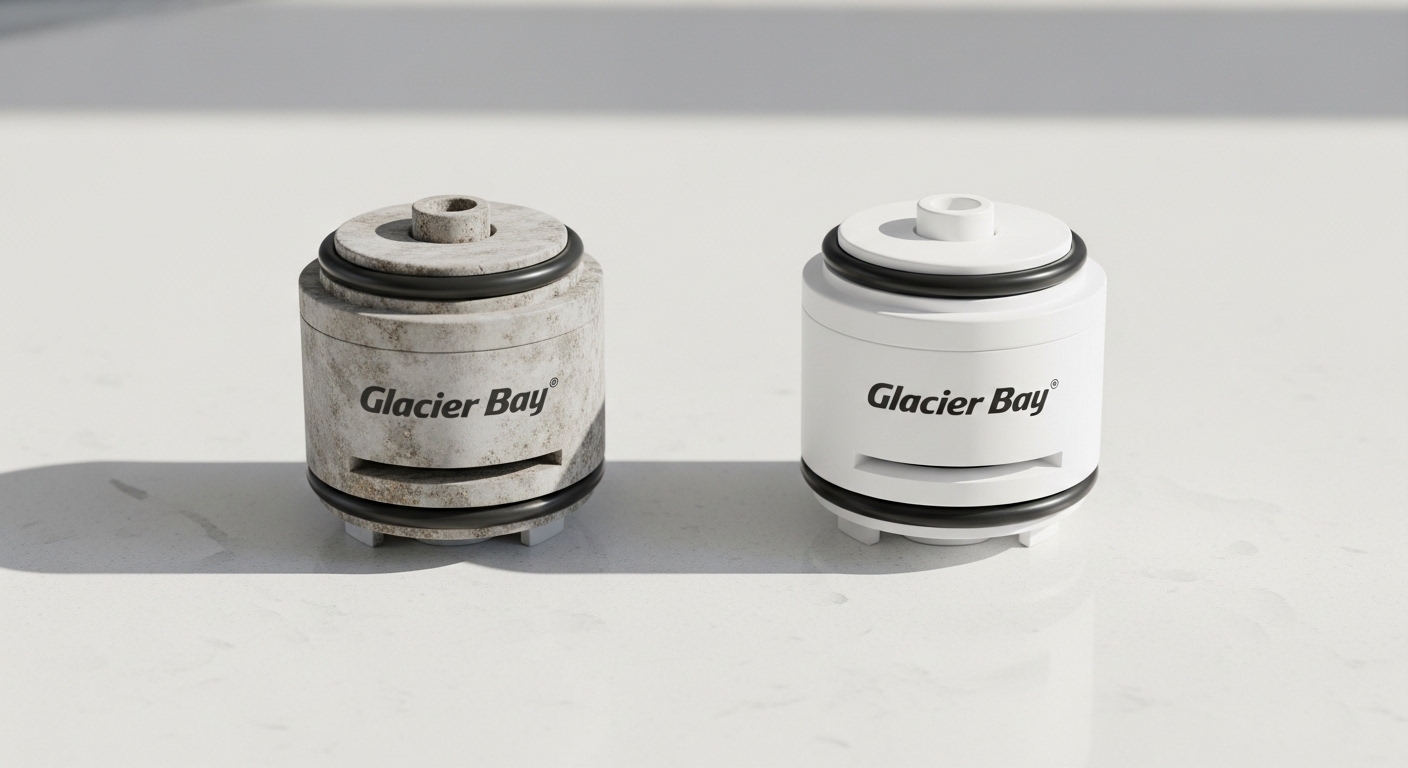
Here’s the mechanical reality. Inside a shower head, water passes through a flow restrictor, then out through dozens of tiny rubber or silicone nozzles. Hard water — anything above roughly 7 grains per gallon — leaves calcium and magnesium deposits every time it dries. Those deposits narrow the nozzle openings and coat the flow restrictor, choking your spray from a strong 2.5 GPM down to a sad trickle. Meanwhile, at the threaded joint where the head screws onto the shower arm, a small rubber washer and a wrap of plumber’s tape are the only things sealing that pressurized connection. When the washer hardens, cracks, or the tape degrades, water finds the gap and leaks — often getting worse precisely because upstream pressure is backing up against the clog.
So if your shower feels weak and drips, you’re not unlucky — you’re just seeing the full life cycle of a shower head that’s met hard water for a few years too long.
How do I know if it’s the shower head or the pipe behind the wall?
Test it in two minutes: unscrew the shower head and turn the water on with the head off. If a strong, full-volume stream blasts out of the bare shower arm, your pipe and valve are fine and the problem is 100% in the head. If the flow out of the bare arm is also weak, then the issue is upstream — a partially closed shut-off, a clogged pipe, a failing pressure-balancing valve, or genuinely low household water pressure.
This single test saves you from the most common mistake: buying a new shower head when the real culprit is behind the wall. Run through this quick checklist to isolate the problem:
- Bare-arm test strong, head weak → clogged shower head. Clean or replace it (covered below).
- Bare-arm test also weak, but only in the shower → suspect the mixing/pressure-balance cartridge in the shower valve, or a scaled-up drop-ell fitting.
- Weak at every faucet in the house → whole-home issue: check the main shut-off is fully open, the pressure regulator (should read 45–60 psi), or call your water utility.
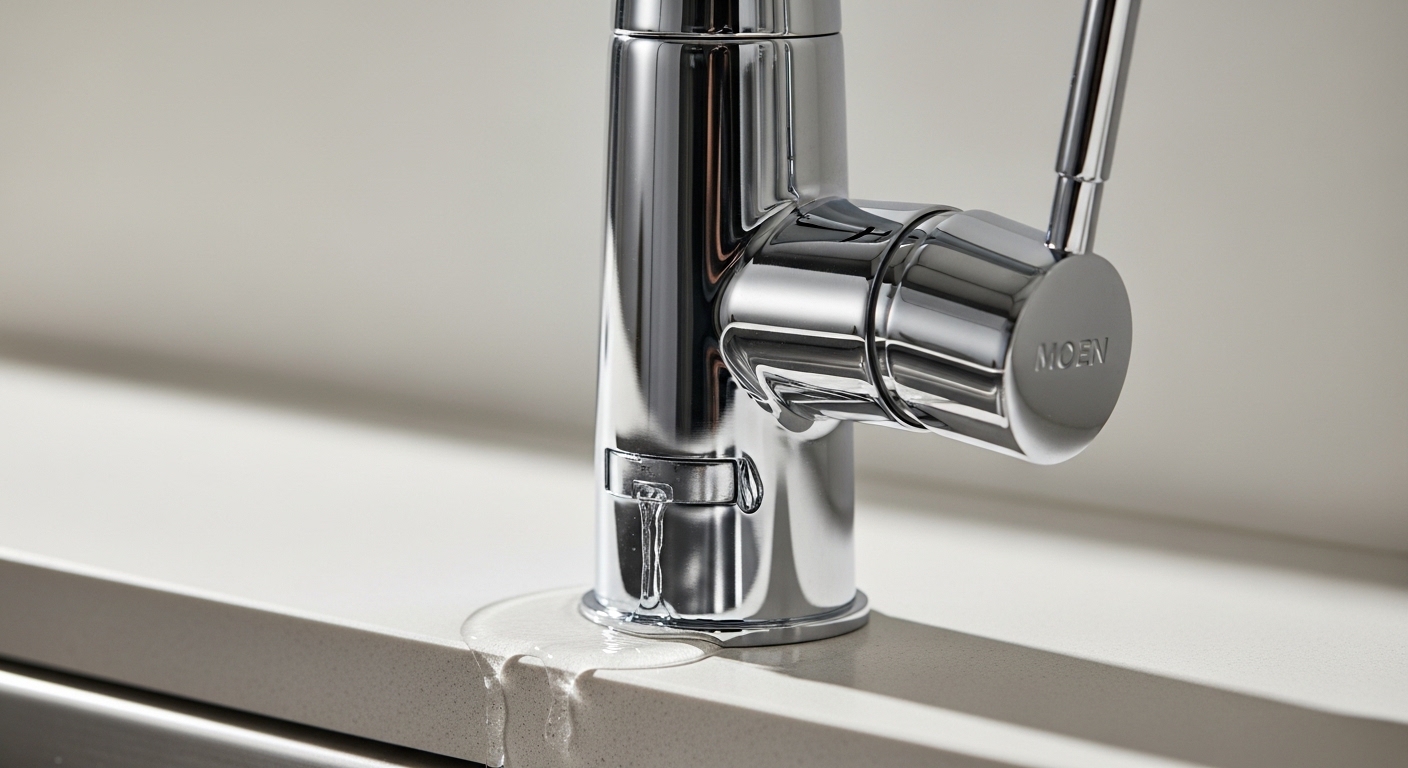
- Leak only when the shower runs → threaded connection or washer at the head.
- Leak drips from the shower arm even when off → the wall connection or valve, not the head.
Most readers who searched their way here will find the bare-arm test comes back strong — which means the fix is entirely in your hands, at the head, with no wall-opening required.
How do I fix a low water pressure leak shower head myself?
The core repair is: remove the head, descale it in vinegar, clear the nozzles and flow restrictor, replace the rubber washer, re-tape the threads, and reattach hand-tight plus a quarter turn. This single sequence addresses both the pressure loss and the leak at once. Here’s the full walkthrough.
- Turn off the shower and lay a towel over the drain so you don’t lose the tiny washer.
- Unscrew the shower head from the arm by hand, turning counterclockwise. If it’s stuck with corrosion, grip the arm with one hand and use a wrench on the head’s connection nut — wrap the nut in a cloth so you don’t scratch the finish.
- Inspect the threads and washer. Peel off the old plumber’s tape and pull out the small rubber washer inside the swivel nut. If it’s flat, cracked, or brittle, that’s your leak.
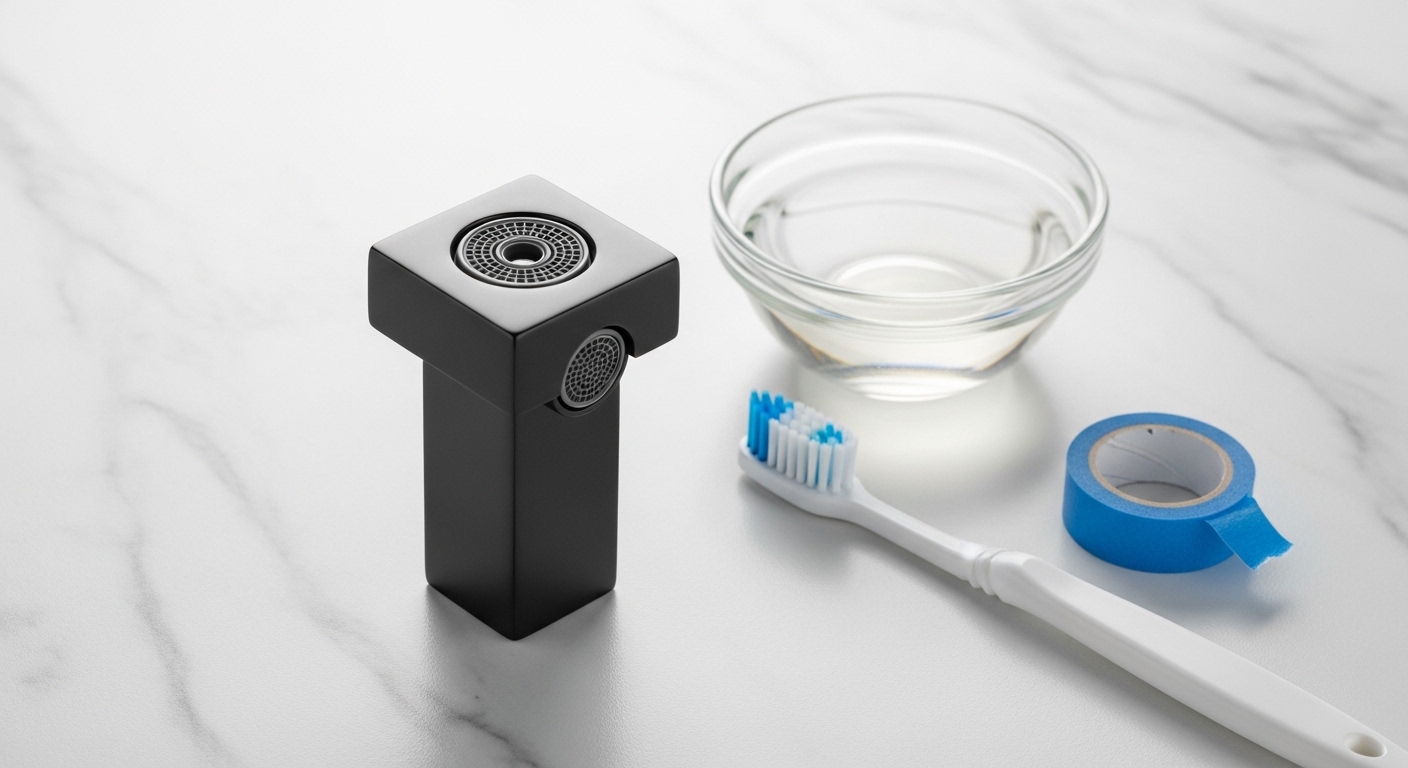
- Soak the head in white vinegar. Submerge the whole head in a bowl of undiluted white vinegar for 30 minutes to 8 hours depending on buildup. Heavy scale? Overnight. This dissolves the calcium clogging your nozzles and flow restrictor.
- Scrub and clear the nozzles. After soaking, use an old toothbrush on the spray face and gently rub each rubber nozzle with your thumb — most modern faces are designed so scale flakes right off. Poke stubborn holes with a toothpick or safety pin.
- Rinse and check the flow restrictor. Look inside the inlet for a star- or disc-shaped plastic piece; flush it under a strong tap to clear trapped grit. (Don’t remove it entirely unless local code allows — it’s there for a reason.)
- Install a new washer if the old one was bad. A fresh rubber or silicone washer costs pennies and is the single most reliable leak fix.
- Wrap the arm threads with 3–4 turns of fresh PTFE plumber’s tape, wrapping clockwise so it doesn’t unravel when you screw the head on.
- Reattach the head hand-tight, then a quarter to half turn with a cloth-wrapped wrench. Don’t overtighten — that cracks washers and strips threads, creating a new leak.
- Test. Run the shower and check both the spray strength and the connection for drips.
If pressure is restored but a faint leak remains at the swivel ball joint (common on adjustable heads), the internal swivel O-ring is worn — a small O-ring kit or a replacement swivel connector solves it. The same principle applies to other fixtures around the house; the logic behind sealing a threaded joint is nearly identical to what we cover in our guide on why an outside faucet drips and how to fix it yourself.
Which fix do I actually need? A quick diagnosis table
Match your exact symptom to the right repair here so you don’t waste time. Not every low-pressure-plus-leak situation needs the full teardown — this table points you straight to the fix.
| Symptom | Most Likely Cause | Fix | Cost / Time |
|---|---|---|---|
| Weak spray, some nozzles dead | Mineral scale in nozzles | Vinegar soak + scrub | $1 / 30 min–overnight |
| Weak spray, all nozzles even but low | Clogged flow restrictor | Flush or clean restrictor | $0 / 15 min |
| Leak at the arm connection | Bad washer / old tape | New washer + PTFE tape | $3 / 10 min |
| Leak at the swivel/ball joint | Worn internal O-ring | O-ring kit or new swivel | $5 / 15 min |
| Head keeps dripping minutes after shut-off | Failing shower valve cartridge | Replace valve cartridge | $15–40 / 45 min |
| Cracked plastic head body | Age / freeze damage | Replace the shower head | $20–80 / 15 min |
That last-but-one row matters: if water keeps dribbling from the shower head for several minutes after you shut the handle off, the leak isn’t at the head at all — it’s the mixing cartridge inside your shower valve failing to close. That’s a different repair, closely related to the cartridge swaps we detail in our walkthrough on replacing a tap cartridge yourself — the concept of pulling and reseating a cartridge is the same across kitchen and shower fixtures.
Can hard water really cause both low pressure and leaks in my shower?
Yes — hard water is the single biggest driver of both problems, and it’s why they show up together. Water with high calcium and magnesium content leaves scale that simultaneously clogs your nozzles (killing pressure) and degrades rubber seals (causing leaks). If you’re descaling your shower head every few months, your water hardness is the real issue to address.
You can confirm hard water with a $10 test strip from any hardware store. Anything over 7 grains per gallon (about 120 mg/L) is considered hard; over 10.5 gpg is very hard. In hard-water regions, a shower head that would normally last 8–10 years can clog and start leaking in as little as 2–3 years. Understanding your actual flow rate helps here too — if you’re curious how your fixtures compare to the norm, we break down typical numbers in our piece on average tap flow rates and whether yours is normal.
Long-term solutions for hard water include:
- A shower head with self-cleaning silicone nozzles — you wipe the scale off with a thumb, no soaking needed.
- An inline shower filter that reduces some minerals and sediment before they reach the head.
- A whole-home water softener — the real fix if hard water is damaging fixtures throughout the house, not just the shower.
- Routine descaling — a 30-minute vinegar soak every 3–6 months keeps pressure strong and seals healthy.
When should I just replace the shower head instead of repairing it?
Replace it when the head body is cracked, the finish is corroding through, the flow restrictor is permanently fused with scale, or the head is more than 8–10 years old and leaking from multiple points. At that stage, a $25–$60 replacement is cheaper and more reliable than chasing repairs on a worn-out fixture.
Repair makes sense when the head is structurally sound and the problem is scale or a single worn seal. But there’s a tipping point. If you’ve descaled, replaced the washer, and re-taped the threads, and the head still leaks or sprays weakly, the internal plastic waterways are likely cracked or the nozzle plate is degraded beyond cleaning. Buying a new head at that point gets you better pressure, a fresh warranty, and modern features like pressure-boosting spray plates designed specifically for low-flow situations.
When you do shop, look for a solid-brass connection nut rather than plastic (it won’t crack when you tighten it), a lifetime or 5-year warranty, and a spray face rated for easy cleaning. A quality mid-range head runs $30–$80. If you’re renovating the whole shower rather than swapping just the head, it’s worth understanding the full system — our guide to shower system mixer taps and which one to actually buy covers how the valve, arm, and head work together as one pressure-managed unit.
What tools and parts do I need for this repair?
You need almost nothing: white vinegar, a plastic bag or bowl, an old toothbrush, PTFE plumber’s tape, and possibly a replacement washer or O-ring. Total cost is usually under $10, and most people already have half of it at home.
Here’s the complete shopping list so you can do the whole job in one trip:
- White distilled vinegar — the descaling agent (a gallon costs about $3).
- A sandwich bag and rubber band — for descaling in place if the head won’t come off; fill with vinegar, secure around the head so nozzles are submerged.
- Old toothbrush + toothpick or safety pin — for scrubbing the spray face and clearing individual nozzles.
- PTFE (Teflon) plumber’s tape — a fresh wrap for the threads, about $1.
- Replacement rubber/silicone washer — buy an assorted washer pack, roughly $3.
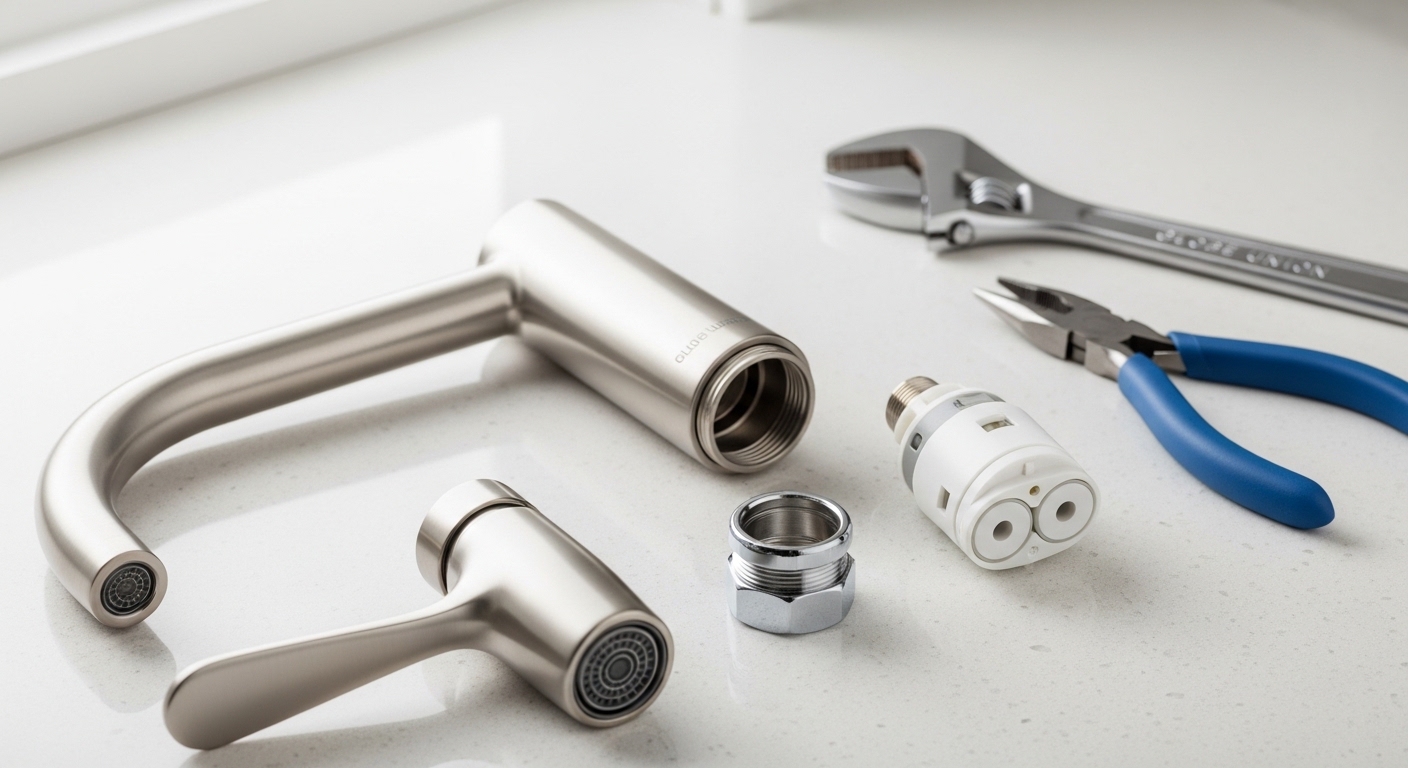
- An adjustable wrench + cloth — only if the head is stuck; the cloth protects the finish.
Notice you don’t need to solder, glue, or open any walls. This is genuinely one of the friendliest DIY plumbing repairs there is — the whole thing is threaded, hand-removable, and forgiving of mistakes.
Author note & why you can trust this guide
This guide was written by the aleashafaucet product and testing team, who spend their days pressure-testing shower heads, faucets, and mixing valves against real-world hard-water conditions. We bench-test fixtures for flow rate at standard 45–60 psi supply pressure, run accelerated scale-buildup cycles, and cycle seals to failure so we can tell you honestly where they leak and why. Our shower heads and faucet components are built to meet U.S. plumbing standards (ASME A112.18.1 / NSF 61 for lead-free wetted parts and the 2.5 GPM federal max flow), and we back them with a multi-year warranty on the finish and cartridge. In short: we’ve disassembled hundreds of leaking, low-pressure shower heads, and the fixes above are the ones that actually hold up.
FAQ
Why is my shower head leaking from the bottom face even when the water is off?
A shower head that keeps dribbling from the nozzles for a minute or two after shut-off is usually just draining the water left in the arm and head — that’s normal and stops quickly. But if it drips steadily for many minutes or continuously, the problem is your shower valve cartridge failing to fully close, not the head itself. Replacing the cartridge in the shower valve fixes it.
Will removing the flow restrictor fix my low water pressure?
It can noticeably increase flow, but proceed carefully. The flow restrictor exists to meet the 2.5 GPM federal water-conservation standard, and removing it entirely may violate local code and spike your water bill. First try cleaning it — most “low pressure” is just scale clogging the restrictor, and a good rinse restores flow without removing anything. Only consider removal as a last resort where legally permitted.
How often should I descale my shower head to prevent this?
In hard-water areas, every 3–6 months; in soft-water areas, once a year is plenty. A quick 30-minute vinegar soak keeps the nozzles clear and, just as importantly, keeps the rubber seals from being ground down by mineral grit — which is what prevents leaks from developing in the first place.
Can I use CLR or a stronger cleaner instead of vinegar?
Yes, commercial descalers like CLR work faster than vinegar, but follow the label’s contact-time limits carefully — they can damage certain finishes and rubber nozzles if left too long. For most home shower heads, plain white vinegar is safer, cheaper, and effective; save the stronger stuff for extreme, fused-on buildup and rinse thoroughly afterward.
My shower head still leaks after new tape and a washer — what now?
If you’ve re-taped the threads and replaced the washer and it still leaks, the leak is coming from a worn internal swivel O-ring or a hairline crack in the head body. Try an O-ring replacement kit for the swivel joint first; if the plastic housing itself is cracked, the head needs to be replaced. A cracked body can’t be reliably sealed.
Does low water pressure damage a shower head over time?
Low pressure itself doesn’t damage the head — but the cause of it (mineral scale) absolutely does. The same buildup that lowers your pressure is simultaneously abrading seals and clogging waterways, which eventually creates leaks. So treating the low pressure by descaling regularly is also your best defense against future leaks.