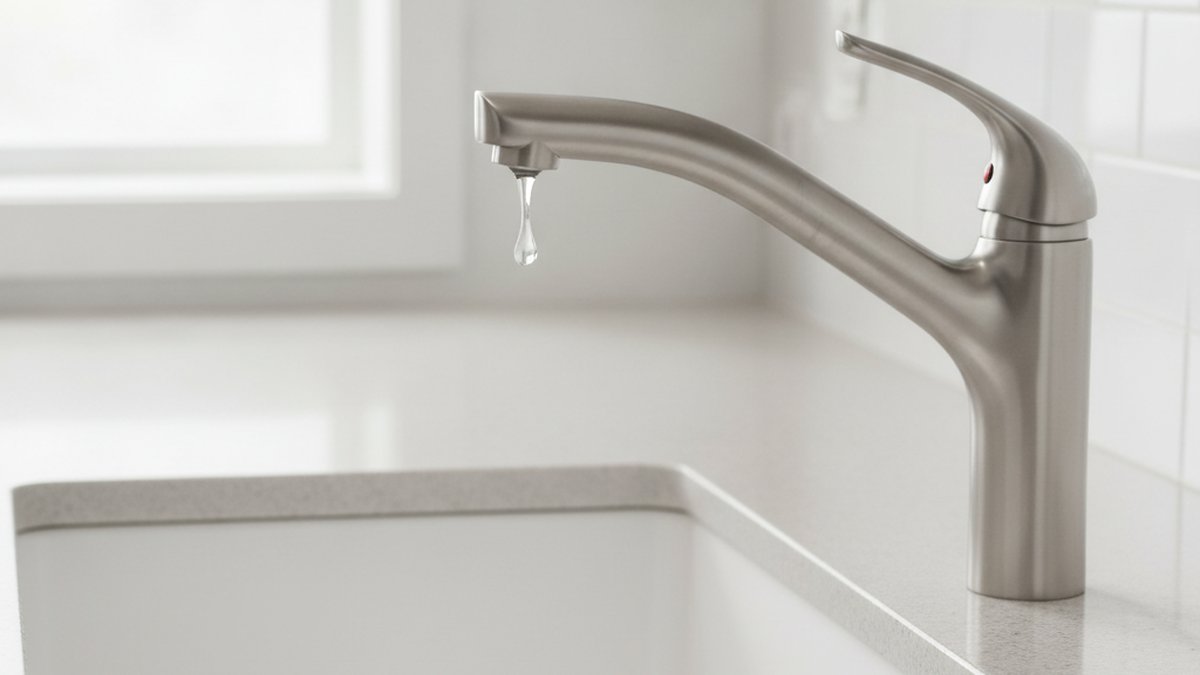
Learning how to fix a leaking kitchen faucet is one of the most useful home skills you can pick up, because the same three or four parts cause almost every leak — and none of them require plumbing experience to swap out. The trick isn’t muscle or fancy tools; it’s correctly identifying where the water is coming from before you start taking things apart. Do that, and you’ll fix it right the first time instead of buying random parts and hoping.
This guide walks you through diagnosing the leak, the exact steps to fix each type, the tools you’ll actually need, and when it’s genuinely time to stop and call someone. Everything here applies to single-handle and two-handle kitchen faucets from the major brands.
Where is my kitchen faucet actually leaking from — the spout, the base, or the handle?
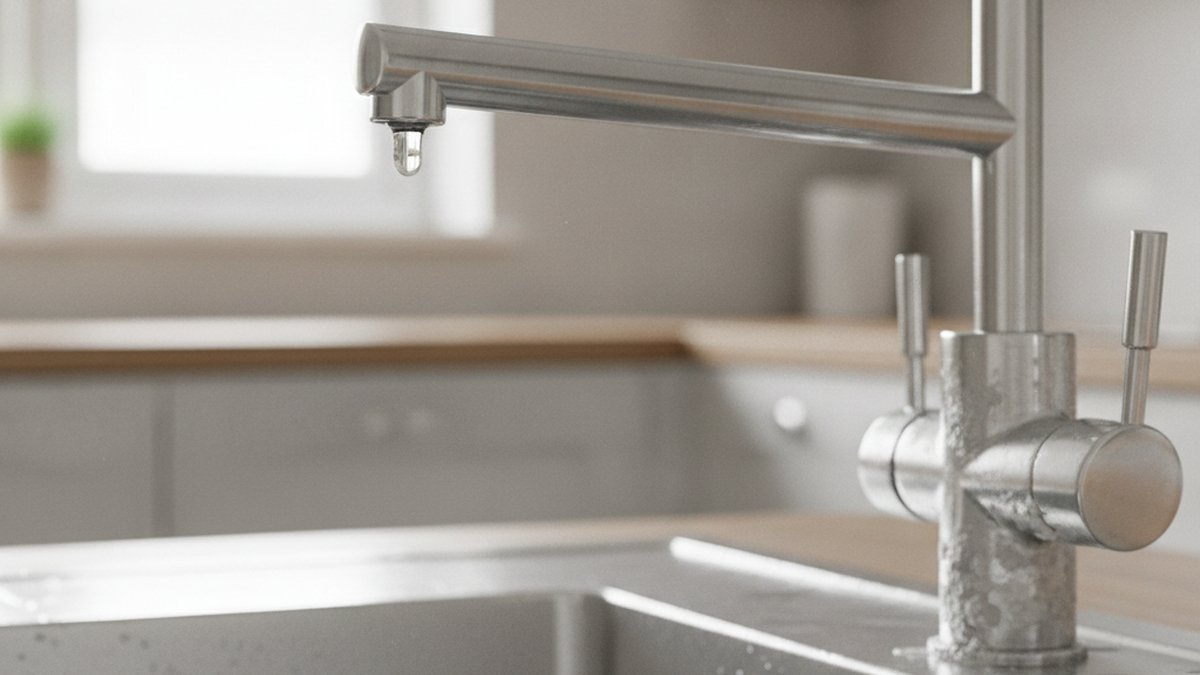
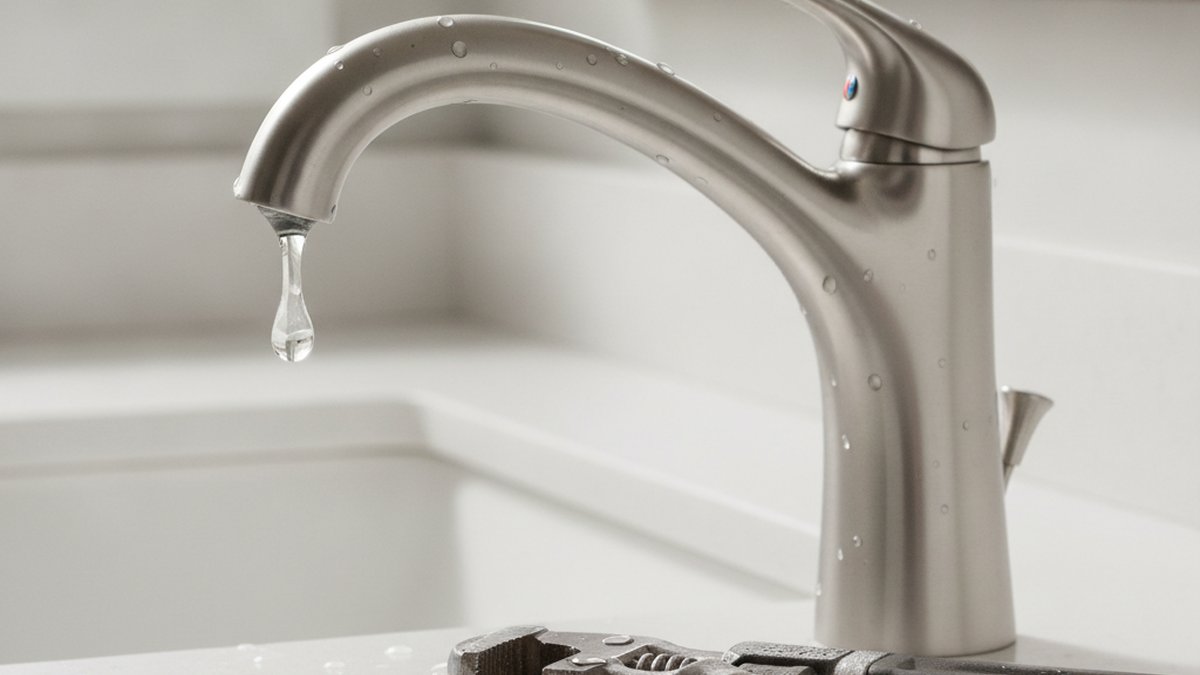
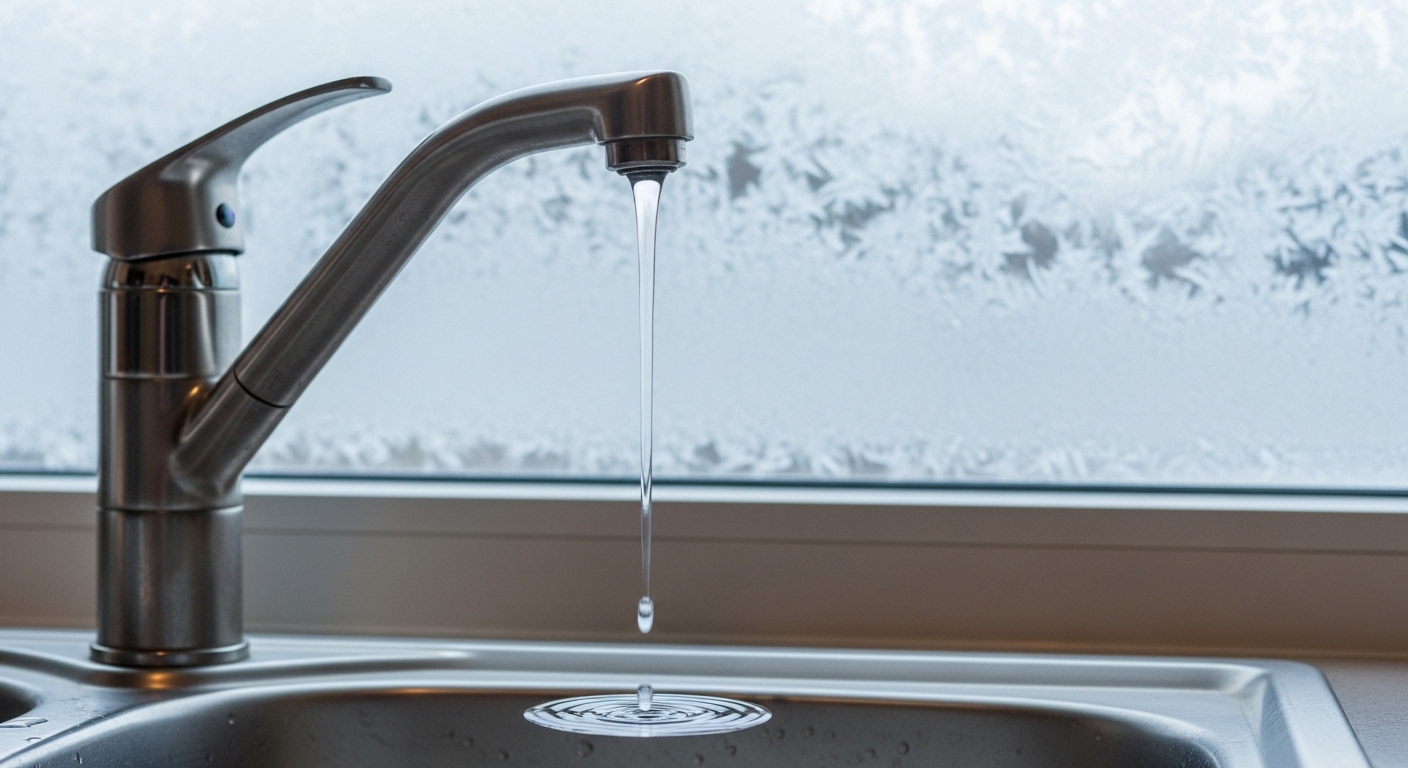
Start here, because the location tells you the part. Wipe the whole faucet bone-dry with a paper towel, turn the water on, and watch closely for 30 seconds. A leak from the spout tip (dripping when the faucet is off) is almost always a worn cartridge or valve seals. Water pooling at the base of the spout where it meets the deck usually means a cracked O-ring. Water dripping under the sink is a loose supply-line connection or a bad washer — and that one you’ll often smell (musty cabinet) before you see it.
Here’s the fast diagnostic map:
| Where you see water | Most likely cause | Typical part cost | Difficulty |
|---|---|---|---|
| Drip from spout tip (faucet off) | Worn cartridge or valve seat/springs | $10–$40 | Easy–Moderate |
| Water at base of spout when running | Cracked or dried-out O-ring | $5–$12 | Easy |
| Puddle in the cabinet below | Loose supply line or bad washer | $3–$15 | Easy |
| Leak around handle base | Failing cartridge or handle O-ring | $10–$40 | Moderate |
| Spray head or hose dripping | Worn pull-down hose seal or diverter | $8–$25 | Easy |
Nine times out of ten, a persistent drip from the spout on a single-handle faucet is the cartridge. It’s a plastic-and-rubber sleeve that wears out with use and hard water. That’s good news — cartridges are the single easiest “real” repair on a faucet.
What tools and parts do I need before I start?
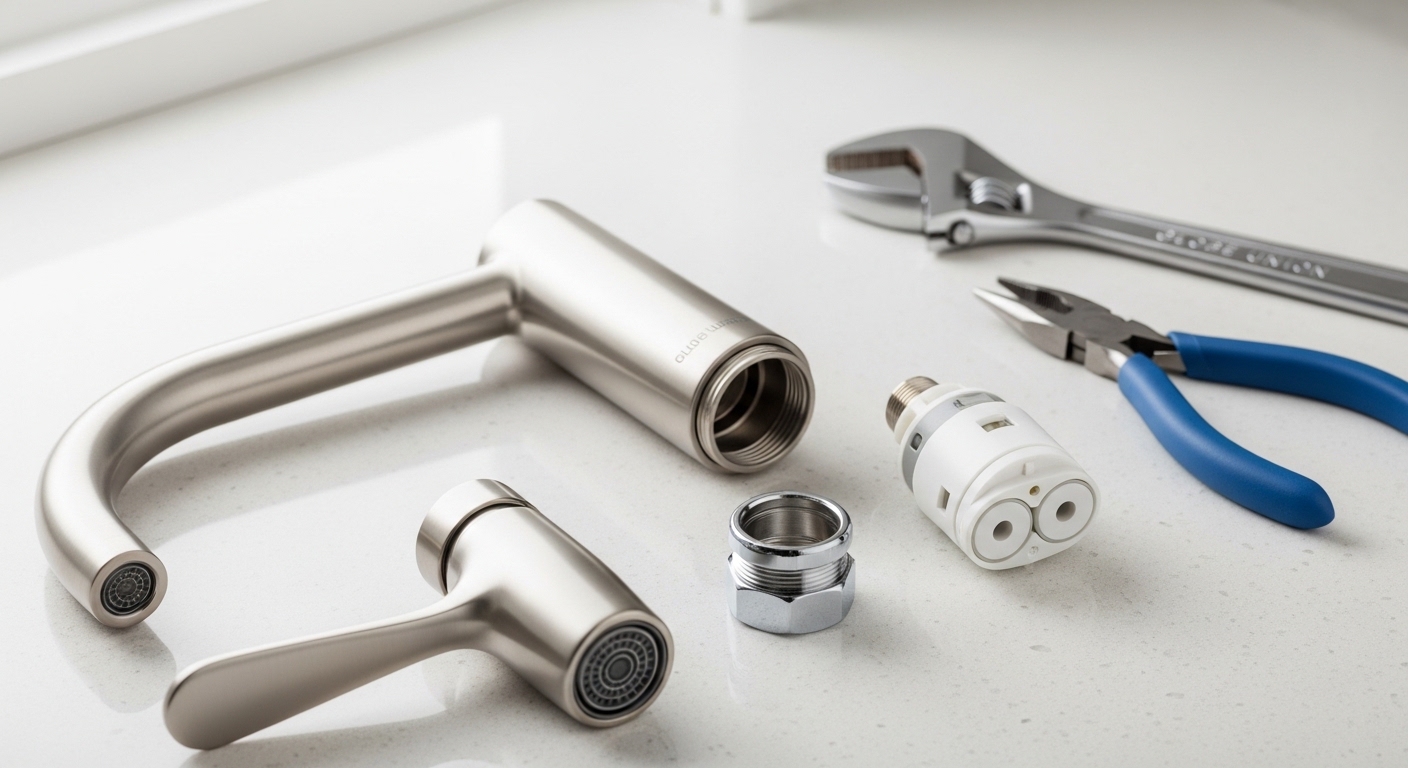
You need surprisingly little. Here’s the honest list — most people already own everything except the replacement part:
- Adjustable wrench — for supply-line nuts.
- Phillips and hex (Allen) keys — handle set screws are almost always hex.
- Needle-nose pliers — for pulling O-rings and retaining clips.
- Plumber’s grease (silicone) — never petroleum jelly; it degrades rubber seals.
- Plumber’s tape (PTFE) — for threaded supply and hose connections.
- The correct replacement part — cartridge, O-ring kit, or washer.
- A rag and a small bowl — to catch residual water and hold tiny parts.
- Your phone — photograph every step as you disassemble.
The one thing that trips people up is buying the wrong replacement part. Faucet cartridges are brand- and model-specific — a Moen 1225 is not a Delta RP, and neither fits a Kohler. Find your faucet’s model number (often stamped under the spout, on the original box, or in the manual), or take the old cartridge to the store and match it physically. If you’re following along with a manufacturer’s fix and want a sense of how brand-specific cartridge work goes, this walkthrough on a Santec faucet cartridge replacement video shows how the same principles play out on one particular brand.
How do I fix a single-handle kitchen faucet that drips from the spout?
Replace the cartridge — that’s the fix in one sentence. A single-handle faucet mixes hot and cold through one cartridge, and when it wears, it can’t fully seal, so water sneaks past and drips out the spout. Here’s the full process:
- Shut off the water. Turn both angle-stop valves under the sink clockwise until they stop. Then open the faucet to release pressure and confirm the water is truly off. No leak-proofing works around live water.
- Plug the drain. A dropped set screw disappearing down the drain is the classic way to turn a 30-minute job into a nightmare.
- Remove the handle. Find the set screw (usually under a small decorative cap on the front or side, or under the lever) and loosen it with the hex key. Lift the handle straight up.
- Remove the retaining nut and clip. Under the handle you’ll find a dome/collar nut and often a small horseshoe-shaped retaining clip. Pull the clip with needle-nose pliers and set it somewhere safe.
- Pull the old cartridge straight up. It may be stubborn from mineral buildup — wiggle, don’t lever. Some brands sell a cheap cartridge-puller tool if it’s really stuck.
- Note the orientation. Cartridges install in one specific rotation (hot/cold alignment). This is exactly why you took photos. Getting it 180° off gives you reversed hot/cold water.
- Grease and install the new cartridge. Wipe a thin film of silicone plumber’s grease on the O-rings, push it in fully, reinstall the clip, nut, and handle.
- Turn the water back on slowly and test. Run it for a minute, then wipe dry and re-check.
That’s genuinely the whole thing. If the drip persists after a fresh cartridge, the valve body seat may be scored — rare, but it happens in hard-water homes.
How do I fix a two-handle faucet that leaks from one side?
On a two-handle (widespread or bridge) faucet, a drip means the seals on that specific handle are worn — so you only fix the side that leaks. Two-handle faucets typically use either compression stems (with a rubber washer at the bottom) or quarter-turn ceramic-disc cartridges.
If you turn the handle and it goes soft or you feel a gritty resistance, and the drip is warm, it’s the hot side; cold drip, cold side. Shut off the corresponding supply valve, pop the decorative cap on top of the handle, remove the screw, lift the handle, and unscrew the stem or cartridge with a wrench. For an old compression faucet, replace the flat rubber washer and the little screw at the bottom of the stem — that’s the classic “seat washer” repair. For a ceramic-disc cartridge, replace the whole cartridge. While you’re in there, replace the O-rings too; they’re pennies and save you a repeat trip.
Compression washers wear against a brass valve seat, and if that seat is pitted or corroded, a new washer won’t seal for long. In that case you’ll want to resurface or replace the seat itself — a job that has its own quirks. If yours is stuck or chewed up, this guide on how to remove an old tap seat that’s stuck, corroded, or stripped covers the seat-specific tricks that a general faucet guide skips.
Why is water leaking under my sink but not from the faucet itself?
If the cabinet is wet but the faucet spout is dry, the leak is in the connections below — not the faucet mechanism. Check three spots in order: the two supply-line nuts where the braided hoses meet the angle-stop valves, the nuts where those hoses meet the faucet tailpieces, and (on pull-down faucets) the quick-connect where the sprayer hose joins the supply.
The fix is usually just snugging the connection or replacing a $3 braided supply line. A few pointers that save headaches:
- Hand-tight plus a quarter turn is the rule for compression supply nuts. Overtightening cracks the fitting and makes the leak worse.
- Wrap PTFE tape clockwise 3–4 times around threaded (tapered) fittings only — never on a rubber-washer compression connection.
- Braided stainless supply lines are cheap insurance. If yours are old rubber or more than ~8 years old, just replace them while you’re under there.
- Dry everything, then run water and watch. Feel each joint with a dry finger or paper towel to pinpoint the exact drip.
One sneaky culprit on modern pull-down kitchen faucets is the sprayer hose weight or the diverter valve inside the neck. If the leak only appears when you pull the spray head out or switch to spray mode, suspect the hose seal or diverter rather than the cartridge. Delta’s pull-down line, for instance, has a well-documented hose-and-wand design; if you’re troubleshooting or shopping one, our breakdown of the best pull-out kitchen faucet Delta makes explains how those hose connections are meant to seat.
How much does it cost to fix a leaking kitchen faucet — DIY vs. plumber?
DIY runs $5–$40 in parts; a plumber runs $150–$350 for the same repair once you add a service call and labor. That gap is why fixing it yourself is so worthwhile for common leaks. Here’s a realistic comparison:
| Scenario | DIY cost | Plumber cost | Time |
|---|---|---|---|
| Replace cartridge (single-handle) | $10–$40 | $150–$300 | 30–60 min |
| Replace O-rings / base seal | $5–$12 | $120–$250 | 20–40 min |
| Replace supply line | $3–$15 | $100–$200 | 15–30 min |
| Full faucet replacement | $80–$400 (faucet) | $250–$600 total | 1–2 hrs |
The honest math: if the faucet is under warranty and only the cartridge failed, DIY plus a free warranty part is nearly free. If the faucet is 15 years old, corroded, and you’re on your third repair this year, replacing the whole unit is the smarter money. A brand-new mid-range kitchen faucet often costs less than a single plumber visit.
When should I just replace the whole faucet instead of repairing it?
Replace it when the leak keeps coming back, the body is corroded, or replacement parts are discontinued. A cartridge swap fixes a drip; it can’t fix a cracked valve body or a faucet whose finish is flaking off. Signs it’s time to replace rather than repair:
- You’ve replaced the cartridge and it still drips (scored valve body).
- The finish is peeling, pitting, or the spout is corroded green.
- Parts are no longer made for your model.
- Water pressure has dropped and descaling didn’t help.
- You’re renovating anyway and want a modern pull-down or touchless model.
If you land on replacement, the good news is that installing a new faucet is squarely a DIY job too — the mechanical steps overlap heavily with what you just learned. The debate over which brand to buy is real; our comparison of whether a Moen faucet is better than Delta helps you pick based on cartridge design and parts availability, which are exactly the things that determine how easy your next leak will be to fix.
How do I keep my kitchen faucet from leaking again?
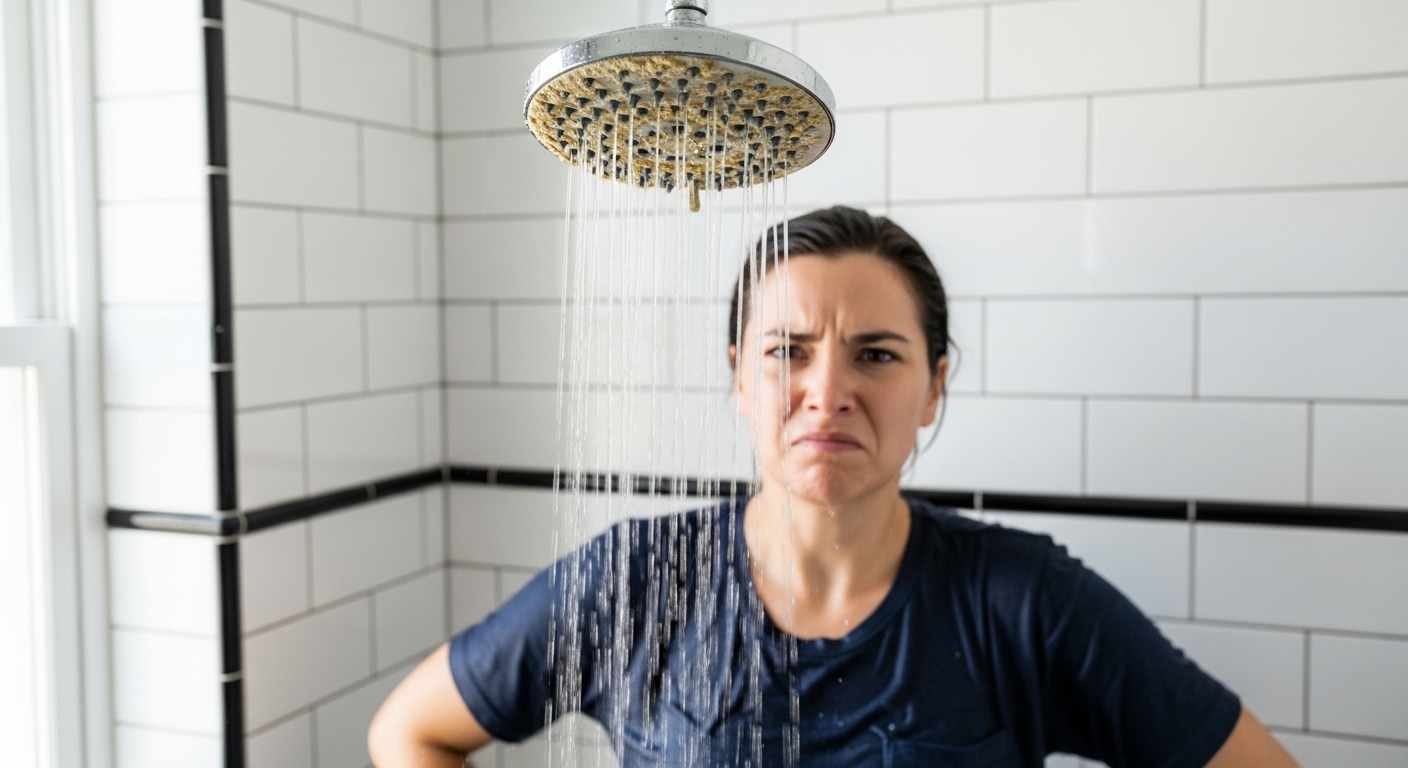
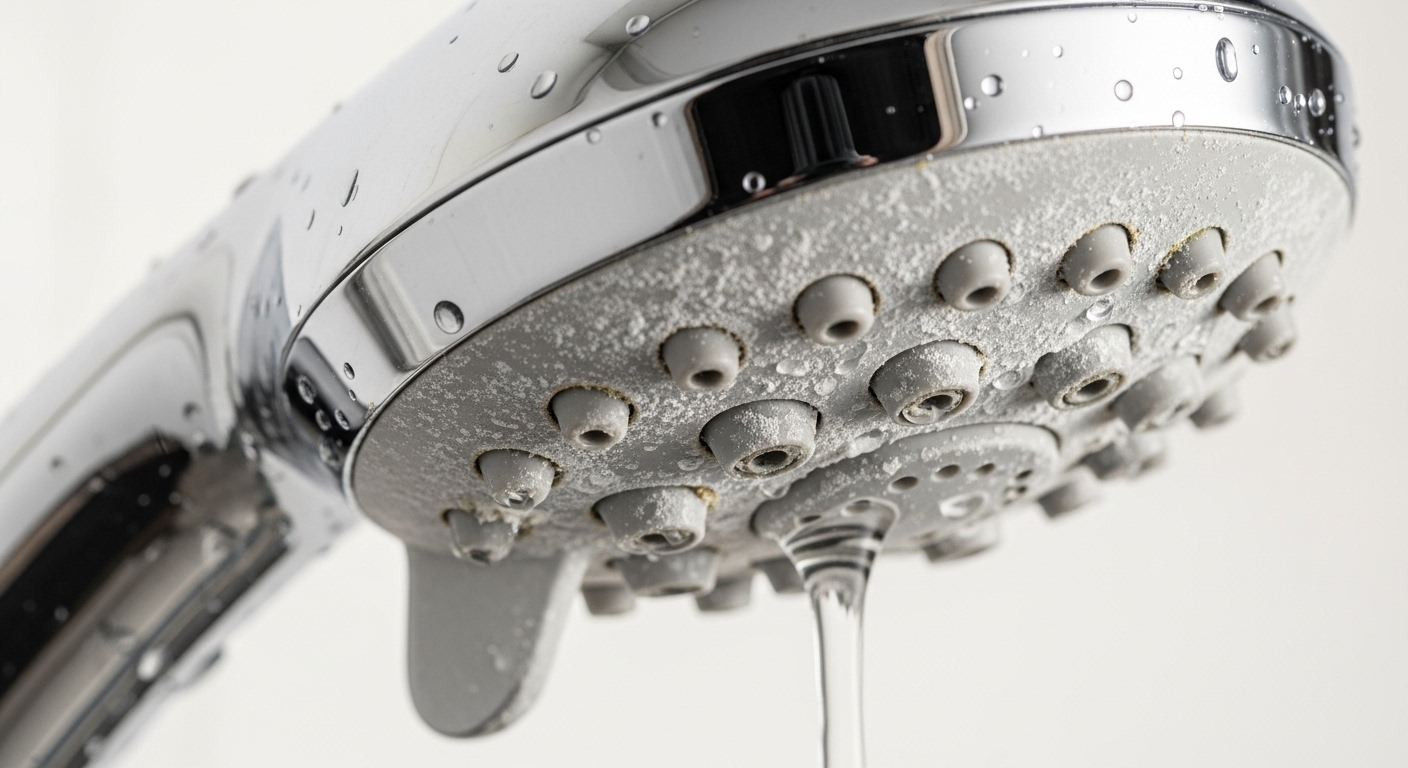
Cut down on mineral buildup and don’t over-torque the handle — those two habits prevent most repeat leaks. Hard water is the number-one killer of cartridges and seals; the calcium and magnesium scale scratch the smooth surfaces that create the seal. A few maintenance habits:
- Unscrew and soak the aerator in white vinegar every few months to clear scale and keep flow strong.
- Don’t crank the handle shut. Ceramic-disc cartridges seal with a light touch; forcing them wears the discs faster.
- Use silicone grease, not oil-based products, whenever you service seals.
- Consider a whole-home or under-sink softener/filter if you’re on very hard water — it protects every fixture, not just this one.
- Fix drips early. A minor drip becomes a scored valve seat if you ignore it for months.
Done consistently, this maintenance can double the life of a cartridge. It’s the difference between a faucet that gets serviced once a decade and one you’re fighting with every spring.
Author note & why you can trust this guide
This guide was written by the fixtures team at aleashafaucet, where we design, test, and sell kitchen and bathroom faucets full-time. We’ve walked thousands of customers through leak repairs on their own faucets, and every step here reflects the real failure patterns we see in returns and warranty claims — cartridges and O-rings, overwhelmingly, not exotic problems.
A note on standards: quality kitchen faucets sold in the U.S. are certified to NSF/ANSI 61 and 372 (lead-free “safe drinking water” compliance) and typically tested to ASME A112.18.1 performance standards. Reputable brands back their cartridges with limited lifetime warranties — which means if your drip is a failed cartridge, your first call should be to the manufacturer for a free replacement part before you spend a dime. Always confirm your specific model’s warranty terms before starting a repair, since disassembly generally won’t void a parts warranty but is worth checking.
FAQ
Can I fix a leaking kitchen faucet without turning off the water main?
Yes — you almost never need the main. Every kitchen sink has two angle-stop shutoff valves on the supply lines under the cabinet. Turn both clockwise until they stop, open the faucet to confirm the water’s off, and work from there. Only shut off the house main if those under-sink valves are seized or leaking themselves.
Why does my kitchen faucet still drip after I replaced the cartridge?
Usually one of three things: the new cartridge is the wrong model, it wasn’t seated fully or was installed rotated 180°, or the valve seat inside the faucet body is scored from years of hard water. Re-check the model number and seating first. If those are correct and it still drips, the valve body is likely damaged, which means it’s time to replace the faucet.
Is a dripping kitchen faucet actually a big deal, or can I ignore it?
Don’t ignore it. A faucet dripping once per second wastes roughly 3,000+ gallons a year, and the constant moisture wears the valve seat so the cheap fix ($10 cartridge) turns into a full replacement. It also encourages limescale and can stain the sink. Fixing it early is the frugal move.
What’s the most common cause of a kitchen faucet leak?
A worn cartridge, by a wide margin, on single-handle faucets. The cartridge contains the moving seals that mix and shut off your water, and it simply wears out with use — faster in hard-water areas. O-rings at the spout base are a close second for base leaks.
How long does it take a beginner to fix a leaking kitchen faucet?
Plan on 30 to 60 minutes for a first-timer doing a cartridge or O-ring swap, plus a trip to buy the right part. The actual work is quick; the time goes into diagnosing the leak correctly and matching the replacement part. Take photos as you disassemble and it goes much faster.