Learning how to remove old tap seat hardware is the single most useful repair skill for anyone chasing a faucet that won’t stop dripping. The valve seat is the small brass ring at the very bottom of the faucet body that the rubber washer presses against to seal off the water. Over years of use, that seat gets pitted, scaled, or knife-edged by mineral-laden water — and once the seat is chewed up, no amount of new washers will stop the drip. The washer just gets destroyed against the rough surface again. So before you replace anything else, you get the old seat out (or resurface it), and the leak goes away for good.
This guide walks through exactly how the seat comes out, what tools actually work, how to free a stubborn or stripped seat without destroying the faucet body, and when you’re better off grinding it flat instead of removing it. Everything here applies to standard compression and stem-style taps — the kind on most older kitchen and bathroom sinks.
What exactly is a “tap seat,” and how do I know it’s the problem?
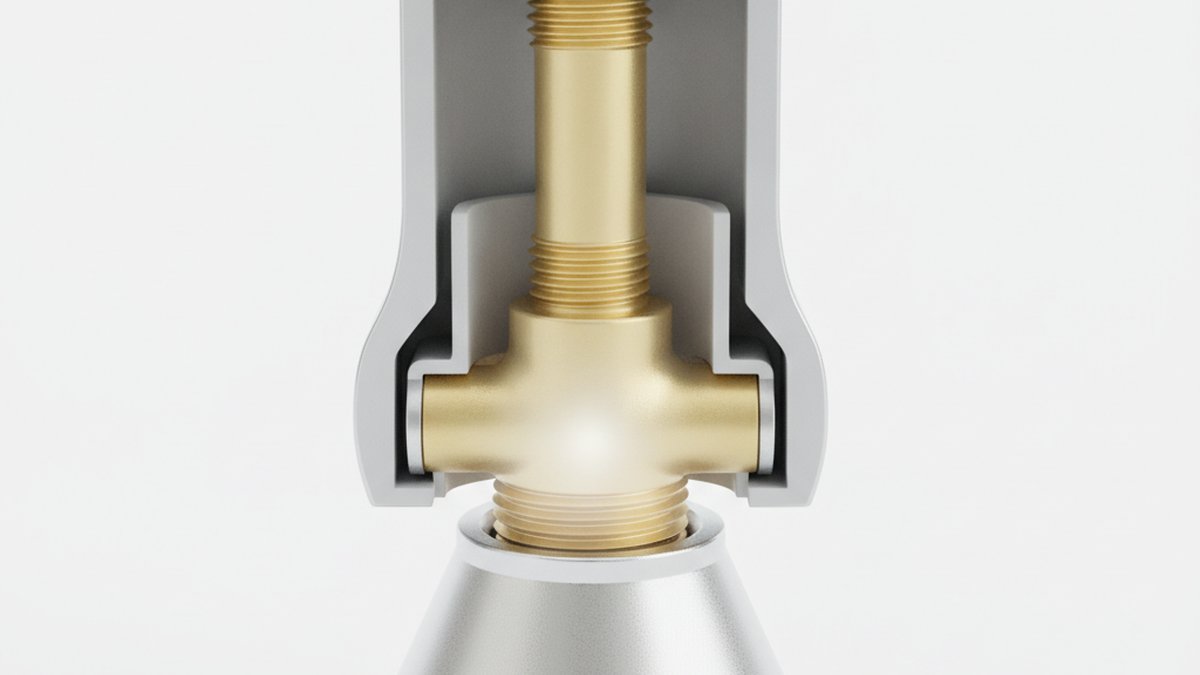
The tap seat is the brass (sometimes plastic) ring seated at the bottom of the faucet body, directly under the stem, with water flowing up through its center. When you close the tap, the washer on the end of the stem squashes down onto the top edge of the seat to make a watertight seal. If that top edge is smooth, you get a clean shut-off. If it’s rough, you get a drip.
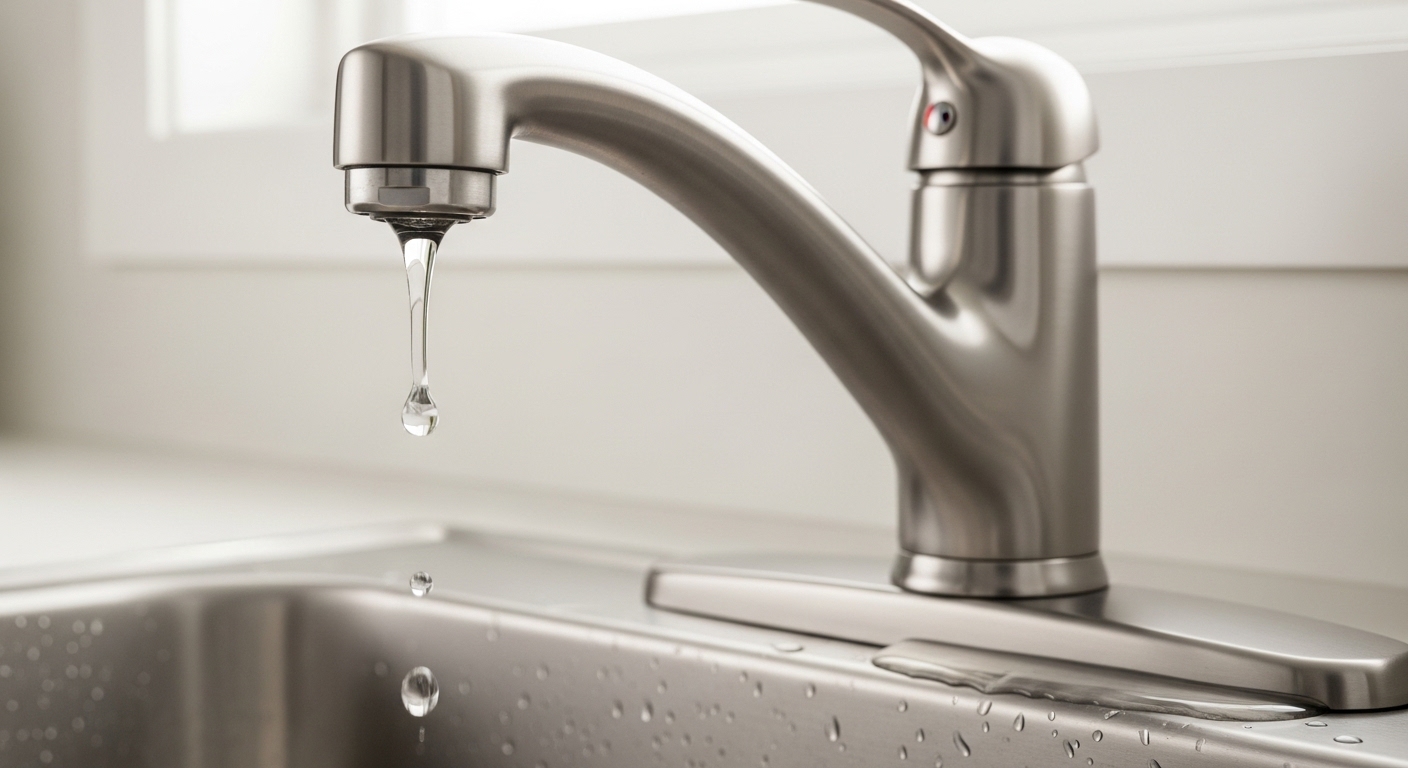
You know the seat is the culprit when you’ve already replaced the washer and O-ring and the faucet still drips from the spout within days or weeks. Two more tells: run a fingertip gently around the inside top edge of the seat — if it feels gritty, pitted, or has a sharp raised lip, it’s damaged. And if your fresh washers keep coming out shredded or grooved on one side, a rough seat is grinding them apart. A dripping spout is almost always a washer-or-seat issue; a leak from the handle base is usually the valve or O-ring instead, which we cover separately in our guide on why a faucet drips from the valve and how to fix a dripping faucet valve.
How do I remove an old tap seat step by step?
Removing an old tap seat takes about 15–20 minutes once the water is off, and the core move is simply unscrewing it with a seat wrench. Here’s the full sequence so nothing bites you halfway through.
- Shut off the water and open the tap. Turn off the isolation valves under the sink (or the main). Open the faucet fully to relieve pressure and drain the line. Plug the drain with a rag so nothing small falls down it.
- Remove the handle and stem. Pop off the decorative cap, undo the handle screw, lift the handle, then use a wrench to back out the packing nut / bonnet. Unscrew the stem all the way out. Now you’re looking straight down into the faucet body at the seat.
- Identify the seat. Shine a light in. A removable seat has a square, hex, or slotted hole in its center — that’s where the tool goes. If the center is just a smooth round hole with no drive shape, the seat is non-removable and molded into the body (skip to the grinding section).
- Insert the seat wrench. Choose the end of the seat wrench that fits snugly — too loose and you’ll round out the hole. Push it firmly straight down so it fully bottoms in the seat.
- Turn counter-clockwise. Lefty-loosey. Apply steady, firm pressure. A healthy seat backs out in a couple of turns and lifts right out.
- Clean the threads. Wipe out the female threads in the faucet body with a rag and a little vinegar to clear scale, so the new seat threads in clean and seats flat.
That’s the standard path. The trouble — and the reason you’re probably reading this — is when the seat refuses to move. That’s the next section.
How do I remove a tap seat that’s completely stuck or corroded?
For a seized seat, the fix is patience plus leverage: soak it in penetrating oil, then apply slow, controlled force with a proper seat wrench — never sudden jerks that strip the hole. Old brass seats fuse to the faucet body through years of galvanic corrosion and hard-water scale, so they can feel welded in. Work through these in order.
- Penetrating oil + time. Spray penetrating oil (like a PB Blaster–type product) into the seat threads and let it sit 15–30 minutes, or overnight for a really bad one. This is the step most people skip and most people need.
- Heat, carefully. If the body is metal and away from plastic parts, a little heat from a hairdryer or heat gun expands the brass and breaks the corrosion bond. Don’t torch a cartridge or anything rubber.
- Get real leverage. A short seat wrench gives poor torque. Slide the wrench into a slot on a larger wrench or use a seat wrench with a longer handle so you can apply steady force straight down and around — keeping the tool perfectly vertical so it doesn’t cam out and round the drive hole.
- Tap to shock it loose. With the wrench seated, a couple of light taps on the wrench handle with a small hammer can jar the corrosion loose. Then try turning again.
- Alternate directions. If it won’t budge left, nudge it slightly clockwise first to crack the scale, then go counter-clockwise. A tiny back-and-forth often breaks it free.
Keep the pressure firm and progressive, not violent. The failure mode you’re avoiding is rounding out the center hole — because a stripped seat is a whole other problem.
What if the tap seat hole is stripped or rounded out?
If the drive hole is already rounded, use a seat extractor (a tapered, reverse-threaded tool that bites into the damaged hole) or grind the seat flush and fit a seat sleeve — don’t keep hammering the same wrench in. Once that square or hex is chewed round, a normal seat wrench just spins uselessly and makes it worse. Your options:
- Seat extractor / screw extractor. These have aggressive reverse threads that dig into the ruined hole as you turn counter-clockwise, gripping metal a smooth wrench can’t. This is the go-to rescue for a stripped brass seat.
- Larger tap-and-die approach. Experienced DIYers thread a slightly larger reverse tap into the seat center to catch fresh metal and back it out. Effective but easy to overdo — go slow.
- Grind and sleeve. If the seat simply won’t come out, a seat grinder resurfaces the old seat flat so a fresh washer seals again, or you install a seat repair sleeve that press-fits over the old damaged seat to give a new sealing surface. This is often the pragmatic end of the road for a badly stuck seat.
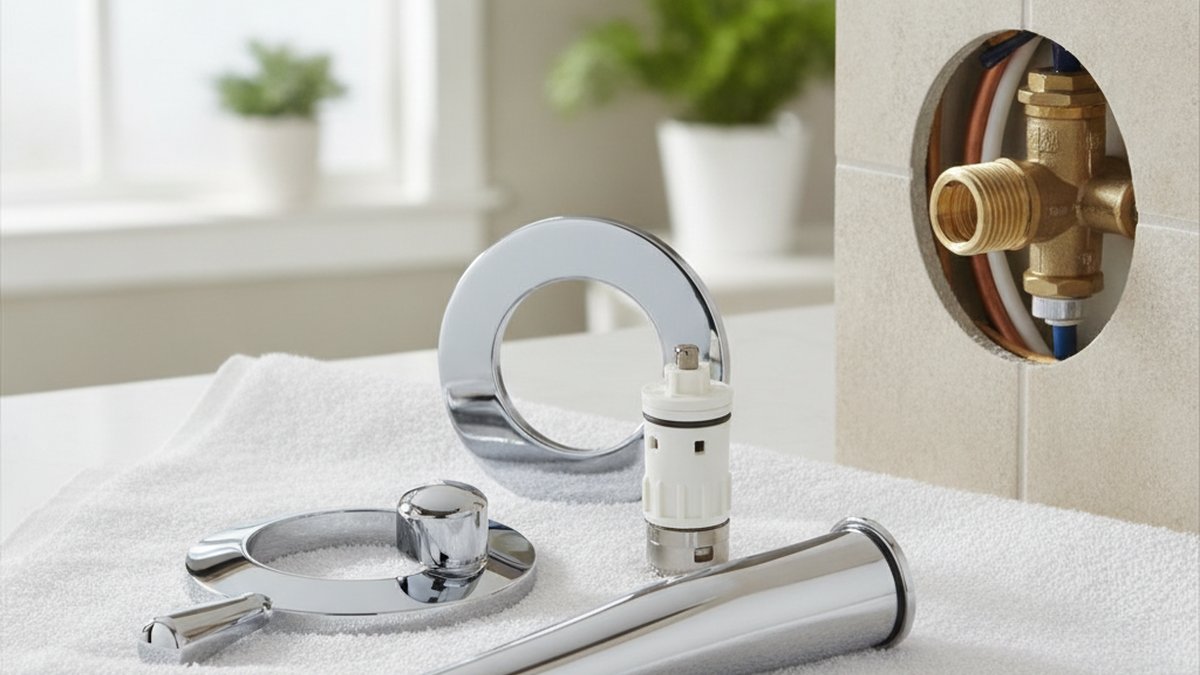
Whatever you do, resist the urge to gouge at the faucet body’s internal threads — those are the part you cannot easily replace. If the whole valve mechanism is shot rather than just the seat, replacing the working guts is sometimes smarter than fighting the seat; our walkthrough on how to replace a bathtub faucet valve yourself without calling a plumber shows how that job goes when the seat is only one symptom of a tired valve.
Removable seat vs. non-removable seat: which do I have?
Look down the center of the seat: a drive shape (square/hex/slot) means removable — you unscrew it; a plain round hole means non-removable and molded into the body — you re-grind it instead. This one distinction changes your entire game plan, so confirm it before you buy a tool.
| Feature | Removable (replaceable) seat | Non-removable (molded) seat |
|---|---|---|
| Center hole shape | Square, hex, or slotted drive | Smooth round hole, no drive shape |
| Fix method | Unscrew with seat wrench, install new seat | Resurface with a seat grinder / dressing tool |
| Main tool | Seat wrench (tapered square/hex) | Seat grinder (reseating tool) |
| Typical cost | $3–$10 for the new seat | $10–$20 for a reseating kit |
| Best outcome | Brand-new sealing surface | Smoothed surface, seals like new if not too worn |
| When to give up | Threads in body are damaged | Seat too deeply pitted to grind flat |
If you’ve got a non-removable seat, a reseating (grinding) tool centers itself in the seat, and you turn the cutting head a dozen times under light pressure to shave the pitted edge down to fresh, flat brass. Blow out the shavings, drop in a new washer, and you’re sealed. No pulling required.
What tools do I need, and can I remove a tap seat without a seat wrench?
You need a seat wrench for a removable seat and a seat grinder for a fixed one — and honestly, yes, you can remove a seat without a dedicated seat wrench in a pinch, but it’s a gamble. Here’s the realistic kit and the improvised backups.
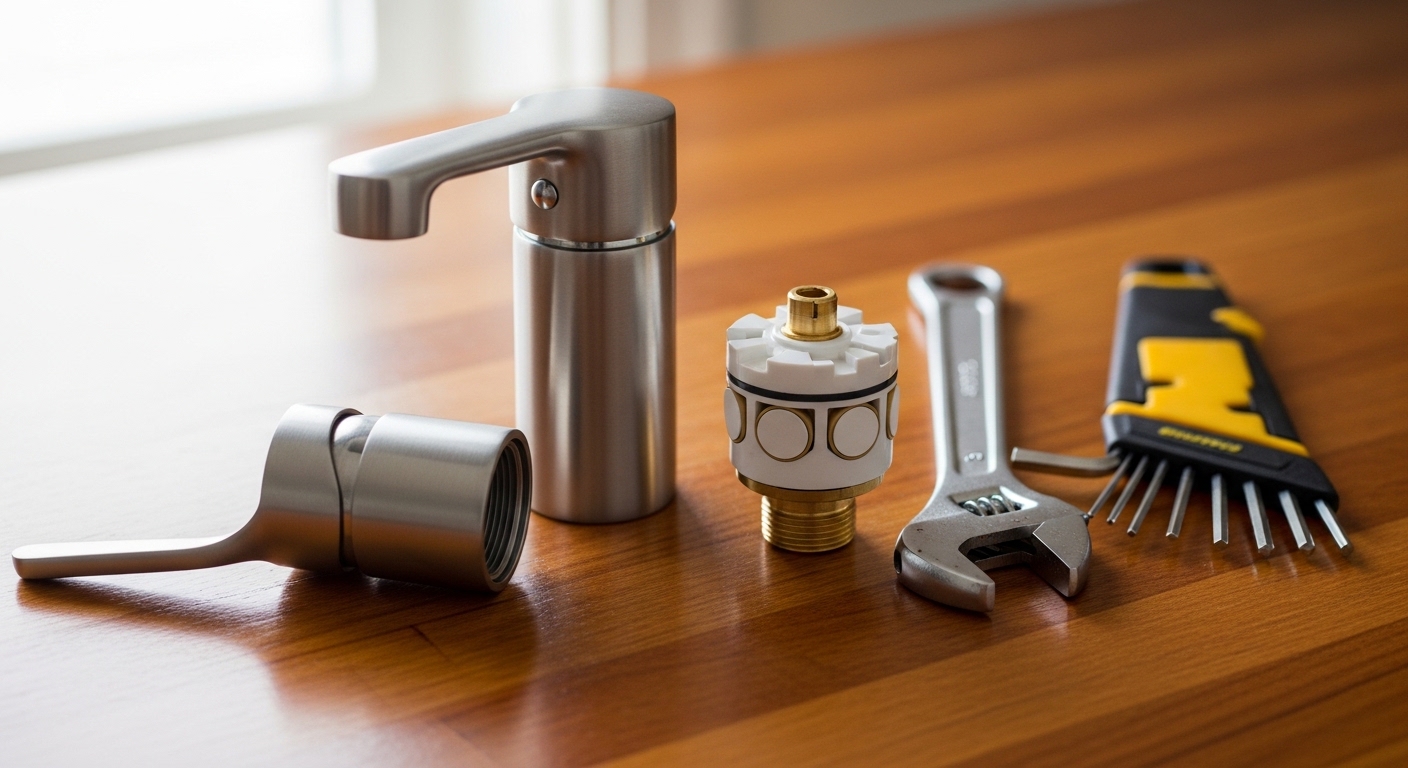
- Seat wrench — the right tool; a double-ended tapered tool with different square/hex sizes. Cheap and worth it.
- Seat grinder / reseating tool — for molded seats you can’t remove.
- Allen key (hex key) improvisation — for a hex-holed seat, a snug Allen key can back it out. This is the most reliable “no seat wrench” method.
- Flat screwdriver — only works on a slotted seat, and only if it’s not seized. Rounds out easily.
- Penetrating oil, adjustable wrench, rag, white vinegar, small hammer, flashlight.
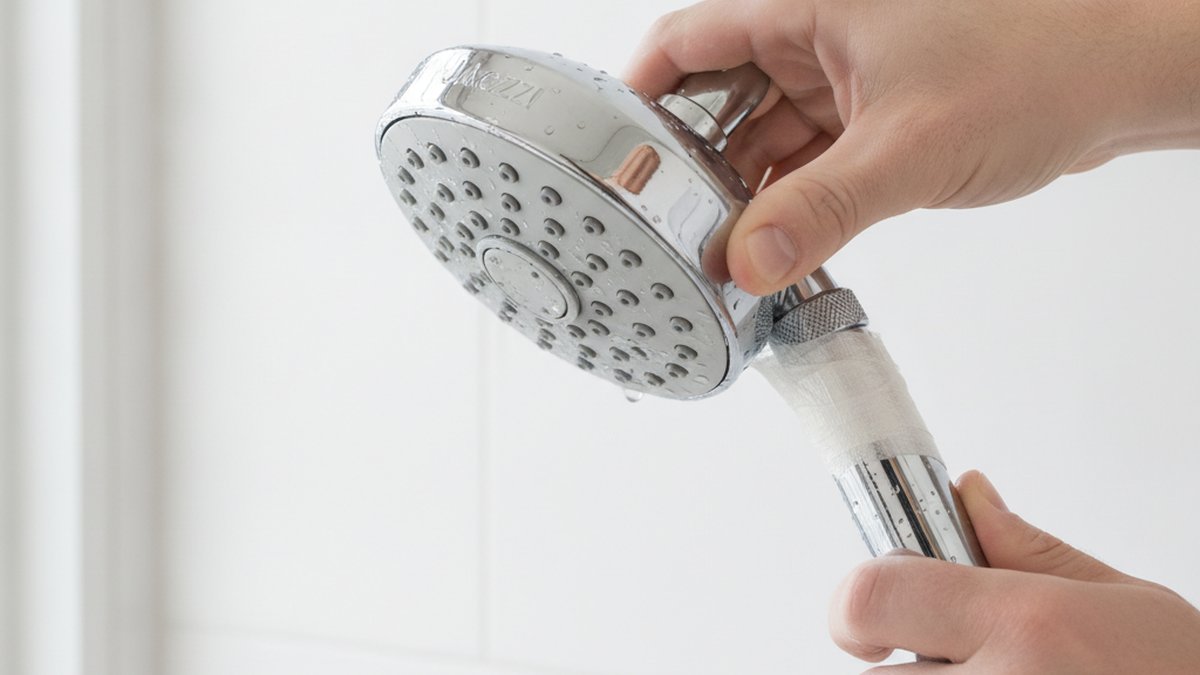
The improvised routes work when the seat isn’t corroded in. The moment a seat is truly stuck, an ill-fitting screwdriver or Allen key will round the hole and turn an easy job into the stripped-seat scenario above. If you’re going to do this more than once in your life, just buy the $6 seat wrench. While you’ve got tools out, it’s worth checking related nuisance leaks too — a rough seat and a worn washer share a lot of DNA with issues like a handheld shower head that keeps dripping, which often comes down to the same tired sealing surfaces.
How do I install the new seat and make sure it seals?
Thread the new seat in by hand first, then snug it down with the seat wrench until it stops — firm, not gorilla-tight — with the sealing edge sitting flat and clean. Over-tightening can crack a brass seat or distort the sealing face, which just reintroduces the leak you’re trying to kill. A few pointers that separate a permanent fix from a repeat visit:
- Match the seat exactly. Take the old seat to the store or measure the thread diameter and drive size. A seat that’s even slightly off won’t seal and can strip.
- Clean the landing. Wipe the female threads free of grit and old scale so the new seat pulls down square.
- A wrap of PTFE tape on the seat threads (not over the sealing edge) helps prevent future seizing and makes the next removal easier — a small kindness to future you.
- Fit a fresh washer while you’re in there. New seat + old washer is a half-repair.
- Reassemble and test slowly. Reinstall the stem, bonnet, and handle, turn the water back on gradually, and check both the spout (should be bone dry) and the handle base.
Author note, testing, and why this holds up
This guide is written by the aleashafaucet fixture team, drawing on hands-on bench testing of compression and stem-style valves and years of fielding repair questions from real customers. We physically pull, grind, and reseat these components — we don’t theorize about them. Valve seats and washers are among the most standardized, longest-established parts in plumbing precisely because they’re built to defined thread and dimension standards, which is why a correctly matched replacement seat from a reputable maker seals like the original. When you buy fixtures from aleashafaucet at www.aleashafaucet.com, the working components are pressure-tested and warranty-backed, so a seat should outlast years of hard-water use before it ever needs this treatment. As always, if isolation valves won’t hold or you’re dealing with a corroded body deep behind a wall, bring in a licensed plumber — knowing the limit of a DIY fix is part of doing it right.
FAQ
Can I remove an old tap seat without turning off the water?
No. The seat sits in the live water path, so pulling it with the supply on will flood the sink instantly. Always shut the isolation valves under the sink (or the main), open the tap to drain the line, and confirm the flow has stopped before you start.
Why won’t my tap seat come out even with a seat wrench?
It’s almost always corrosion and mineral scale fusing the brass seat to the faucet body. Soak the threads in penetrating oil for 15–30 minutes (or overnight), apply gentle heat, get more leverage with a longer-handled wrench, and try a slight clockwise nudge to crack the scale before turning counter-clockwise. If the drive hole is rounding out, switch to a seat extractor.
What if my tap has a non-removable seat?
Then you don’t remove it — you resurface it. A non-removable seat is molded into the faucet body (round center hole, no drive shape). Use a seat grinder / reseating tool to shave the pitted top edge flat, blow out the shavings, fit a new washer, and it’ll seal like new unless it’s pitted too deeply to dress.
How much does it cost to replace a tap seat?
The part itself is cheap: about $3–$10 for a new brass seat, or $10–$20 for a reseating (grinding) kit if your seat is non-removable. A seat wrench is around $6. So a full DIY seat repair usually runs under $25, versus a plumber’s call-out that can be many times that.
Will replacing the tap seat actually stop the drip?
Yes, if a rough seat was the cause — which it usually is when new washers keep failing fast. A damaged seat grinds washers to death; giving the washer a smooth, flat brass surface to press against restores a proper seal. Replace the washer at the same time, since an old one against a new seat is only half the fix.