Learning how to replace a bathtub faucet valve is one of those repairs that sounds intimidating and turns out to be very doable for most homeowners. In the vast majority of cases, the “valve” that’s failing isn’t the whole brass body buried in the wall — it’s the cartridge or stem that slides inside that body. That distinction is everything: swapping a cartridge is a hand-tool job you finish before lunch, while replacing the buried valve body means opening drywall and sweating copper. This guide walks you through both, so you know exactly which one you’re actually facing before you buy a single part.
At aleashafaucet, we’ve spent years helping customers match replacement tub valves and trim across dozens of brands, and the number one reason a “simple” repair goes sideways is buying the wrong internal part. So we’ll spend real time on identifying your valve correctly — because that’s where the money and frustration live.
What Exactly Is the “Valve” — the Cartridge or the Brass Body in the Wall?
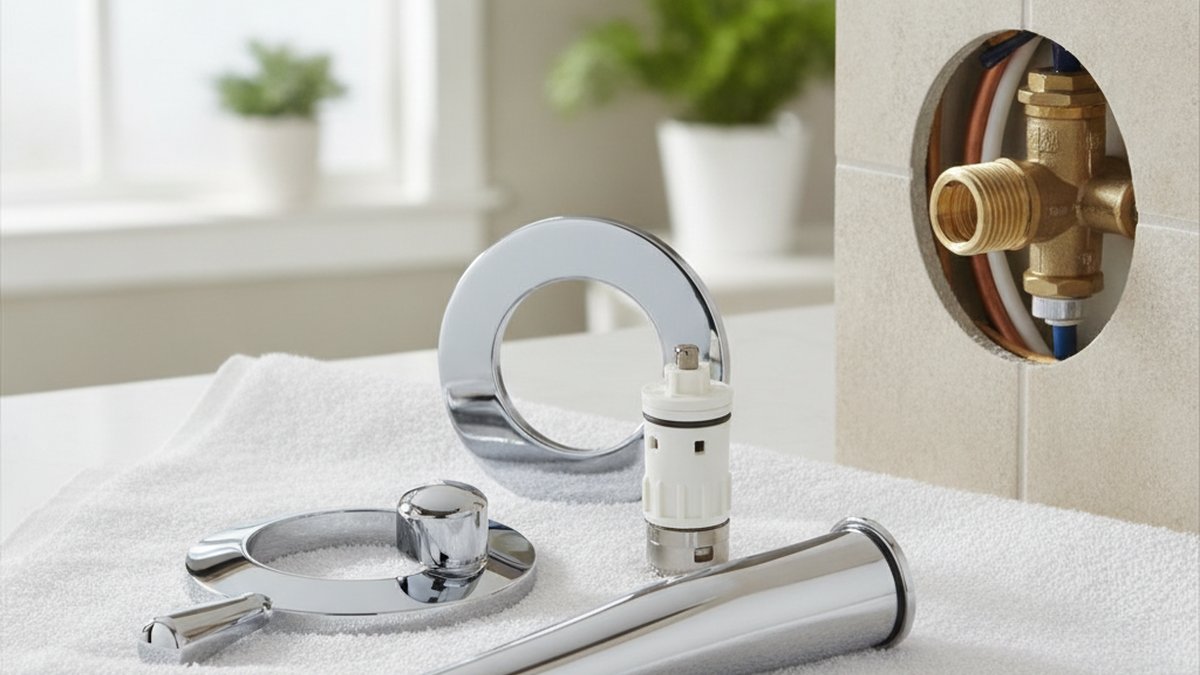
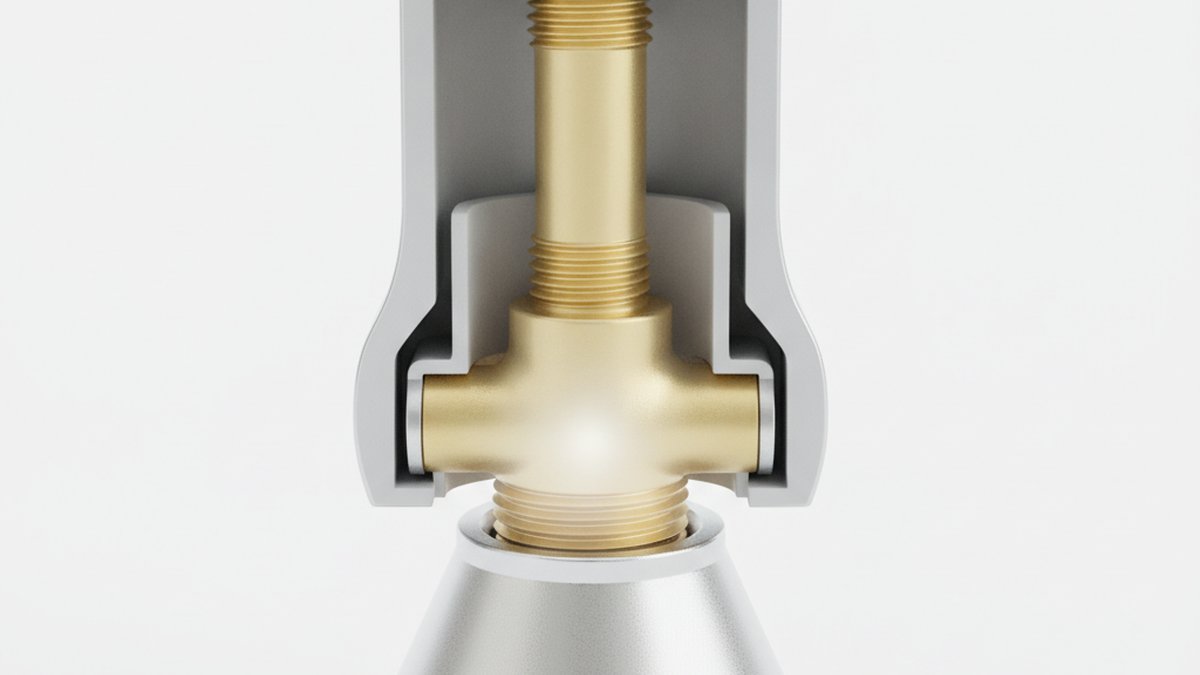
The part you almost certainly need to replace is the cartridge (or stem), not the valve body. The valve body is the fixed brass casting connected to your hot and cold pipes inside the wall; it rarely fails. The cartridge is the removable insert inside it that actually controls temperature and flow — and that’s the part that wears out, drips, or gets stiff.
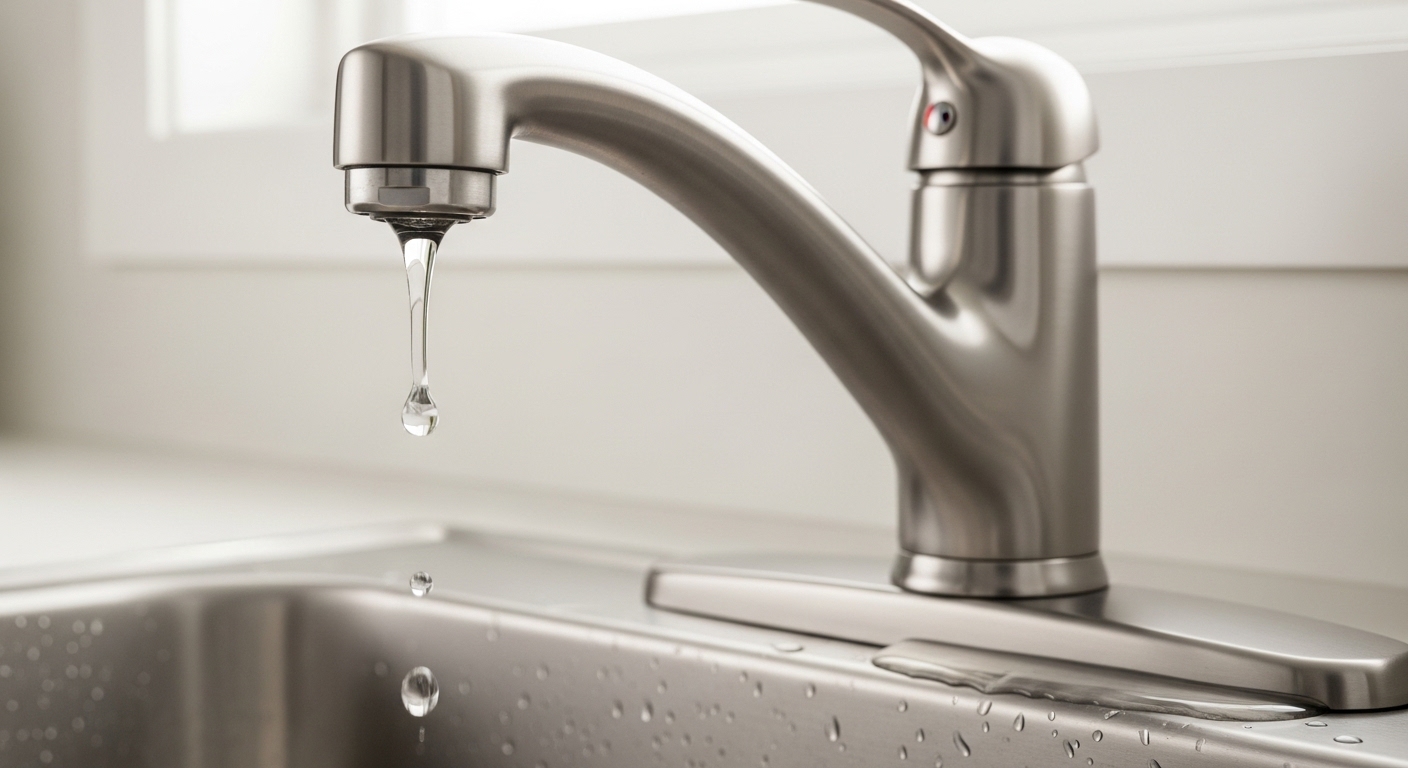
Here’s the plain-language version. When you turn your tub handle, you’re rotating or pulling a cartridge that opens and closes ports for hot and cold water. Inside that cartridge are rubber seals, O-rings, and sometimes a temperature-limiting mechanism. Those wear out. When they do, you get drips, screeching, temperature swings, or a handle that won’t fully shut off. Replacing the cartridge restores all of that — and you never touch the pipes.
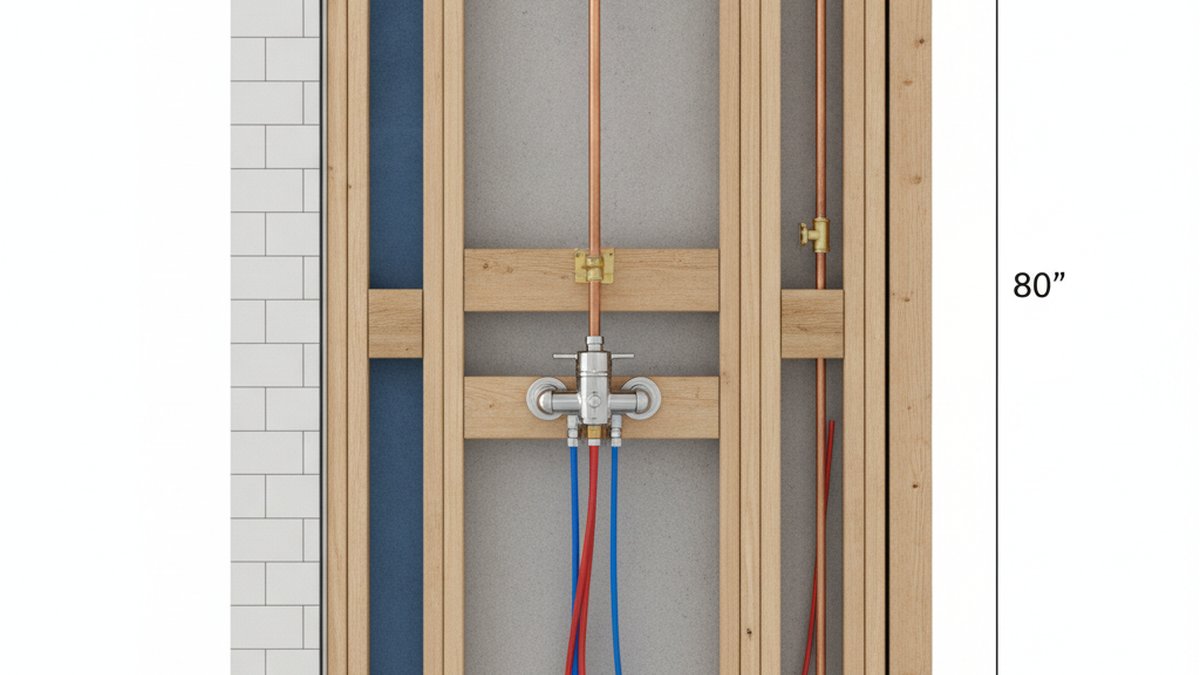
You only replace the actual valve body when it’s physically cracked, badly corroded, leaking from the solder joints, or you’re upgrading from an old two- or three-handle setup to a modern single-handle pressure-balanced valve. That’s a bigger project that involves cutting into the wall. If your problem is dripping or hard-to-turn handles, you are looking at a cartridge swap. If you’re specifically chasing a leak at the handle, our guide on why a faucet drips from the valve and how to fix a dripping faucet valve yourself pairs perfectly with this one.
How Do I Know Which Bathtub Valve Cartridge I Actually Need to Buy?
Identify your valve by the brand stamped on the trim and the number of handles, then match the exact cartridge model — never buy a “universal” cartridge and hope it fits. Tub valve cartridges are brand- and often series-specific, and a part that’s 2mm off won’t seat correctly.
Do this before buying anything:
- Count your handles. One handle usually means a single pressure-balanced cartridge (Moen 1222, Delta RP46074, Kohler Rite-Temp, Pfister, etc.). Two or three handles usually mean individual hot/cold stems or compression valves.
- Find the brand. Check the handle, the escutcheon (the decorative plate), or the tub spout for a logo or stamped name. No logo? Photograph the trim and the exposed cartridge stem once you pull the handle.
- Pull the old part first when possible. The surest match is the physical cartridge in your hand. Bring it to the store or compare it to product photos and length measurements online.
- Note the model or series number. Many valves have a tiny part number on the cartridge or inside the escutcheon.
If you’re on a two- or three-handle system and each stem is a slightly different repair, the logic is nearly identical to swapping a kitchen cartridge — our walkthrough on how to replace a kitchen tap cartridge yourself covers the same stem-and-clip mechanics in close-up if you want a second visual reference.
What Tools and Parts Do I Need Before I Start?
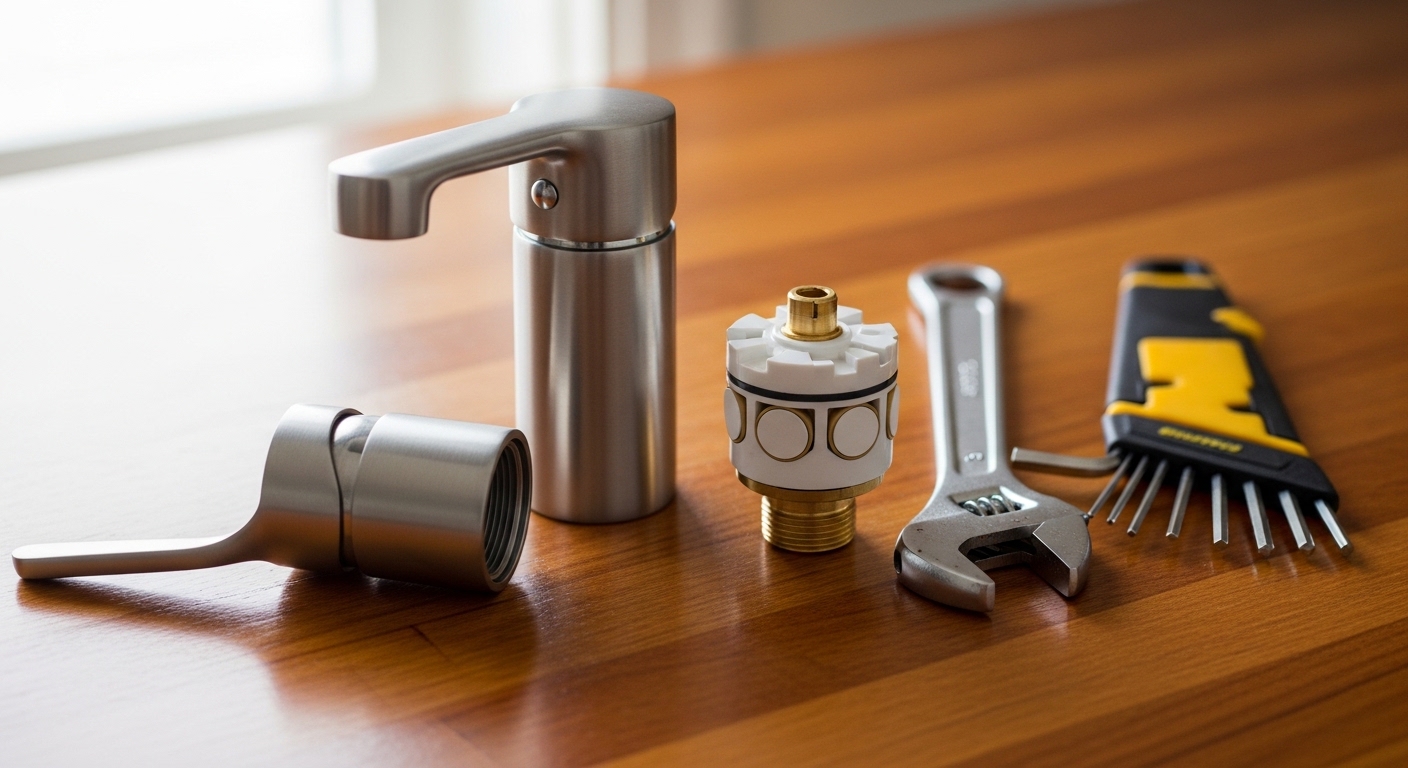
You need the correct replacement cartridge, a few basic hand tools, and plumber’s grease — no torch and no pipe fittings for a standard cartridge swap. Gather everything before you shut the water off so you’re not running to the store mid-project with an open wall of pipe.
Here’s the realistic shopping and tool list:
- Exact-match replacement cartridge or valve stem
- Cartridge puller (brand-specific, ~$15 — cheap insurance for stuck cartridges)
- Adjustable wrench and channel-lock pliers
- Phillips and flathead screwdrivers, plus an Allen/hex key set (many handles use set screws)
- Needle-nose pliers (to remove the retaining clip)
- Silicone plumber’s grease (never petroleum-based — it destroys rubber O-rings)
- White vinegar and an old toothbrush for scale buildup
- A towel and a bucket, and a flashlight or headlamp
Expect to spend $15–$60 on parts for a cartridge job. A full valve-body replacement with new trim can run $80–$250 in parts, and if you hire a plumber for the in-wall work, labor typically adds $150–$400 depending on wall access and your region.
How Do You Replace a Bathtub Faucet Valve Cartridge Step by Step?
Shut off the water, remove the handle and escutcheon, pull the retaining clip, extract the old cartridge, grease and insert the new one in the same orientation, then reassemble and test. Here’s the full sequence, in order.
- Shut off the water. Use the tub’s dedicated shutoffs if you have an access panel behind the wall. No panel? Shut off the main to the house. Then open the tub handle to relieve pressure and drain the line.
- Cover the drain. Set a rag over the tub drain so no screws or clips disappear down it. This one step saves a lot of grief.
- Remove the handle. Pop off the decorative cap if there is one, then remove the screw underneath (often a hex set screw). Pull the handle straight off.
- Remove the escutcheon. Unscrew or unclip the trim plate to expose the valve. Some sleeve/adapters unscrew by hand.
- Remove the retaining clip or bonnet nut. A small U-shaped brass or plastic clip usually holds the cartridge in place — lift it out with needle-nose pliers and don’t lose it. Some valves use a threaded bonnet nut instead; back it off with your wrench.
- Pull the old cartridge. Grip the stem with pliers and pull straight out. If it’s seized from scale, use the brand cartridge puller — twisting to break the corrosion bond, then pulling. Note the orientation (there’s usually a flat or tab that indicates hot/cold alignment) before it comes out.
- Clean the valve body. Wipe the inside, and scrub away mineral scale with vinegar and the toothbrush. A clean bore lets the new cartridge seat fully.
- Grease and insert the new cartridge. Wipe a thin film of silicone plumber’s grease on the O-rings, then push the new cartridge in with the exact same orientation as the old one. Getting hot/cold reversed is the classic mistake — match the tab.
- Reinstall the clip or bonnet nut. Seat the retaining clip fully; a half-seated clip lets the cartridge blow out under pressure.
- Reattach trim and handle. Escutcheon, then handle and set screw.
- Turn the water back on slowly and test. Open the main gradually, then run the tub. Check for drips at the handle, verify hot and cold are on the correct sides, and confirm the handle fully shuts off.
If hot and cold come out reversed, you simply pull the cartridge and rotate it 180 degrees — most single-handle cartridges are designed to flip. No need to redo the whole job.
Cartridge Swap vs. Full Valve Body Replacement: Which One Do You Need?
Choose a cartridge swap for drips, stiff handles, and temperature problems; choose a full valve body replacement only for cracked/corroded bodies, leaking solder joints, or upgrading from a dated multi-handle system to a modern single-handle valve. This table lays out the difference so you can decide in a minute.
| Factor | Cartridge / Stem Replacement | Full Valve Body Replacement |
|---|---|---|
| When it’s needed | Dripping, screeching, stiff handle, temperature swings | Cracked/corroded body, leaking pipe joints, layout upgrade |
| Open the wall? | No — all work is at the trim | Yes — cut drywall or tile for access |
| Plumbing skill | Beginner / DIY | Advanced — soldering or press fittings |
| Time | 45–90 minutes | Half to full day |
| Typical parts cost | $15–$60 | $80–$250 |
| Call a pro? | Rarely needed | Recommended unless you’re experienced |
The honest takeaway: about 9 out of 10 “my tub faucet is dripping” cases are cartridge jobs. Don’t let a plumber talk you into a full valve replacement without first confirming the body itself is damaged. If it’s just dripping, it’s almost always the cartridge.
Can You Replace a Bathtub Valve Without Opening the Wall?
Yes — a cartridge or stem replacement is done entirely from the front, so you never open the wall. You only need wall access when you’re replacing the brass valve body itself or when your home has no shutoff and you want to install one. That’s the whole appeal of the cartridge repair: everything happens through the hole where the trim already sits.
If you don’t have an access panel and you’re nervous about shutting off the whole house, add a small access panel behind the tub wall (in the adjoining closet or room) during your next project. It makes every future repair — this one included — dramatically easier. And if your repair is really about a leaking or mismatched tub spout rather than the valve, that’s a separate front-of-wall swap; our guide on the best black tub spout and whether it’ll match your faucet covers spout removal, thread types, and finish matching in detail. For spouts fed by exposed or wall-mounted plumbing, the wall mount faucet spout replacement walkthrough handles that variation.
Why Is My Tub Faucet Still Dripping After I Replaced the Cartridge?
If it still drips after a cartridge swap, the usual culprits are a wrong-size cartridge, a nicked O-ring during install, leftover scale on the seat inside the valve body, or a worn seal/spring set that lives in the body rather than the cartridge. Nine times out of ten it’s one of those four, and all are fixable without a plumber.
Run through this quick diagnostic:
- Wrong part: Double-check the cartridge model against your valve brand. A close-but-not-exact cartridge won’t seal.
- Damaged O-ring: If you forced the cartridge in dry, an O-ring may have torn. Pull it, inspect, re-grease, reinstall.
- Scale on the seat: Mineral buildup left inside the body keeps the seal from closing. Clean the bore thoroughly with vinegar.
- Seats and springs: Some valves (common on Delta-style bodies) have separate rubber seats and springs down in the body that also wear out — a cheap kit replaces them.
- Debris in the line: After shutting off the main, grit can lodge in the seal. Flush the line before reassembly.
If the drip is coming from the spout (not the handle) even with the handle fully off, that points squarely to the cartridge or seats-and-springs. A drip weeping from around the handle base usually means an O-ring or the bonnet seal. Matching the symptom to the location tells you where to look.
A Note on Safety, Standards, and Doing It Right
One expert tip worth its own line: buy a cartridge that meets ASME A112.18.1 / NSF 61 standards for potable-water contact and, for single-handle tubs/showers, confirm the valve is pressure-balancing (ASSE 1016) so a toilet flush elsewhere in the house can’t scald you. When you replace a cartridge, keep the same valve class — don’t downgrade a pressure-balanced valve to a plain mixing cartridge.
Reputable replacement cartridges and trim from established manufacturers carry limited lifetime warranties on the finish and function; hold onto your receipt and part number, because warranty replacements for a failed cartridge are frequently free from the brand. That’s another reason to buy the exact OEM-matched part rather than a generic knockoff.
FAQ
How much does it cost to replace a bathtub faucet valve?
A DIY cartridge replacement costs about $15–$60 in parts. A full in-wall valve body replacement runs $80–$250 in parts, and hiring a plumber typically adds $150–$400 in labor depending on wall access and your area. Most tub-drip repairs are the cheaper cartridge job.
How long does it take to replace a tub valve cartridge?
For a standard single-handle cartridge, plan on 45 to 90 minutes if you already have the correct part. A stuck, scaled-in cartridge that needs a puller can add 20–30 minutes. A full valve body replacement is a half-day to full-day project.
Do I have to turn off the water to the whole house?
Only if your tub doesn’t have dedicated shutoff valves behind an access panel. If you have an access panel with integral stops, you can isolate just the tub. Otherwise, shut off the main, then open the tub handle to drain the line before you start.
Can I use a universal cartridge for any bathtub faucet?
No. Tub valve cartridges are brand- and often series-specific in length, O-ring position, and stem shape. A “universal” cartridge rarely seats and seals correctly. Match your valve brand and model exactly, ideally by comparing the old part in hand.
Why is my hot and cold reversed after replacing the cartridge?
The new cartridge went in rotated 180 degrees. Shut off the water, pull the cartridge, flip it so the alignment tab matches the original orientation, and reinstall. Most single-handle cartridges are specifically designed to be flipped for this reason.
Should I replace the valve or just call a plumber?
If the problem is dripping, stiff handles, or temperature swings, a cartridge swap is well within reach for a confident DIYer and is worth trying yourself. Call a plumber if the brass valve body is cracked or corroded, the pipes are leaking, or you’re changing the valve layout — that’s in-wall work involving soldering.
The Bottom Line
Replacing a bathtub faucet valve is usually a cartridge swap, not a plumbing overhaul — no torch, no open wall, and a parts cost under $60. The whole game is correctly identifying your valve, buying the exact matching cartridge, and taking your time on shut-off, orientation, and clean reassembly. Get those right and you’ll fix a dripping, stiff, or temperature-jumping tub in about an hour, and you’ll know exactly when a job truly calls for a plumber instead.
Author note: This guide was written by the aleashafaucet fixtures team, who spend their days matching replacement cartridges, valves, and trim across major faucet brands for customers and installers. We test-fit and document the actual cartridge dimensions and standards behind the products we recommend so you buy the right part the first time. When in doubt, send us a photo of your trim and exposed stem — matching the exact valve is the single biggest factor in a repair that lasts.