Learning how to install a Jacuzzi shower head is genuinely one of the easiest bathroom upgrades you can do — most people finish it in under 15 minutes with a single adjustable wrench and a roll of plumber’s tape. Jacuzzi shower heads thread onto the same standard ½-inch NPT shower arm that virtually every American shower uses, so you’re not re-plumbing anything. You’re just swapping the head on the end of the existing arm. If you can screw a lid onto a jar, you can do this.
Below I’ll walk you through the exact steps, the two or three places people mess it up (almost always the tape or over-tightening), and how to handle a Jacuzzi handheld or wall-mount model specifically. I’ll also cover leaks, low pressure, and whether you need to touch your valve at all.
What tools and parts do you actually need to install a Jacuzzi shower head?
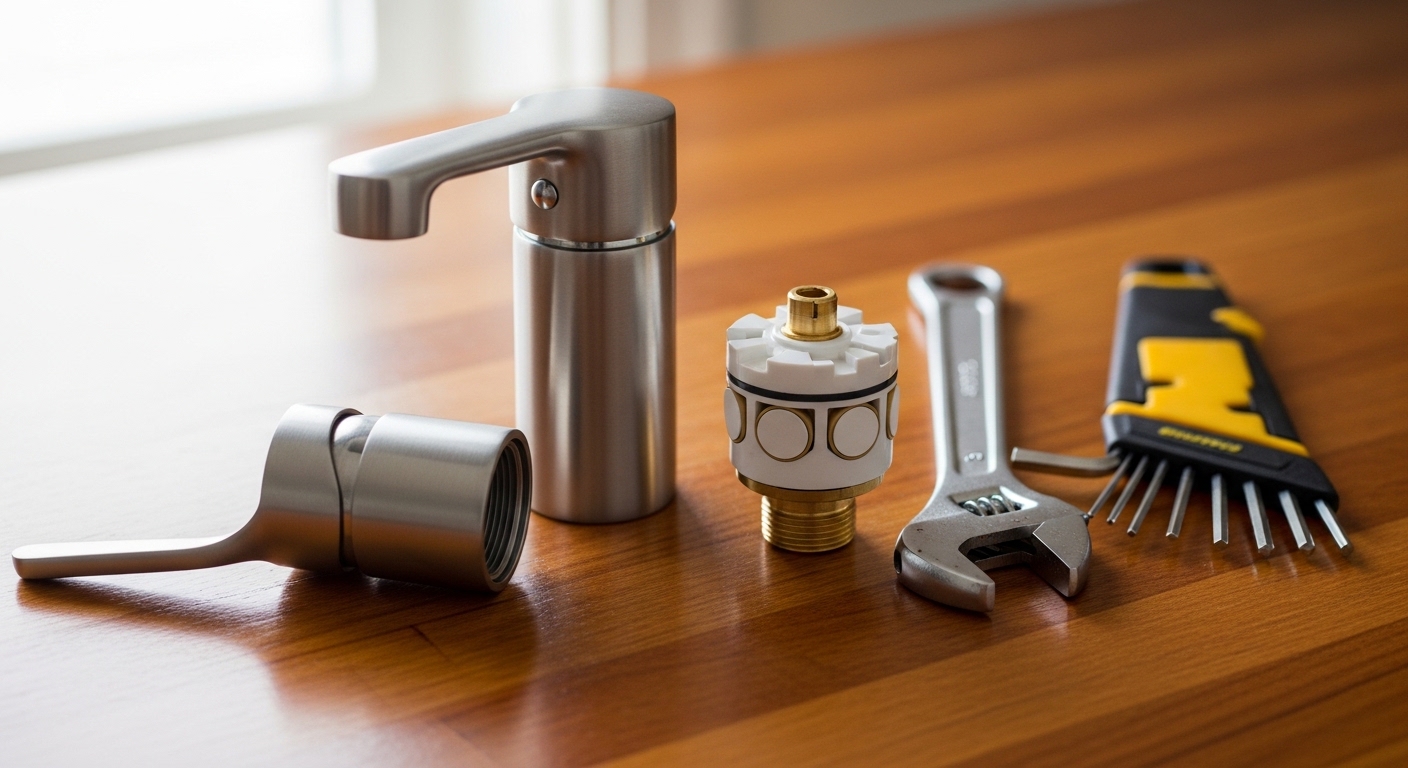
You need almost nothing: an adjustable wrench (or slip-joint pliers), a roll of PTFE plumber’s tape, a soft cloth, and the new Jacuzzi shower head. That’s the entire list for a standard wall-mount swap. If you’re installing a handheld model, you’ll also use the mounting bracket and hose that ship in the box.
Here’s the full kit so you’re not stopping halfway through:
- Adjustable wrench or pliers — to break loose a stuck old head and lightly snug the new one.
- PTFE plumber’s tape (Teflon tape) — the white thread-sealing tape. This is the single most important 50-cent item in the whole job.
- Soft cloth or rag — to pad the wrench jaws so you don’t scratch the finish, and to wipe old tape and gunk off the threads.
- Old toothbrush + white vinegar — optional, for cleaning corroded or mineral-crusted threads.
- Step stool — if your shower arm is high and you’re not.
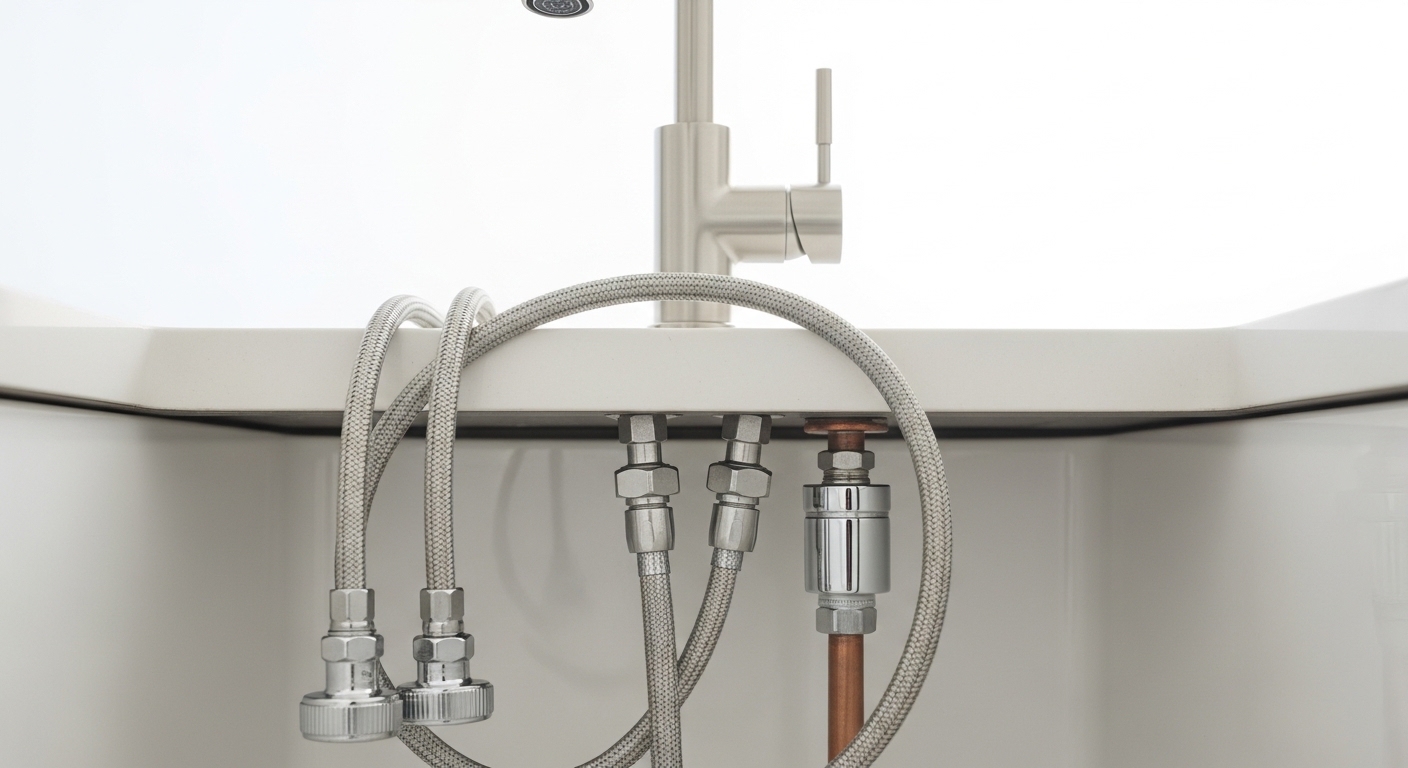
You do not need to turn off your home’s water supply for a simple head swap, because the shower valve already holds the water back when it’s off. You only shut off water if you’re going deeper into the wall — which a head swap isn’t.
How do you install a Jacuzzi shower head step by step?
Remove the old head, tape the threads, and thread the Jacuzzi head on — that’s the core of it. Here’s the full sequence so nothing surprises you.
- Remove the old shower head. Turn it counterclockwise (lefty-loosey) by hand. If it’s stuck, wrap a cloth around the connector nut and use your wrench. Hold the shower arm steady with your other hand so you don’t twist it inside the wall.
- Clean the shower arm threads. Peel off every scrap of old tape. Scrub away mineral crust and old thread sealant with the toothbrush and vinegar until the threads are clean and dry. New tape does not seal over old gunk.
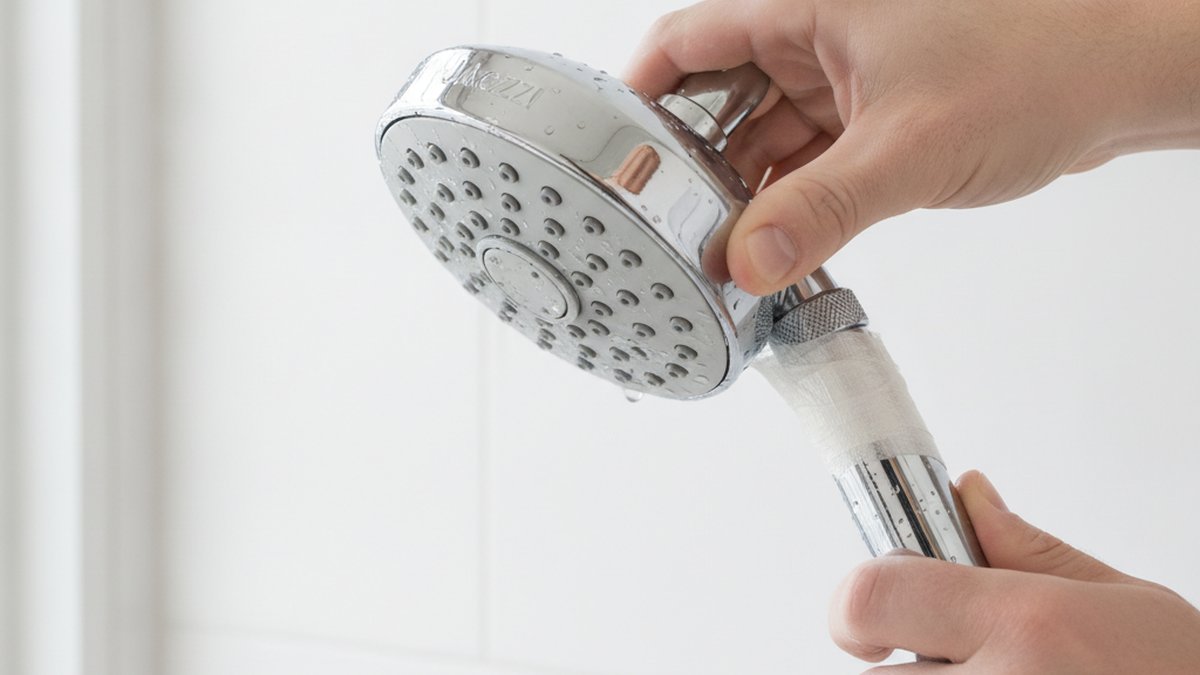
- Wrap the threads with PTFE tape. Wrap 2–3 times clockwise (the direction the head screws on) so the tape tightens instead of unraveling as you thread the head. Pull it snug into the thread grooves.
- Check the rubber washer. Look inside the Jacuzzi head’s connector nut — there should be a small rubber O-ring or washer. Make sure it’s seated flat. This washer, not the tape alone, does most of the sealing.
- Thread the Jacuzzi head on by hand. Turn clockwise until it’s finger-tight and stops turning easily. If it cross-threads or feels gritty, back it off and start over — never force it.
- Snug it with a wrench — gently. Wrap the nut in cloth and turn about a quarter to half turn past hand-tight. That’s it. Over-tightening cracks plastic nuts and crushes the washer, which actually causes leaks.
- Test it. Run the shower for 30–60 seconds and watch the threaded connection. A few drips? Snug it a hair more. Still dripping? Take it off and re-tape.
Which way do you wrap plumber’s tape so it doesn’t leak?
Wrap it clockwise when looking at the open end of the shower arm — the same direction the head screws on. If you wrap counterclockwise, threading the head on will bunch and unravel the tape, and you’ll get a leak. Two to three snug wraps is the sweet spot; more than four can prevent the head from tightening fully.
How do you install a Jacuzzi handheld shower head with a hose?
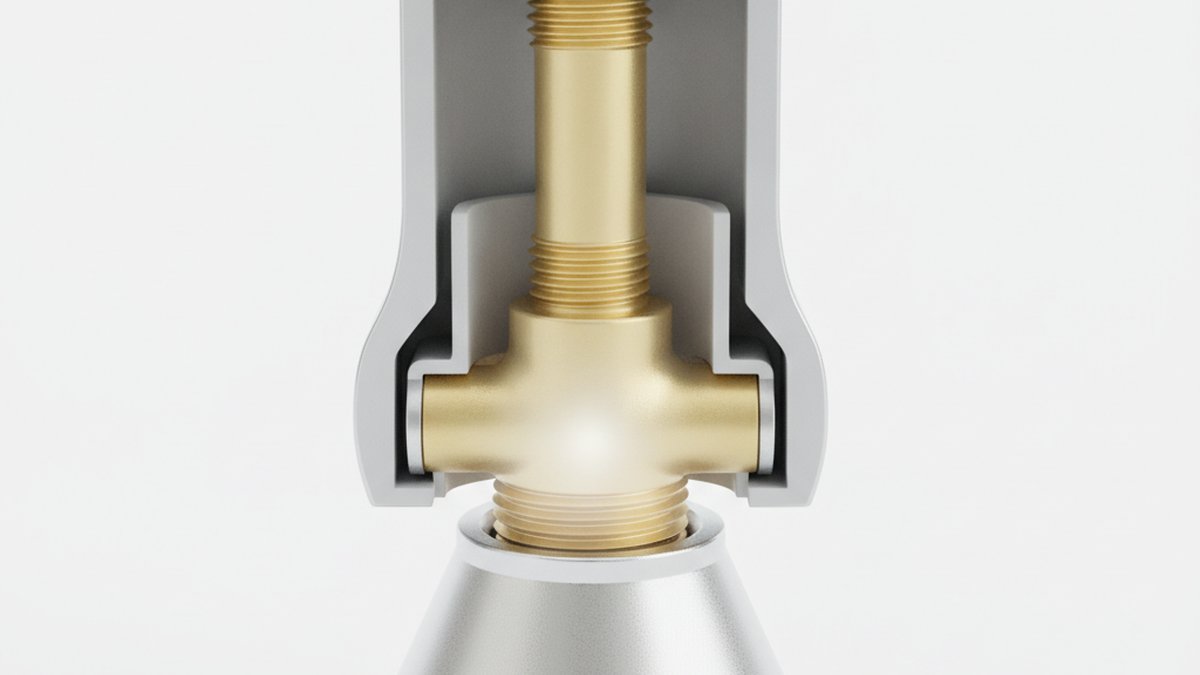
For a Jacuzzi handheld, you install a wall bracket (or slide bar) onto the shower arm first, connect the hose to that bracket, then connect the handheld wand to the other end of the hose. Both hose connections use rubber washers and thread on the same way as a fixed head. You still tape the shower-arm threads where the bracket screws on.
The order that trips people up: the hose has two ends. The end with the cone-shaped washer usually goes to the wand; the flat-washer end goes to the bracket outlet. Check the little instruction leaf in the box, but if you mix them up, the worst that happens is a drip at one joint — just swap them. Every threaded joint on a handheld gets a rubber washer, so you generally only need PTFE tape at the shower-arm-to-bracket connection, not at the rubber-sealed hose joints. Adding tape over a rubber washer joint can actually stop it sealing.
Once assembled, hang the wand in the bracket, run the water, and check all three connections (arm-to-bracket, bracket-to-hose, hose-to-wand). If your Jacuzzi handheld ever starts dripping from the wand itself down the line, that’s usually the internal seal or diverter, not your install — we cover the fix logic in our guide on why a handheld shower head drips and how to stop it for good.
Do you need to replace the shower arm or valve too?
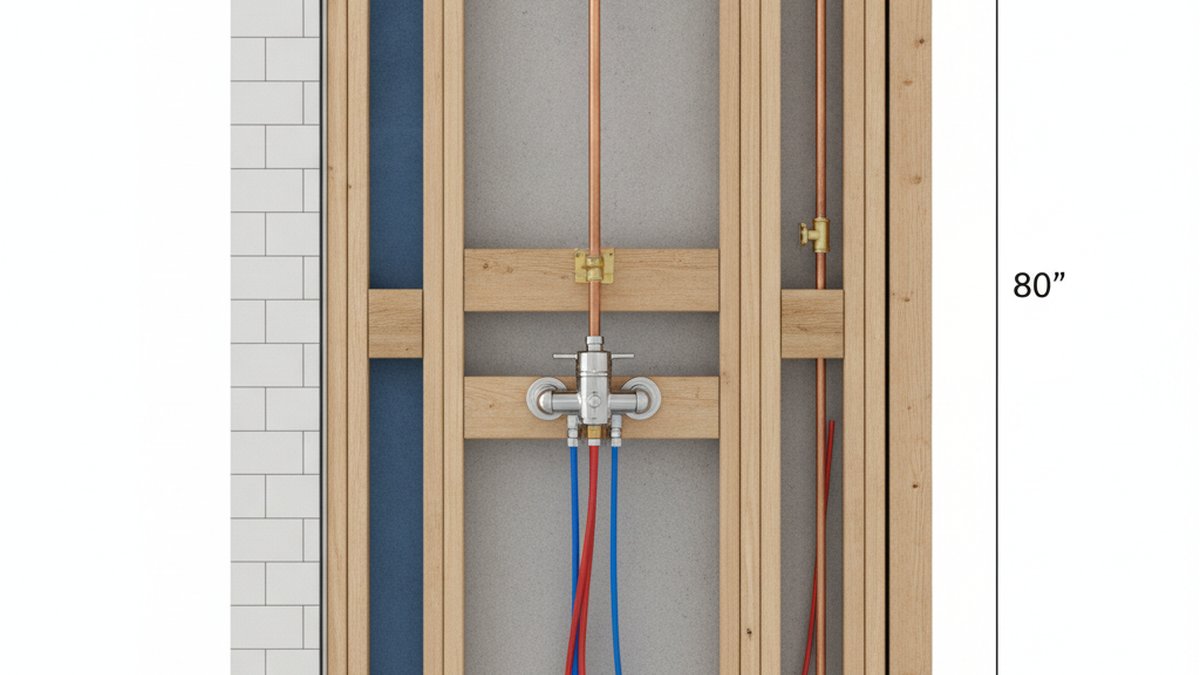
Almost never for a head swap — the shower arm and valve stay put. The Jacuzzi head threads onto your existing ½-inch shower arm, and the valve behind the wall controls temperature and flow independently of the head. You only touch those parts if the arm itself is corroded, bent, or leaking at the wall, or if you’re doing a full shower remodel.
Here’s how to tell the difference by where the water is coming from:
| Where the leak or problem is | What it means | What to do |
|---|---|---|
| Drip at the head-to-arm threads | Bad tape or loose/over-tight nut | Re-tape, hand-tighten, snug ¼ turn — a 5-minute fix |
| Water seeping where the arm enters the wall | Loose or corroded shower arm | Re-tape or replace the shower arm (still DIY, no valve work) |
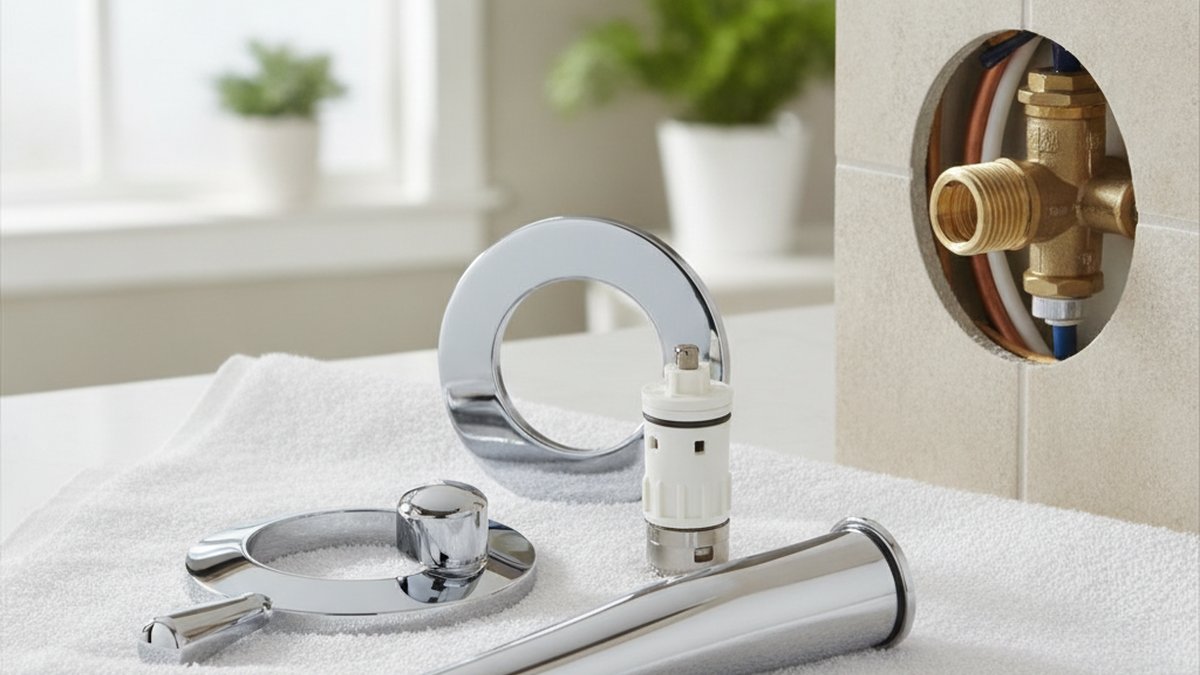
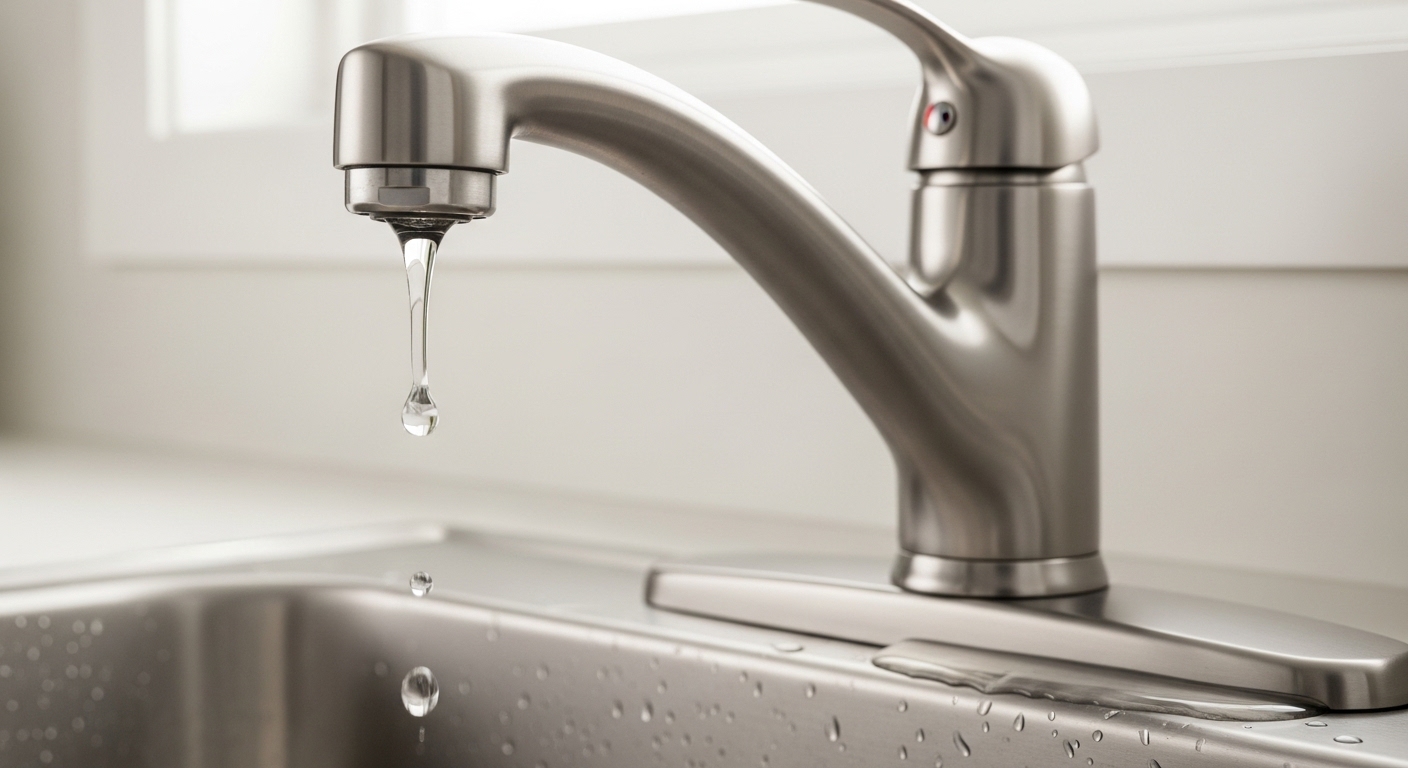
| Head drips long after you shut the shower off | Worn valve cartridge behind the wall | Replace the cartridge — a separate, deeper job |
| Weak spray from a new head | Flow restrictor or clogged nozzles | Clean nozzles or adjust restrictor (see below) |
If the water keeps trickling from the head minutes after you turn the handle off, that’s your valve cartridge, not the new head — swapping the head won’t fix it. That’s a different (still very doable) project; our walkthrough on how to replace a shower tub faucet yourself covers the valve side of things when you’re ready to go deeper.
Why is my new Jacuzzi shower head leaking after I installed it?
A brand-new Jacuzzi shower head that leaks at the connection is almost always one of three things: not enough plumber’s tape, a missing or pinched rubber washer, or over-tightening that cracked the nut. The fix takes five minutes — you don’t have a defective head, you have an install detail to redo.
Run through this in order:
- Not enough tape. Take the head off, add another wrap or two of PTFE tape clockwise, and re-thread. This solves the majority of connection drips.
- Washer missing, upside down, or pinched. Look inside the connector nut. The rubber O-ring must sit flat. If it fell out during install, drips are guaranteed.
- Cross-threading. If the head went on crooked, it never sealed. Unscrew fully, re-start it dead straight by hand, and only wrench it after it hand-tightens smoothly.
- Over-tightened. Cranking a plastic connector nut with a wrench can crack it or crush the washer. Hand-tight plus a quarter turn is all you need.
If you’ve re-taped and re-seated the washer twice and it still weeps, inspect the shower arm threads themselves — old, chewed-up threads sometimes won’t seal a new head. That’s when a $6 replacement shower arm earns its keep.
How do I fix low water pressure on a new Jacuzzi shower head?
If your new Jacuzzi head sprays weakly, the cause is usually the flow restrictor or a clogged filter screen — both are easy to reach. Federal law caps U.S. shower heads at 2.5 gallons per minute, so every head ships with a flow restrictor, and Jacuzzi is no exception. You can clean or (where legally permitted) adjust it.
- Check the inlet filter screen. Unscrew the head and look inside the connector nut for a small mesh screen. Rinse out debris and mineral bits — construction sediment often lands here on a first install.
- Soak clogged nozzles. Hard-water minerals clog the rubber spray tips. Rub them with your thumb while running, or soak the head face-down in white vinegar for an hour, then rinse.
- Locate the flow restrictor. It’s the small colored plastic disc behind the filter screen. Cleaning around it often restores normal flow on its own.
If you’re on well water or a hard-water area, mineral buildup is your recurring enemy — the same scale that clogs shower nozzles also crusts faucet threads over time. A monthly vinegar soak keeps a Jacuzzi head spraying like new for years.
Jacuzzi shower head types: which one fits your install?
Jacuzzi makes fixed wall-mount, rain-style, and handheld shower heads, and all of them install onto the same standard shower arm — so the type you pick is about experience, not plumbing difficulty. Here’s how the common styles compare for a DIY swap.
| Type | Install difficulty | Best for | Extra parts needed |
|---|---|---|---|
| Fixed wall-mount head | Easiest (10 min) | Simple, reliable everyday showers | None — threads right on |
| Rain / rainfall head | Easy (10–15 min) | Spa feel; overhead coverage | Optional S-shaped arm for overhead angle |
| Handheld with hose | Moderate (15–20 min) | Rinsing, cleaning, kids, pets | Bracket + hose (included) |
| Dual (fixed + handheld combo) | Moderate (20 min) | Best of both; shared shower | Diverter mount (included) |
If you’re pairing a new head with a matching tub filler for a whirlpool bath, coordinate the finishes so chrome, brushed nickel, or matte black all agree across the room. Our rundown on the matte black Jacuzzi tub faucet is a useful companion read if you’re outfitting a whirlpool space, and for a full modern look, see what actually makes a shower faucet modern before you buy the whole set.
How long does it take, and can a total beginner do it?
Yes — a complete beginner can install a Jacuzzi shower head in 10–20 minutes with zero plumbing experience. There’s no soldering, no shutting off the house water, and no cutting into walls. The only “skills” involved are wrapping tape the right direction and not over-tightening.
The honest failure points, all minor: forgetting to clean old tape off, wrapping tape the wrong way, losing the rubber washer, or gorilla-gripping the wrench. Avoid those four and your install is watertight on the first try. If you’ve ever done a small faucet or fixture fix around the house, this is easier than most of them.
FAQ
Do I need plumber’s tape to install a Jacuzzi shower head?
Yes, on the threaded shower-arm connection. PTFE plumber’s tape fills the tiny gaps between metal threads and prevents leaks. Wrap it 2–3 times clockwise. The exception is rubber-washer hose connections on handheld models — those seal with the washer alone and don’t need tape.
Can I install a Jacuzzi shower head without turning off the water?
Yes. Your shower valve already stops water flow when the shower is off, so a simple head swap needs no supply shutoff. Just make sure the shower handle is in the off position while you work. You only shut off the water main if you’re replacing the shower arm or working on the valve inside the wall.
Will a Jacuzzi shower head fit my existing shower arm?
Almost certainly. Jacuzzi shower heads use the standard ½-inch NPT connection that fits virtually every residential shower arm in the U.S. If your current head unscrews from a pipe sticking out of the wall, a Jacuzzi head will thread right onto it. No adapters needed in the vast majority of homes.
Why does my Jacuzzi shower head drip after I turn the shower off?
A little drip for 5–10 seconds is just water draining from the head — completely normal. But if it keeps trickling for minutes, that’s a worn valve cartridge behind the wall, not your new head. Replacing the head won’t fix it; you’ll need to service or replace the shower valve cartridge.
How tight should I make a Jacuzzi shower head?
Hand-tight plus about a quarter to half turn with a cloth-padded wrench. That’s it. Over-tightening is the most common install mistake — it cracks plastic connector nuts and crushes the rubber washer, which causes the exact leak you were trying to prevent. Snug, not cranked.
Do I need a plumber to install a Jacuzzi shower head?
No. This is one of the most beginner-friendly plumbing jobs there is — no plumber required. The only time to call one is if the shower arm is broken off inside the wall or the valve behind the wall is leaking, which are separate repairs from swapping the head itself.
A note from our team
This guide was written by the aleashafaucet product team, drawing on years of hands-on testing and installing bathroom and shower fixtures across chrome, brushed nickel, and matte black finishes. We install, pressure-test, and live with the fixtures we write about, and we cross-check every step against standard U.S. plumbing practice (½-inch NPT connections, the 2.5 GPM federal flow standard, and manufacturer torque guidance). At aleashafaucet, we build and sell faucets and shower fixtures every day, and our aim is simple: give you the same straight, no-upsell advice we’d give a friend standing in their own bathroom. Always keep your Jacuzzi shower head’s paperwork — most carry a manufacturer warranty, and improper over-tightening can void it, so the gentle-snug method above protects both your seal and your coverage.