Getting the shower only valve rough in height right is the single decision that determines whether your finished shower feels natural or awkward for the next 20 years, because once the valve is soldered in and the walls are tiled, moving it means opening the wall again. A “shower only” valve is the mixing valve for a stall or walk-in shower with no tub spout — so unlike a tub-shower combo, you don’t have a low spout dictating anything, and you have real freedom to place the valve at the most comfortable, reachable height. Below is exactly where to set it, why those numbers exist, and the mistakes that cost people a re-tile.
What height should a shower-only valve be roughed in at?
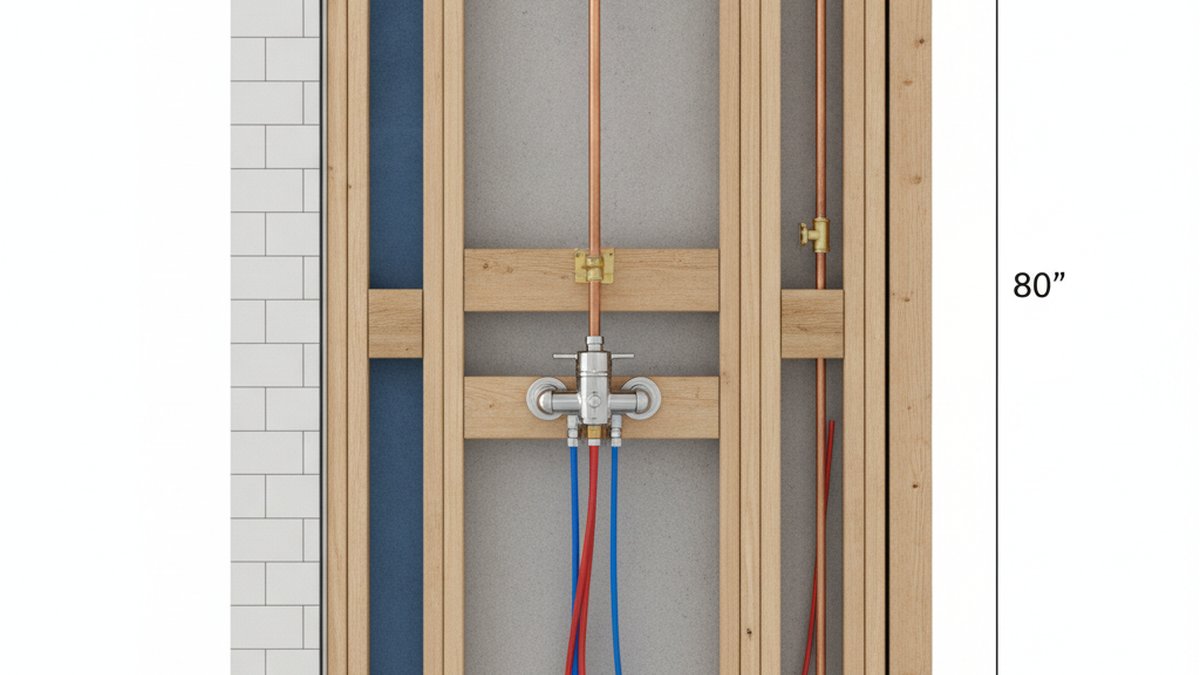
Set the center of the shower-only valve between 45 and 48 inches above the finished floor for most households. That range puts the handle at roughly hip-to-lower-chest height for an average adult standing in the shower, so you can turn the water on and adjust temperature without bending down or reaching up into the spray.
The reason 48 inches gets quoted so often is simple: it’s a comfortable, round, easy-to-remember number that works for the widest range of people, and it happens to land near the top of a standard 4-inch tile course or the middle of a larger tile, which keeps your cutting cleaner. But “48 inches” is a starting point, not a law. If the shower is used mainly by shorter family members, drop to 44–45 inches. If everyone’s tall, 48–52 inches keeps the handle out of the direct spray so you’re not sticking your arm under cold water to make an adjustment.
One critical detail people miss: rough-in height is measured to finished floor, not the subfloor or the mortar bed. If you’re going to add a mud bed, tile, and a shower pan, that finished surface can sit 1.5–3 inches above the subfloor. Measure from where your feet will actually stand, or your carefully-placed valve ends up two inches low.
How high should the shower head be, and how does it relate to the valve?
Rough in the shower head drop-ear elbow (the fitting the shower arm screws into) at 78–80 inches above the finished floor for a standard fixed head. The valve and the head are two separate measurements — the valve is your control point down low, the head is your water delivery point up high — and you set each for its own job.
Standard building convention puts the shower head outlet around 80 inches (6 feet 8 inches) so the spray clears the top of an average person’s head and rains down rather than hitting them in the chest. For a household with people over 6 feet tall, raise the drop-ear to 82–84 inches. Remember the shower arm angles upward and outward, so the actual water exit sits a few inches higher and forward of the elbow — build in that offset when you’re measuring.
- Valve center: 45–48 in. from finished floor (control height)
- Shower head drop-ear elbow: 78–80 in. from finished floor (delivery height)
- Wall-mount handheld slide bar top: 72–78 in., so the bracket and hose reach comfortably
- Body sprays (if used): staggered 42–54 in. to hit shoulders, mid-back, and lower back
Is there a code minimum for shower valve height, or is it just comfort?
There is no single national code number that says “the valve must be at X inches” — valve height is driven by comfort and by the manufacturer’s own rough-in specs, not by a hard plumbing-code dimension. What code does require is that the valve be a listed pressure-balancing or thermostatic anti-scald valve (ASSE 1016 compliant), which limits the risk of a sudden scald when someone flushes a toilet elsewhere in the house.
So the rules that actually govern your install are: (1) use an anti-scald mixing valve — this is non-negotiable in modern residential plumbing; (2) follow the valve maker’s plaster-guard depth marks so the trim seats flush against the finished tile; and (3) provide access to the valve for future service, usually via the trim plate itself or an access panel behind the wall. Beyond that, the height is yours to choose. The “48 inches” figure is a widely-used industry convention, not a legal requirement.
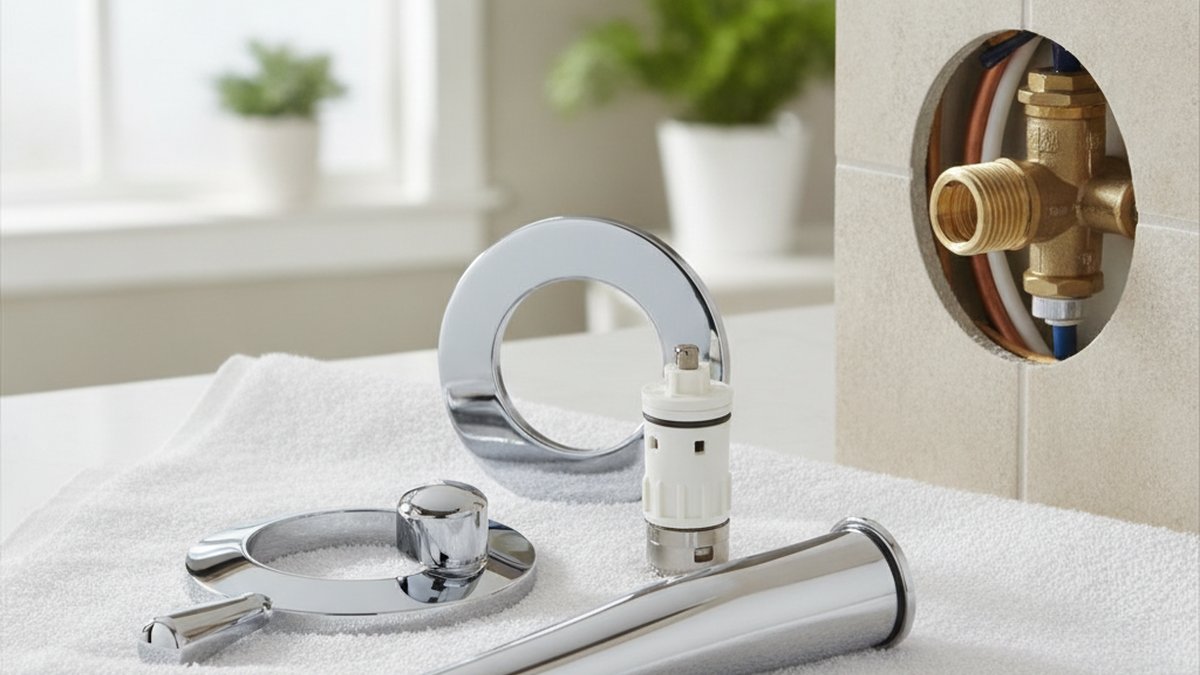
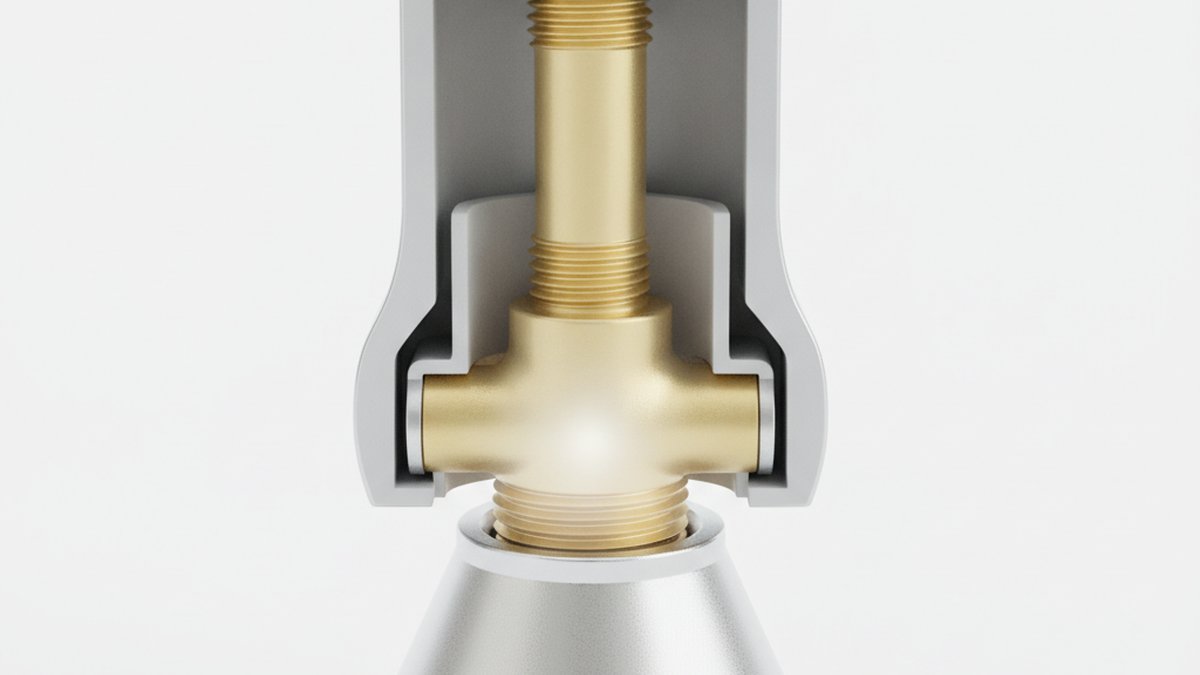
The depth of the valve in the wall matters as much as its height. Every rough-in valve has a range printed on its plaster guard — often marked “min” and “max” — that tells you how far the finished wall surface can sit in front of the valve body. Set the valve too deep and your trim won’t reach; too shallow and the escutcheon won’t sit flat. Dry-fit your tile thickness plus backer board plus thinset before you commit.
Shower-only valve rough-in heights at a glance
Here’s a quick comparison of typical rough-in heights by scenario, all measured from finished floor. Use it as a reference, then adjust for the tallest and shortest people who’ll actually use the shower.
| Component | Standard adult | Tall household (6 ft+) | Kids / accessible |
|---|---|---|---|
| Mixing valve center | 45–48 in. | 48–52 in. | 38–44 in. |
| Fixed shower head elbow | 78–80 in. | 82–84 in. | 72–76 in. |
| Handheld slide bar (top) | 72–78 in. | 76–80 in. | 48–72 in. (adjustable) |
| Valve depth (wall face to valve) | Per plaster guard min/max | Per plaster guard min/max | Per plaster guard min/max |
Notice the valve and head move together as height needs change, but the valve depth is always dictated by the plaster guard, never by a “standard” number — that’s the one measurement you must verify against your specific valve and your specific tile buildup.
Where do I measure from — subfloor, or finished floor?
Always measure valve and shower head heights from the finished floor, meaning the top of the tile or stone you’ll be standing on, not the bare subfloor or the mortar bed. This is the number-one rough-in mistake, and it’s the one that quietly ruins otherwise perfect plumbing.
In a shower with a mortar-bed pan, the finished floor can be 2–3 inches higher than the subfloor near the drain and slope upward toward the walls. If you measure your 46-inch valve from the subfloor and then build a 2.5-inch pan, your valve is now effectively at 43.5 inches — low enough to feel wrong to a tall user. The fix is to establish your finished-floor line first (snap a level chalk line at a known height), then measure everything up from there.
The same logic applies when you’re renovating an existing stall. Before you tear anything out, it’s worth understanding how the whole assembly comes apart — our guide on how to replace a shower/tub faucet walks through valve access and trim removal, and if you’re swapping the valve body itself, replacing a bathtub faucet valve covers the same soldering and cartridge concepts you’ll use here.
What about a shower-only setup with a handheld or rain head?
For a handheld-plus-fixed or a rain-head shower, keep the valve at the same 45–48 inch control height, but rough in a diverter and plan the outlets separately: rain heads go higher (84–90 inches or ceiling-mounted), and handheld slide bars mount so the bar’s top sits around 72–78 inches. The valve height doesn’t change just because you added outlets — what changes is how many supply stub-outs you run and whether you need a diverter or a multi-function valve.
A rain head is the one exception where you deliberately go tall. Because rain heads drop water straight down at low velocity, you want the face 12–18 inches above the tallest user’s head — often ceiling-mounted or on a long shower arm — so the water has room to spread. If you mount a rain head at a normal 80 inches, tall users end up ducking. Pair it with a handheld on a slide bar for rinsing and cleaning, and you’ve covered every use case.
If you’re still choosing the system before you frame, it pays to look at how these are rated and configured. Our breakdowns of what shower system ratings actually tell you and what makes a shower faucet modern will help you match the valve and outlets to the look and flow you want before a single pipe is cut. And if you’re building a full walk-in with a pre-sloped tray, the Schluter shower system 48 x 60 guide shows how the waterproofing and finished-floor height come together — which directly affects the measurements above.
What are the most common shower-only rough-in mistakes?
The most common mistakes are measuring from the wrong surface, setting the valve depth wrong for the tile, and forgetting to level and secure the valve before the drywall goes up. Any one of these means opening a finished wall to fix it, so slow down at rough-in and get all three right.
- Measuring from subfloor instead of finished floor — the classic error, covered above. Establish your finished-floor line first.
- Ignoring the plaster-guard depth marks — trim that won’t reach the valve stem, or an escutcheon that stands off the tile. Dry-fit your full wall thickness.
- Installing the valve upside down or backwards — hot and cold reversed, or the “up” arrow pointing down. Every valve body is stamped with orientation; read it before soldering.
- Not securing the valve to solid backing — a valve that flexes when you turn the handle will eventually crack the tile or loosen the connections. Mount it to a cross-brace between studs.
- Forgetting service access — if the cartridge fails, you need to reach it. Confirm the trim allows front service, or plan an access panel.
Get these five right and the height number almost takes care of itself, because you’ll have measured deliberately from the correct reference and locked everything in place before it’s buried.
How this affects choosing the valve and trim
Because the valve body and the decorative trim are usually sold and installed separately, your rough-in height also has to match the trim you eventually pick — a single-handle trim, a two-handle trim, and a trim with an integrated diverter all mount to the same valve but present differently on the wall. When you set your height, picture the finished handle position, not just the valve body: the handle can sit an inch or two above or below the valve centerline depending on the trim design.
This is also the moment to make sure the valve body and the trim brand are compatible. Many trims only fit their own manufacturer’s valve, so buy the rough-in valve and the trim as a matched set, or confirm cross-compatibility before you close the wall. It’s a small check that prevents a very expensive surprise on finish day.
FAQ
Is 48 inches too high for a shower valve?
No — 48 inches is a standard, comfortable height for most adults and is one of the most commonly used shower valve rough-in heights. It only feels too high if the shower is used mainly by children or shorter adults, in which case dropping to 44–45 inches puts the handle in easier reach.
Does the shower valve go above or below the shower head?
Below. The valve is your control point at roughly 45–48 inches, and the shower head sits well above it at 78–80 inches. They’re two separate rough-in measurements, both taken from the finished floor, and you never place the valve up at head height where you’d have to reach into the spray to adjust it.
Can I move a shower valve up or down after the wall is tiled?
Not without opening the wall. Once the valve is soldered to the supply lines and the tile is set, changing its height means demolishing and re-tiling that section. That’s exactly why the rough-in height is worth getting right the first time — measure twice, from the finished-floor line, before anything is buried.
What’s the difference between valve height and valve depth, and which matters more?
Height is how far up the wall the valve sits (45–48 inches, for comfort); depth is how far the valve body sits behind the finished wall surface (set by the plaster-guard min/max marks, for trim fit). Both matter, but depth is the one people get wrong most often because it depends on your exact tile and backer thickness — always dry-fit before soldering.
Do shower-only valves need an anti-scald feature?
Yes. Modern residential code requires shower valves to be listed pressure-balancing or thermostatic (ASSE 1016) anti-scald valves, which prevent a sudden temperature spike if water pressure changes elsewhere in the house. This isn’t optional and applies to shower-only stalls just as it does to tub-showers.
How high should I put a valve in an accessible or ADA-style shower?
For accessibility, the controls are typically set lower and toward the entry side so they can be reached from a seated position — often around 38–44 inches and positioned so you don’t have to enter the spray to operate them. Pair that with a handheld shower on an adjustable slide bar so the head height works whether seated or standing.
About the author: This guide was written by the aleashafaucet fixtures team, drawing on years of hands-on faucet and shower valve installation and testing. We build, test, and service shower-only and tub-shower valves across finishes and flow rates every week, so the numbers above come from real rough-ins, not a spec sheet alone.
Why trust aleashafaucet: aleashafaucet designs and sells shower valves, trims, and bathroom fixtures built to ASSE 1016 anti-scald standards, and we back our valve bodies and trims with manufacturer warranties. Every valve we recommend is chosen for serviceable cartridges and matched trim compatibility, so your rough-in decisions hold up for the long life of the shower. When in doubt about a specific model’s rough-in and plaster-guard depth, always follow the installation sheet that ships with your valve.