Learning how to install kitchen taps mixers is one of the most rewarding plumbing jobs you can do at home, because the payoff is huge and the risk is low. A mixer tap blends hot and cold water through a single spout, so the plumbing is simpler than an old twin-tap setup — you’re really just making three connections: hot in, cold in, and a mounting nut that holds everything tight. If you can turn a wrench and follow a sequence, you can do this. Below I’ll walk you through the exact steps, the tools, the mistakes that cause leaks, and how to know when the job is actually beyond DIY.
What tools and parts do you actually need to install a kitchen mixer tap?
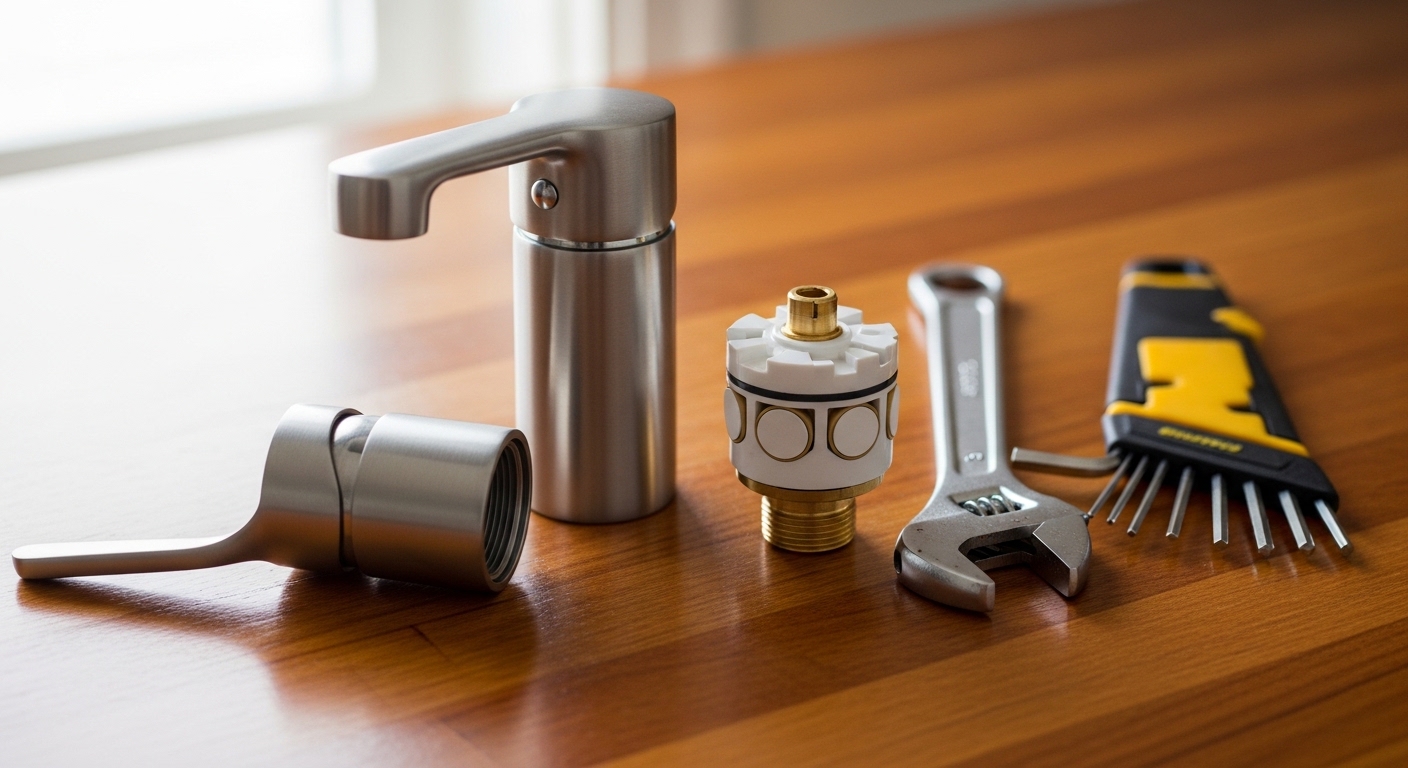
You need surprisingly little: two adjustable wrenches, a basin (crow’s-foot) wrench, PTFE plumber’s tape, a bucket, a torch or head-lamp, and a towel. That’s the core kit. Everything else on the shelf is optional.
Here’s the honest list, split into “must have” and “makes life easier”:
- Basin wrench — the single most important tool. The mounting nut sits in the cramped space behind the sink bowl where a normal wrench can’t reach. Skip this and you’ll be lying under the cabinet swearing for an hour.
- Two adjustable wrenches — one to hold, one to turn when tightening the hose connections.
- PTFE / plumber’s tape — for threaded connections that don’t have a rubber washer. Wrap clockwise, 3–5 turns.
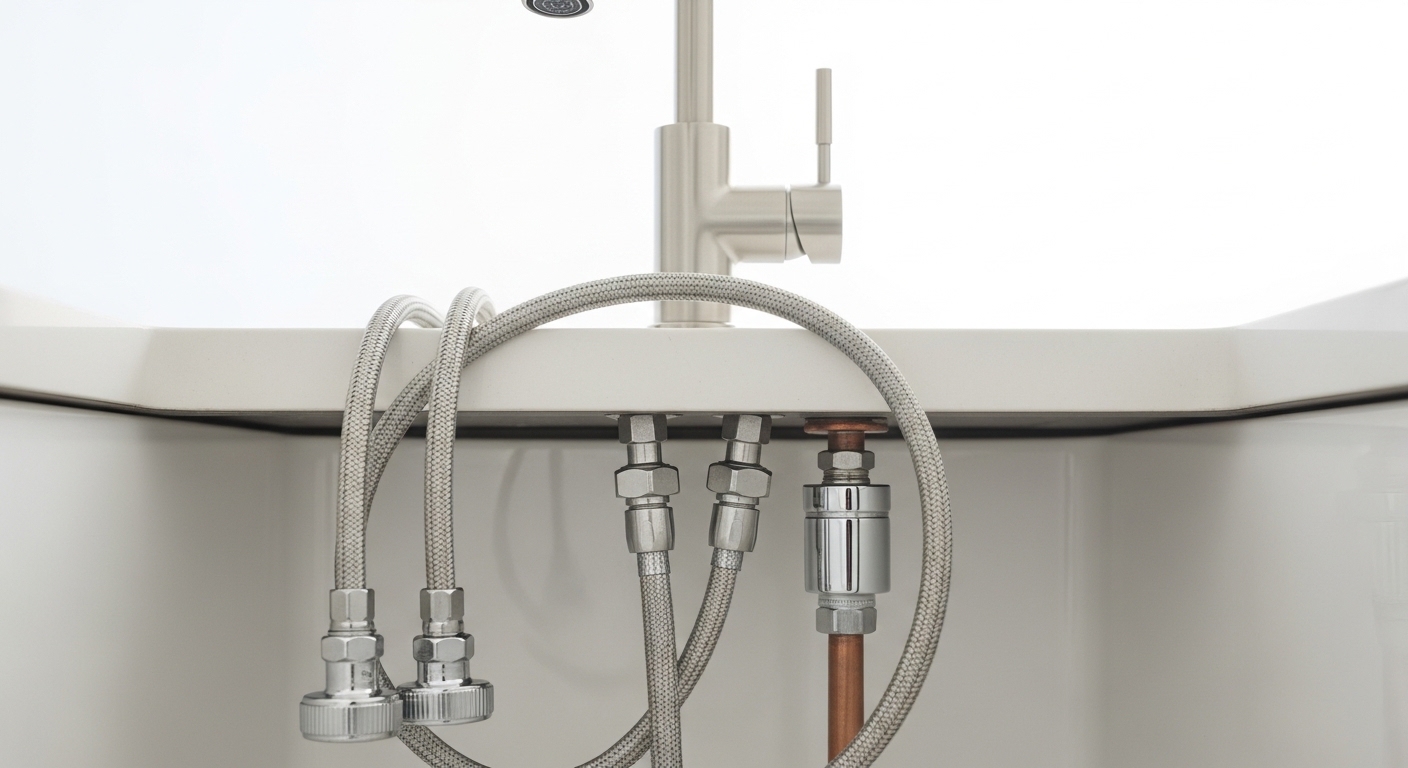
- Flexible braided supply hoses — many mixers come with these pre-fitted, but check the length and the connector size (usually 3/8″ or 1/2″ BSP/compression). Buy longer ones if your valves sit low.
- Bucket + towel — there’s always a cup of trapped water in the old hoses.
- Silicone sealant (optional) — some installs use it under the base plate; many modern mixers use a rubber gasket instead, so read your instructions first.
Before you buy anything, confirm your sink’s tap hole diameter (standard is 35mm) and whether you have a single-hole or multi-hole sink. Most contemporary mixers are single-hole. If you’re unsure which mixer style suits your sink and water pressure, our guide on the average kitchen tap flow rate is worth a two-minute read before you commit.
How do you remove an old kitchen tap before fitting the new mixer?
Turn off the water first, then disconnect the supply hoses, undo the mounting nut from underneath, and lift the old tap out from the top. That’s the whole removal in one sentence — but the order matters, and one skipped step means a soaked cabinet.
Step by step:
- Shut off the isolation valves. Under the sink you’ll usually find two small in-line valves on the hot and cold pipes. Turn the slot or handle a quarter-turn so it sits across the pipe. No isolation valves? Shut off the whole-house stopcock.
- Open the old tap to release pressure and drain trapped water.
- Place a bucket and towel under the connections.
- Disconnect the supply hoses from the valves with your wrench. Expect a little water.
- Undo the mounting nut holding the old tap. On corroded taps this is the fight — penetrating oil and a basin wrench earn their keep here.
- Lift the tap out and clean the sink deck. Scrape off old sealant and limescale so the new gasket seats flat.
If the mounting nut is rusted solid and won’t budge even with penetrating oil, that’s your first honest “maybe call a pro” checkpoint — but usually 15 minutes of patience wins.
What’s the correct step-by-step way to install a kitchen mixer tap?
Fit the tap’s rubber gasket, feed the mixer body and its hoses down through the sink hole, secure it from below with the mounting plate and nut, then connect hot to hot and cold to cold. Here’s the full sequence that professionals follow.
- Pre-fit the hoses (if not already attached). It’s far easier to screw the flexible hoses into the tap base on the worktop than in the dark under the sink. Hand-tighten plus a gentle quarter-turn with a wrench — don’t crank them; the seals are rubber.
- Seat the base gasket/O-ring on the underside of the tap so it sits between the tap and the sink deck.
- Feed everything through the 35mm hole. The hoses go first, then the tap body sits flush on the deck. Line up the spout so it points at the centre of the bowl.
- Secure from below. Slide the metal mounting plate and rubber washer up the hoses, then thread the mounting nut on and tighten with your basin wrench. Snug and firm — but stop before you feel the tap start to twist on the deck.
- Connect the supply hoses to the valves. Hot to the hot valve (usually left), cold to the cold (usually right). Braided hoses have rubber-sealed ends, so no PTFE tape is needed there — just hand-tight plus a quarter-turn.
- Double-check nothing is cross-threaded and the hoses aren’t kinked or stretched taut.
The number-one rookie error is over-tightening. Every leak I’ve seen from a DIY install came from a crushed seal or a cross-threaded connector, almost never from something being “not tight enough.” Firm and snug beats gorilla-grip every time.
How do you check for leaks after installing a mixer tap?
Turn the isolation valves back on slowly, run the tap hot and cold, then feel every joint with a dry finger or tissue for 10 minutes. Any bead of water means a connection needs a gentle nip-up — not a full extra turn.
Do this methodically:
- Open the valves gradually, not all at once. A sudden pressure surge can show a weak joint dramatically.
- Run the tap fully open on hot, then cold, then mixed, for 30 seconds each. This purges air and lets the aerator settle — the first flow is often sputtery, which is normal.
- Dry every connection, then wrap a piece of toilet tissue around each joint. Tissue shows the tiniest weep that a fingertip misses.
- Check again after 10 minutes and once more the next morning. Slow drips reveal themselves over time.
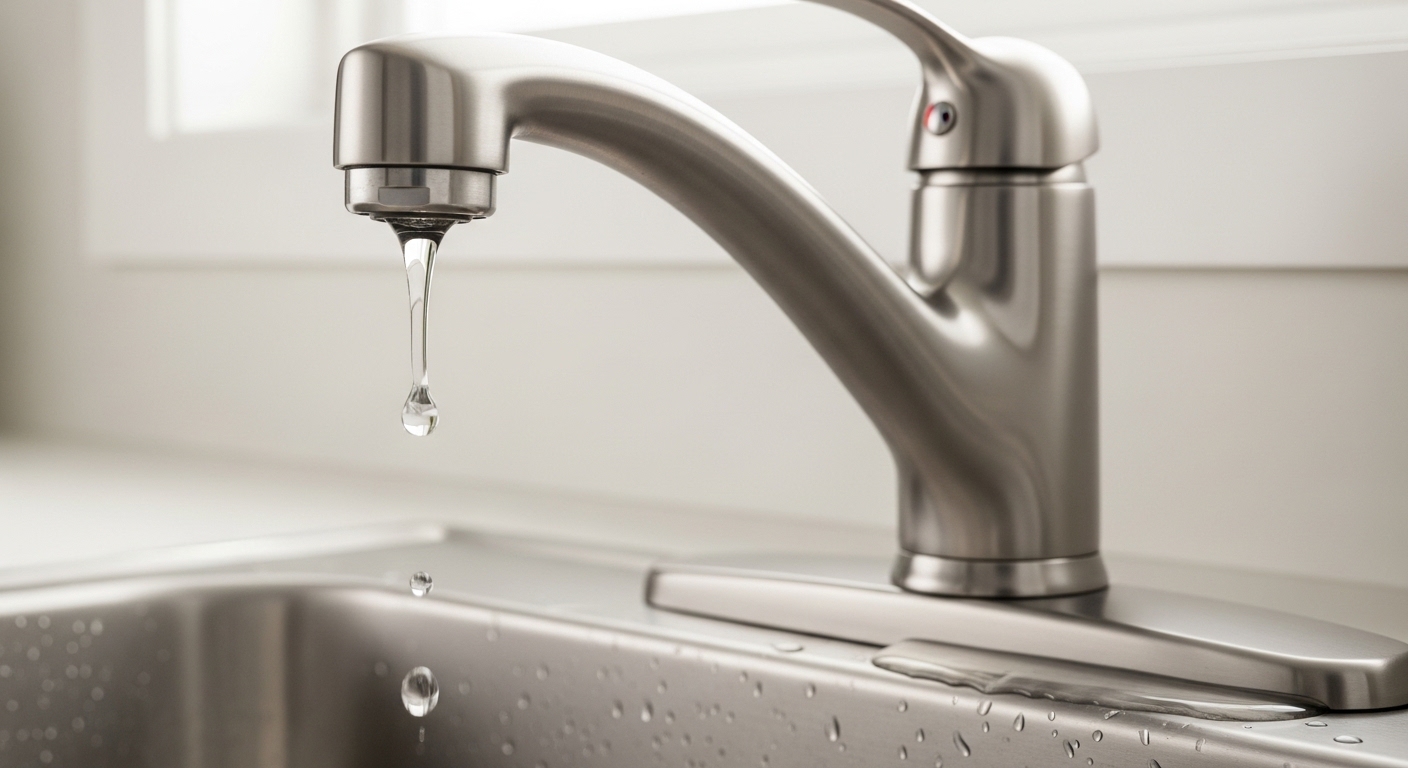
If a joint weeps, close the valve, dry it, and tighten a quarter-turn. Still leaking after that? Undo it fully and check the rubber washer isn’t twisted or missing — that’s the usual culprit. If your brand-new tap drips from the spout itself rather than a joint, that points to a cartridge issue, and our walkthrough on replacing a kitchen tap cartridge covers it.
Single-hole vs. multi-hole vs. wall-mounted: which mixer install suits your kitchen?
Single-hole deck mixers are the easiest to install and cover 80% of modern kitchens; multi-hole (widespread) setups take longer because of extra connections; wall-mounted mixers are the hardest and usually need the wall pipework done during a remodel. Match the tap to your existing sink cut-outs unless you’re replacing the sink too.
| Mixer type | Install difficulty | Typical time | Best for |
|---|---|---|---|
| Single-hole deck mixer | Easy | 45–90 min | Most modern kitchens; first-time DIY |
| Multi-hole / widespread | Moderate | 1.5–2.5 hrs | Traditional sinks with 2–3 pre-drilled holes |
| Pull-out / pull-down spray | Moderate | 1–2 hrs | Anyone wanting spray reach; adds a hose weight to fit |
| Wall-mounted mixer | Hard | Half-day+ | Remodels with pipework already in the wall |
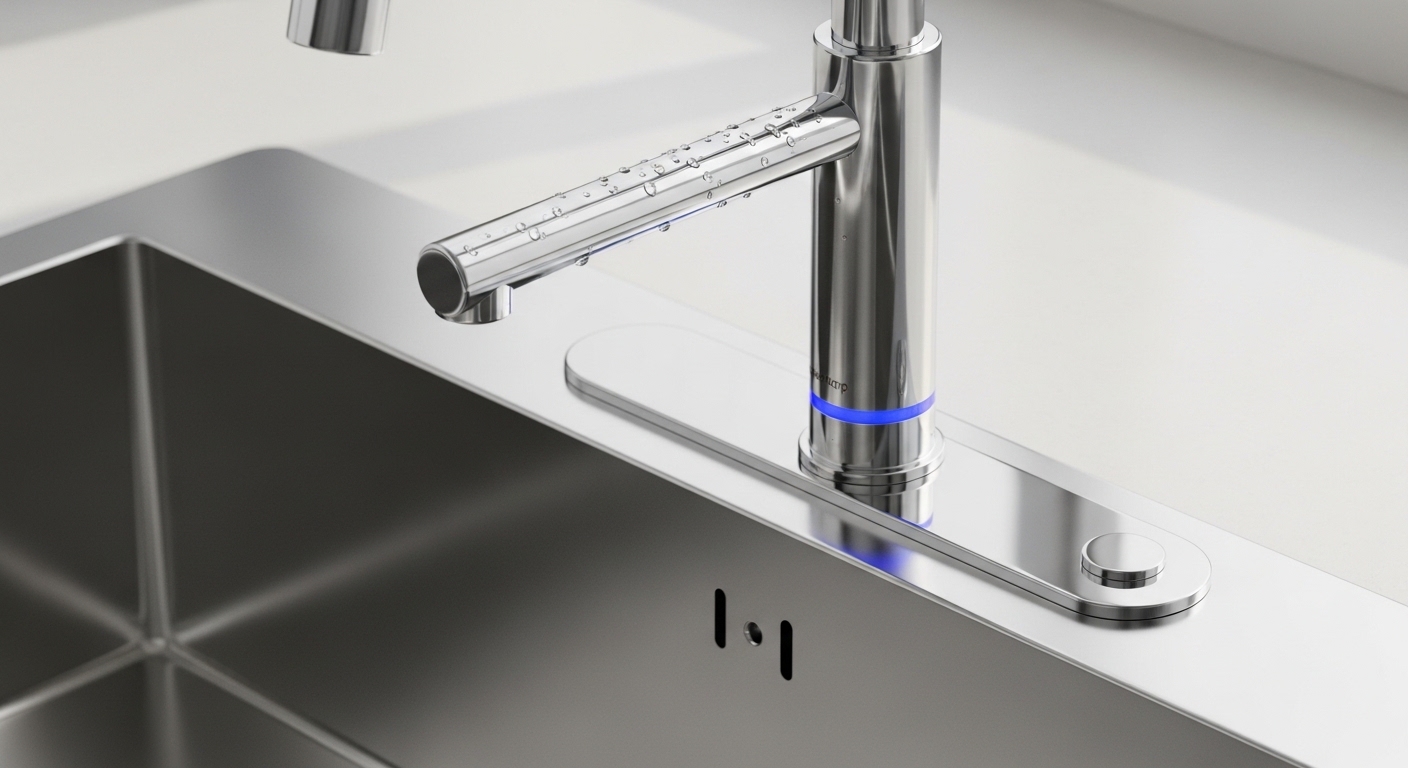
A pull-out or pull-down mixer adds one extra step: a small weight clips onto the spray hose under the sink to help it retract. It’s easy, but don’t skip it or the spray head won’t glide back into the spout. If you’re weighing a wall-mounted design instead of a deck tap, read our dedicated piece on the wall-mounted kitchen mixer before you cut into anything — the plumbing lives inside the wall and is genuinely a different project.
When should you stop and call a plumber instead?
Call a professional if you have no isolation valves and can’t locate the stopcock, if the existing pipework is corroded copper that flexes or leaks when touched, or if you need to move the pipe positions. DIY is for connecting to sound, existing supply lines — not for re-plumbing.
Specifically, bring in a pro when:
- Your supply pipes are old, thin, or green with corrosion — disturbing them can crack a joint you can’t easily reach.
- There are no shut-off valves and the main stopcock is seized (common in older homes).
- You’re switching from low-pressure gravity-fed to a high-pressure mixer, which can require different tap internals.
- The mounting hole needs enlarging or re-drilling in a stone or composite worktop — one slip cracks the whole surface.
None of that is a failure on your part; it’s just knowing where the line sits. For everything on the tap side of a working isolation valve, you’ve got this.
Author note, testing & credibility
This guide is written by the aleashafaucet product team, drawing on hands-on bench installs and years of fielding customer install questions. Every mixer we ship is pressure-tested before it leaves the factory and built to recognised flow and durability standards, with ceramic-disc cartridges rated for hundreds of thousands of open-close cycles. Our kitchen mixers carry a manufacturer warranty on the body and finish, and each box includes a matched gasket and mounting kit so you’re not chasing missing parts mid-install. When in doubt about a fitting or a warranty question, our support team would genuinely rather help you get it right than see you force a connection. For a wider view of who makes reliable taps, our roundup of the best kitchen faucet companies is a useful companion read.
FAQ
How long does it take to install a kitchen mixer tap?
A single-hole mixer typically takes a confident DIYer 45–90 minutes, with most of that time spent removing a stubborn old tap rather than fitting the new one. First-timers should budget a relaxed two hours so they’re not rushing the leak checks.
Do I need plumber’s tape (PTFE) on the hoses?
Not on the flexible braided hose ends — those use a captive rubber washer that seals on its own, and adding tape can actually stop them seating properly. Use PTFE tape only on threaded metal-to-metal joints that don’t have a rubber seal, wrapping 3–5 turns clockwise.
Can I install a mixer tap without turning off the whole house water?
Yes, if you have working isolation (shut-off) valves on the hot and cold pipes directly under the sink — just close those two and the rest of the house keeps running. If there are no isolation valves, you’ll need to use the main stopcock, and it’s often worth fitting isolation valves during the job so future repairs are easier.
Why is my new mixer tap dripping after installation?
A drip from a hose joint usually means a washer is twisted, missing, or the connector is slightly cross-threaded — undo it, check the washer, and re-seat by hand before tightening. A drip from the spout itself points to a cartridge that isn’t seated or is faulty, which is a separate fix from the supply connections.
What size hole do I need for a single-lever kitchen mixer?
The industry standard is a 35mm tap hole, which fits the vast majority of single-lever mixers. Always check your specific tap’s spec sheet, and if your sink hole is larger, a base plate or reducing washer (often supplied) covers the gap neatly.
Should I use silicone sealant under the tap base?
Only if your instructions call for it — most modern mixers seal with a supplied rubber gasket, and adding silicone on top can trap water and make future removal messy. If your tap uses a foam or plastic washer instead of a solid rubber gasket, a thin bead of silicone under the base adds a little extra security against splash water creeping under the deck.