Learning how to install bathtub faucet and drain assemblies the right way separates a tub that lasts twenty years from one that drips inside the wall by next winter. Whether you’re upgrading a tired three-handle valve, swapping a corroded brass waste-and-overflow, or finishing a brand-new alcove tub, the steps follow the same logic: isolate the water, dry-fit everything, seal it with the correct compound, and test under pressure before you close up the access panel. At aleashafaucet, we hear from hundreds of homeowners every month who tackle this job themselves, and the ones who succeed almost always follow a written sequence rather than improvising at the hardware store.
This guide assumes you have a standard alcove or drop-in tub with a single-handle pressure-balance valve — the most common setup in American homes built or remodeled after 1995. We’ll also cover freestanding and wall-mount variations near the end. Plan on six to ten hours of working time, plus a curing window for any sealant before you run water.
Why a Proper Bathtub Faucet and Drain Install Matters
A tub is the single largest water-holding fixture in most homes, and the faucet and drain are the two places where that water either goes where you want it or quietly soaks into your subfloor. A poorly installed shoe-and-overflow assembly is the number-one cause of joist rot and downstairs ceiling stains in American single-family homes, according to insurance-claim data published by the IBHS. Knowing how to install bathtub faucet and drain components correctly protects your investment in tile, drywall, and structure — not just the fixture itself.
Modern valves are also far more sensitive than the compression-style faucets your grandparents installed. Pressure-balance and thermostatic cartridges depend on clean inlet supplies and properly oriented hot/cold lines. Get the rough-in wrong and the cartridge will work, but the scald-guard will not. That’s why we’ll spend extra time on valve orientation and flushing the lines before the cartridge ever goes in.
Tools and Materials Checklist
Before you turn off the water, stage everything in one place. Running to the store with the supply lines drained is how small jobs become weekend jobs.
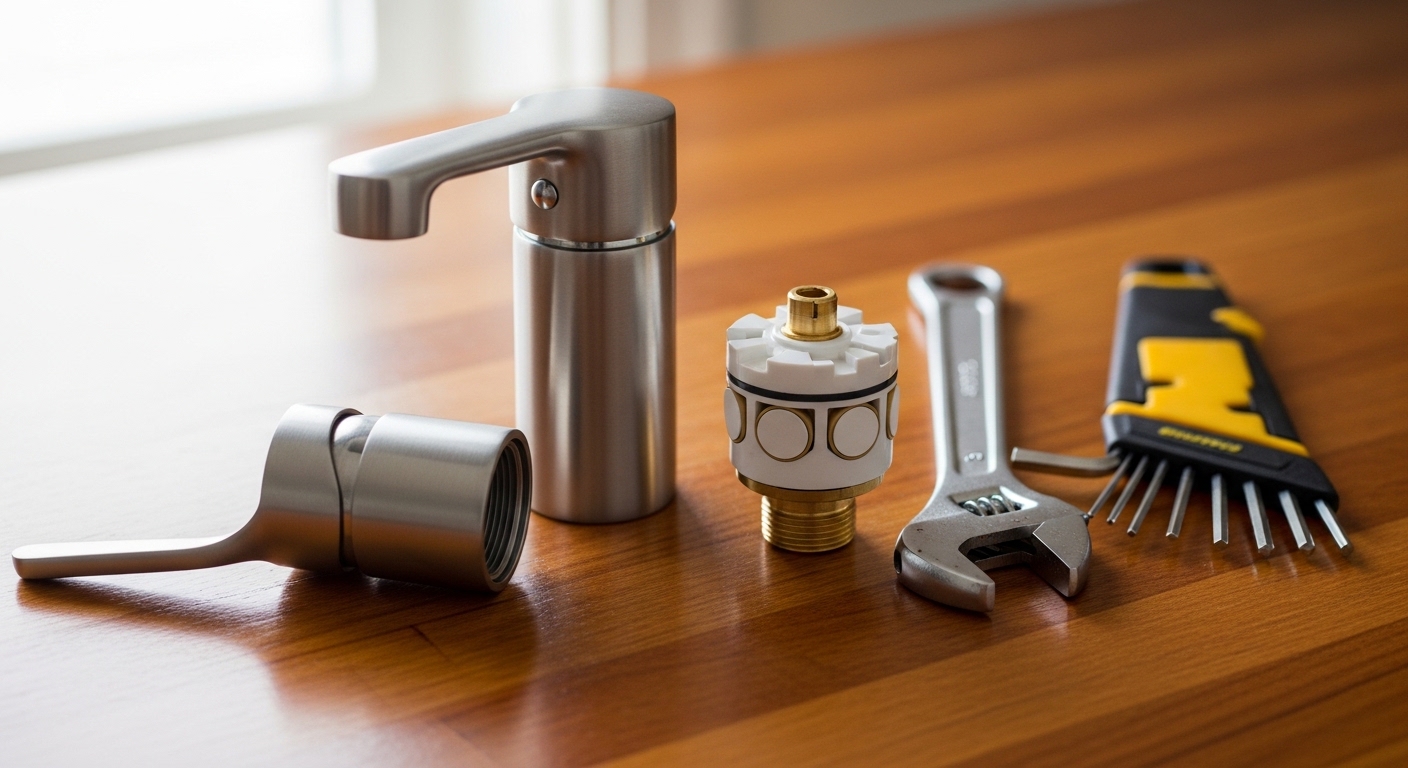
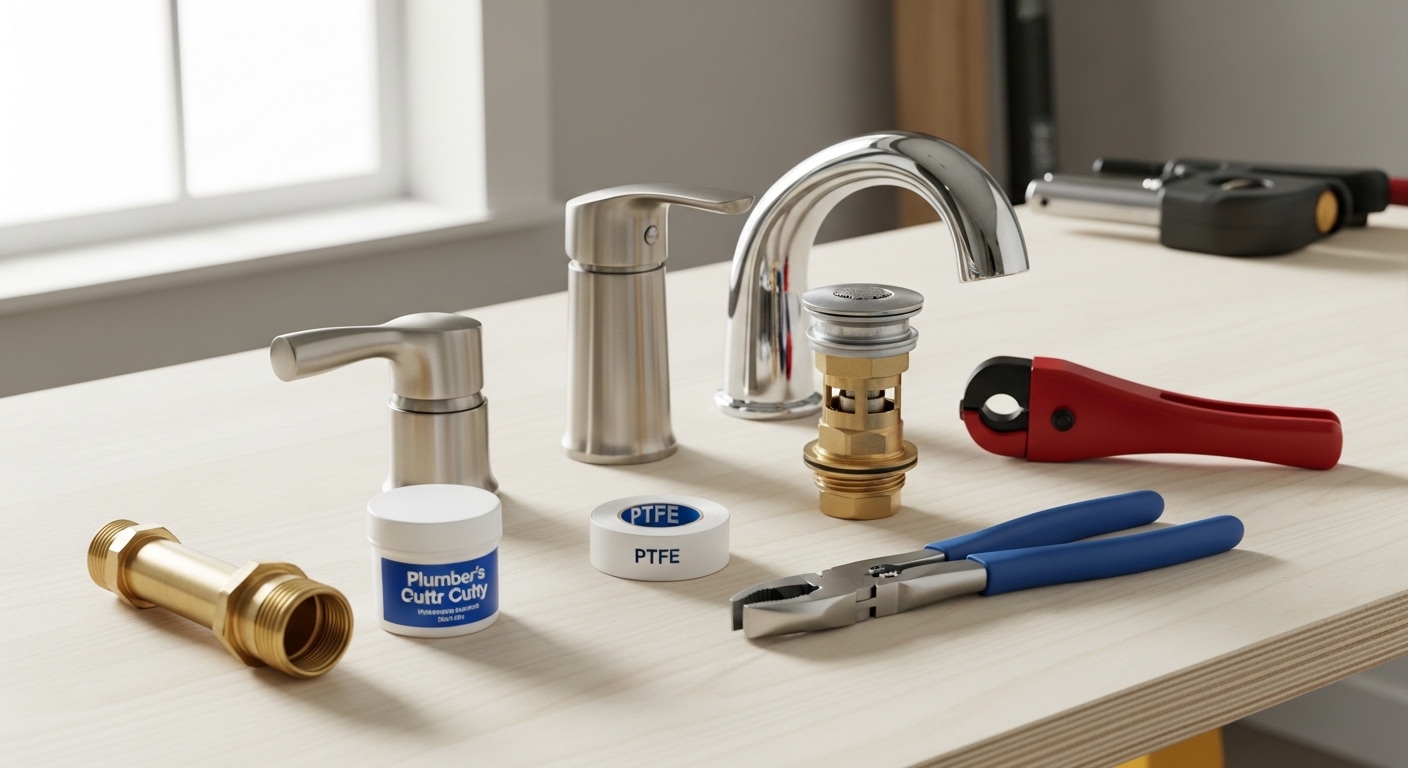
- Adjustable wrench and a set of channel-lock pliers (10″ and 12″)
- Internal pipe wrench or “tub drain extractor” (also called a dumbbell tool)
- Phillips and flathead screwdrivers; a 4-in-1 with a long shaft helps
- PTFE (Teflon) thread tape — pink for water, yellow for gas (you want pink)
- Pipe-joint compound rated for potable water
- Plumber’s putty (non-staining if you’re installing a stone or composite tub)
- 100% silicone sealant, mildew-resistant
- Tubing cutter or hacksaw, deburring tool, and emery cloth
- Torch and lead-free solder, or push-to-connect fittings if you’re not comfortable sweating copper
- Level, tape measure, and a pencil
- Bucket, rags, and a flashlight or headlamp
Step 1: Shut Off the Water and Prep the Rough-In
Close the main shut-off and open the lowest faucet in the house to drain residual pressure. If you have dedicated tub stops behind an access panel, use them — but still verify at the main, because hidden stops in older homes are notorious for partial closure. Open the existing tub valve to confirm zero flow, then place a bucket under the spout in case the trap discharges back.
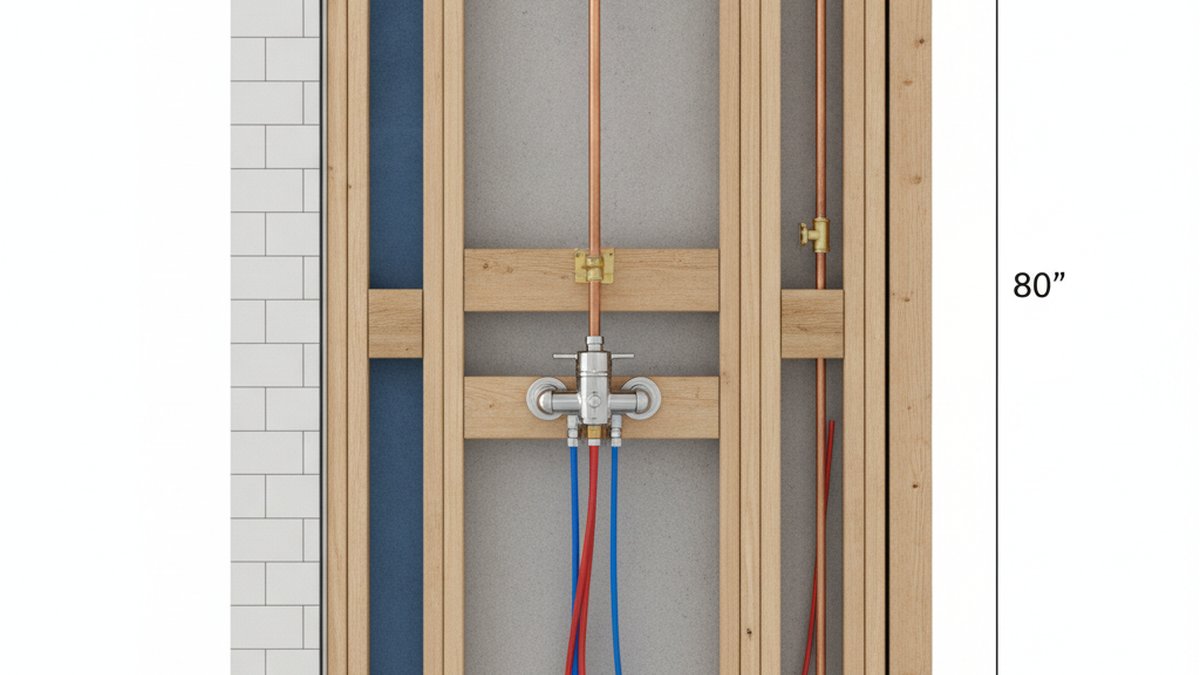
If you’re replacing an old valve, cut it out cleanly with a tubing cutter, leaving enough straight pipe (at least 1.5″ of clean copper) to make a new joint. For a new install, your rough-in copper or PEX stubs should already be capped and pressure-tested. The valve body needs to sit between 1″ and 1-3/4″ behind the finished wall surface — measure twice. Most American valves come with a plaster guard that shows the maximum and minimum depths molded into the plastic.
Hot Left, Cold Right — and Why It Matters
American plumbing code (and every major manufacturer’s instructions) calls for hot on the left when facing the valve from inside the room. The valve body is stamped “H” and “C” on the inlets. Reversing them isn’t just a comfort issue — pressure-balance cartridges are calibrated assuming the correct orientation, and the anti-scald function will not perform as tested if the lines are swapped. If you’re working on a corroded valve, this is a good time to read our piece on why bathroom faucets corrode and how to prevent it — many failed valves come out because the inlets were never properly sealed in the first place.
Step 2: Mount the Valve Body
Secure the valve to a horizontal 2×4 cross-brace between the studs. The brace prevents the valve from twisting when the handle is operated and gives the escutcheon something solid to land on. Use the manufacturer’s mounting screws — don’t substitute drywall screws, which can split the brace under repeated handle torque.
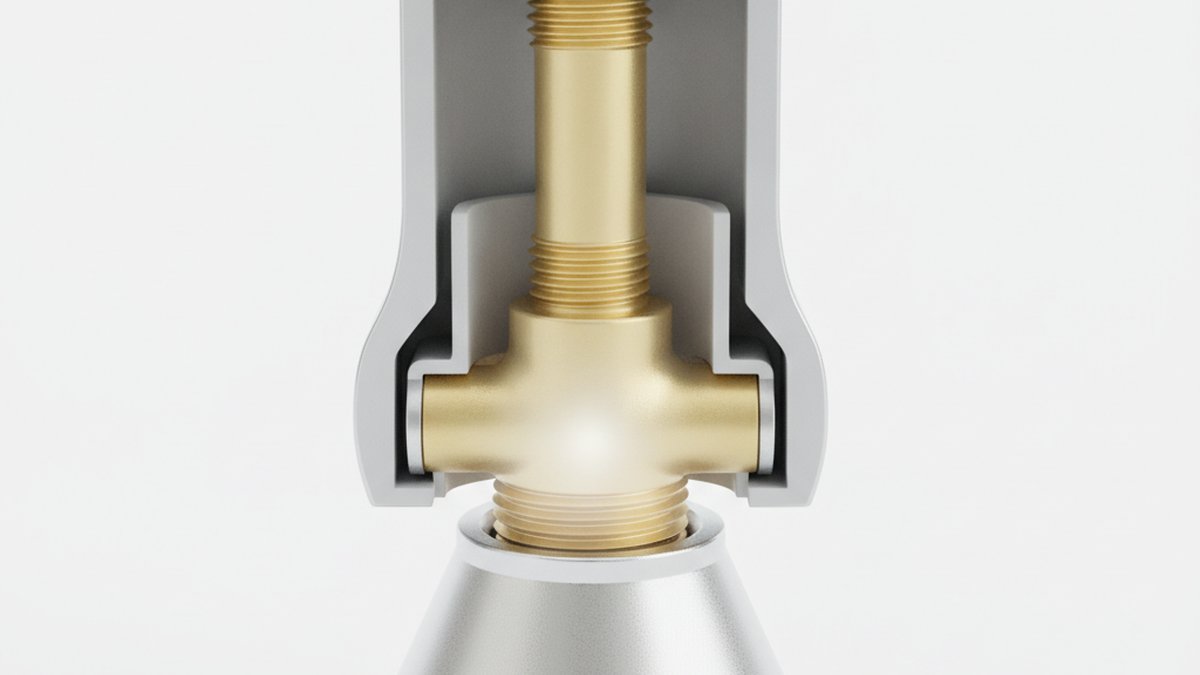
Orient the valve so the “UP” arrow points to the ceiling and the spout outlet faces straight down. The tub spout drop-ell will connect to that lower outlet, typically through a 1/2″ copper nipple or a brass drop-ell with a threaded female inlet. Dry-fit the nipple from the valve to the wall, mark your cut, then sweat or push-fit the connection. If you’re soldering, remove the cartridge before applying heat — every cartridge maker voids the warranty if you cook the internal O-rings.
Connecting the Shower Riser
If your install includes a shower head, the top outlet of the valve runs a 1/2″ vertical riser up to the shower elbow. Strap the riser to a stud every 32″ or so to prevent water-hammer rattle. Cap the shower outlet on the valve if you’re installing tub-only — most valves ship with a brass plug for exactly this purpose, and skipping it will route water out the shower head every time you fill the tub.
Step 3: Install the Waste-and-Overflow Drain Assembly
The drain side is where most DIY installs go wrong, because it has to happen before the tub is set, but it can only be tested after the tub is set. Lay the tub on its side or on padding so you can reach the drain shoe from underneath. Test-fit the entire waste-and-overflow assembly — overflow elbow, vertical tube, tee, and shoe — against the tub. Trim the vertical tube to length so the tee sits directly under the drain hole with no side-load on the shoe.
Apply a generous rope of plumber’s putty (about the thickness of a pencil) around the underside of the drain flange. Thread the flange down into the shoe from inside the tub, using a drain extractor tool to tighten it until the putty squeezes out evenly around the rim. Wipe the excess — don’t leave a fat ring that will discolor over time. Below the tub, the overflow gasket goes between the elbow and the tub wall; the cover plate sandwiches it from inside.
Choosing Between PVC and Brass Drain Kits
You’ll see both materials at the home center. Here’s how they compare for a typical residential install:
| Feature | PVC Waste-and-Overflow | Brass Waste-and-Overflow | ABS Waste-and-Overflow |
|---|---|---|---|
| Typical Cost (US) | $25–$45 | $80–$160 | $30–$55 |
| Expected Service Life | 25–40 years | 40–70 years | 25–40 years |
| Joint Method | Solvent cement | Slip-nut compression | Solvent cement |
| Repairability | Cut and replace section | Loosen nuts, swap parts | Cut and replace section |
| Code Acceptance | Universal (UPC/IPC) | Universal (UPC/IPC) | Most jurisdictions |
| Best For | Budget DIY, standard tubs | Premium installs, freestanding tubs, exposed runs | Cold-climate installs |
For most American homeowners, a quality PVC kit handles the job for decades. Brass becomes worth the price when the assembly is exposed (under a clawfoot or freestanding tub) or when you want compression joints you can service without cutting.
Step 4: Set the Tub and Make Final Drain Connections
Lower the tub onto its mortar bed or shimmed support. The drain shoe should align with the P-trap below. Connect the shoe to the trap arm — slip-joint compression for brass, solvent weld for PVC. Do not over-tighten compression nuts; hand-tight plus a quarter-turn with channel-locks is the standard. Over-torque crushes the washer and creates the slow drip that finds you six months later.
If you’re tying into existing DWV pipe in an old house, this is the moment to inspect the trap and arm for corrosion. Galvanized traps that are thirty-plus years old are usually past their service life and should be replaced while you have access. Our breakdown of what “lifetime warranty” actually covers on faucets is worth a read here — most warranties exclude the drain assembly entirely.
Step 5: Install the Tub Spout
Tub spouts come in two attachment styles: slip-fit (set screw on the underside, slides over a copper stub) and threaded (screws directly onto a 1/2″ male nipple). Check what your spout requires before you cut anything.
For a threaded spout, wrap the nipple threads with three to four turns of PTFE tape in the direction the spout will rotate. Add a thin layer of pipe-joint compound over the tape — belt-and-suspenders is appropriate here because removing a tub spout to add sealant later means opening the wall. Thread the spout on by hand until snug, then use a wooden dowel or the handle of a wrench inside the spout opening to align it straight down. Never grip the chrome finish directly with metal pliers.
For a slip-fit spout, the copper stub should extend out from the finished wall by the dimension specified in the spout’s instructions (typically 2-7/8″ to 3-3/16″). Slide the spout on, tighten the set screw with the included Allen key, then run a small bead of clear silicone around the wall flange to keep splash water out of the cavity.
Step 6: Install the Trim, Handle, and Overflow Plate
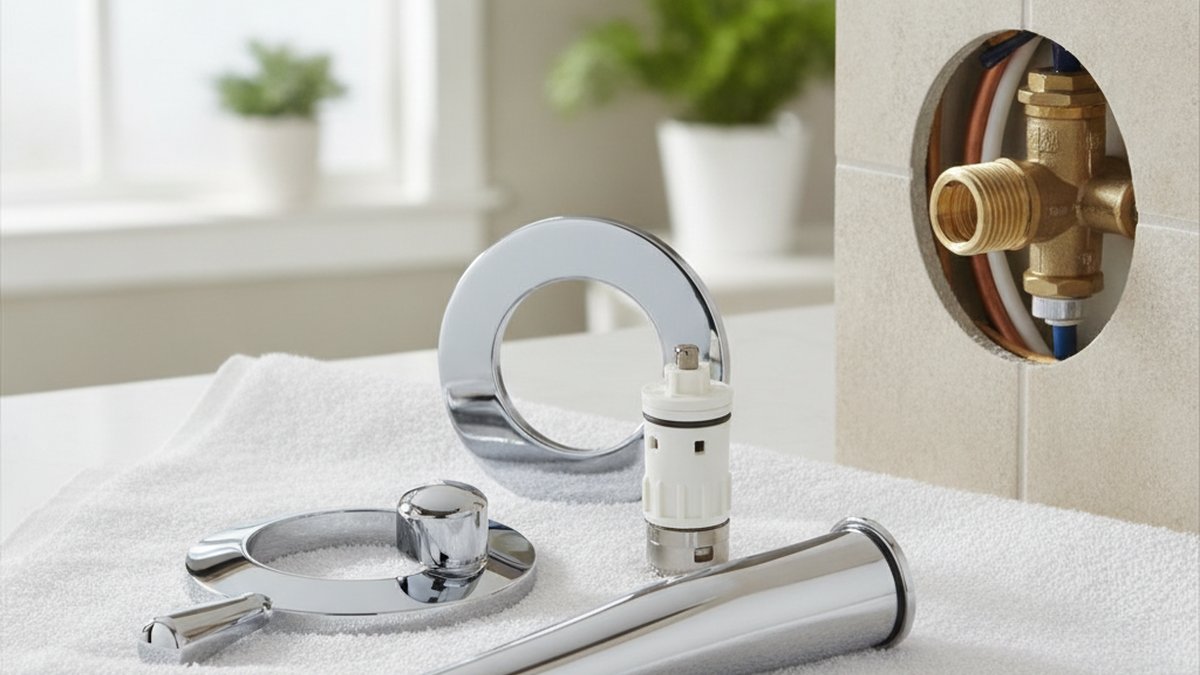
With the rough mechanicals done, reinstall the cartridge if you removed it for soldering. Slide on the escutcheon plate — a thin bead of silicone on the back side of the escutcheon prevents water from migrating behind the tile. Attach the handle per the manufacturer’s instructions; most modern handles use a single screw under a decorative cap.
Inside the tub, the overflow plate covers the gasket you installed earlier. If your drain is a “trip-lever” style, the lift rod and pop-up linkage hang from the back of this plate — adjust the linkage so the stopper fully seats when the lever is down. Toe-touch and lift-and-turn drains skip this linkage entirely and are simpler to set, but they don’t meet code in some jurisdictions for ADA installations.
Step 7: Pressure Test and Leak Check
Restore water at the main slowly. With the tub valve closed, walk every joint with a dry paper towel — towels show seeping moisture long before your eyes can see a drip. Open the valve gradually and check the spout connection, the valve escutcheon perimeter, and any soldered joints you can access. Fill the tub to just below the overflow and let it sit for thirty minutes; any drop in the water line means the drain flange putty isn’t sealing.
Then open the drain. Watch the trap connection, the shoe-to-tee joint, and the overflow tee while the tub empties. A tub drains fast, and that surge is the real test of your slip-joint torque. If you see weeping, snug the nut a quarter-turn and re-test — don’t lean on it.
Common First-Run Issues
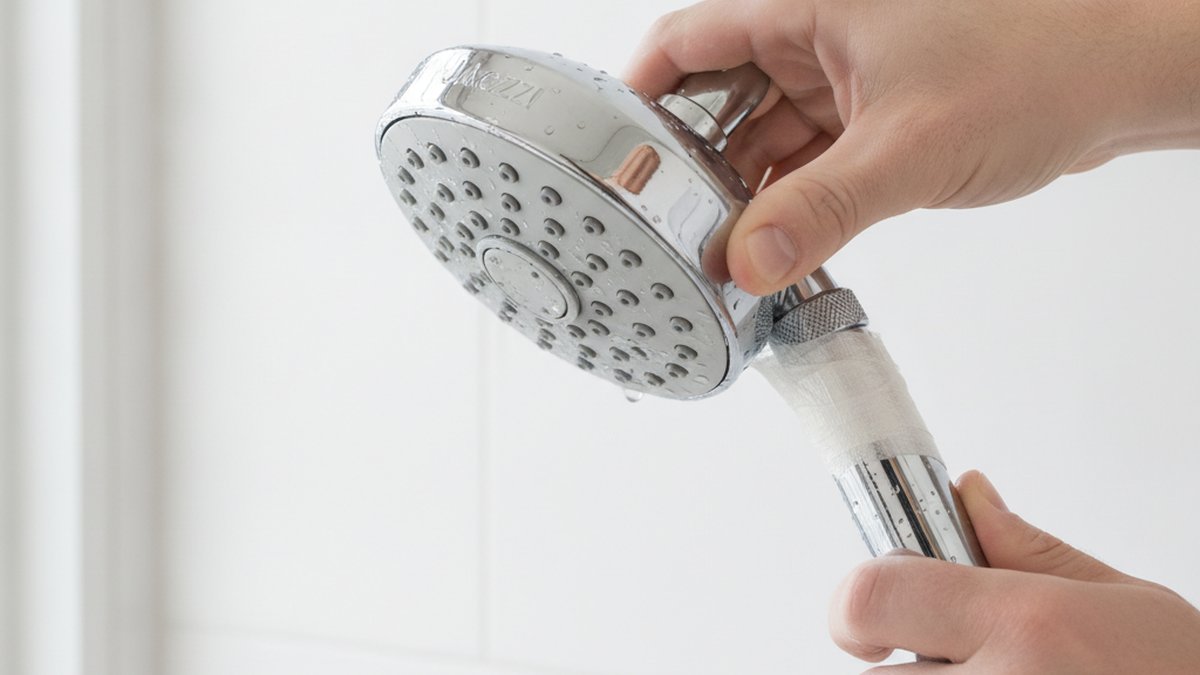
- Spout drips when shower is on: The diverter inside the spout isn’t sealing. Either the spout is the wrong style for your valve, or it’s not seated all the way against the wall.
- Handle is stiff: Debris from soldering or PEX cutting is in the cartridge. Pull the cartridge, flush the lines with the cartridge out, and reinstall. We cover this in more depth in our guide to why a faucet is hard to turn.
- Water at overflow plate when filling: Gasket is pinched or upside-down. Drain, remove the cover, and reseat.
- Slow drain: P-trap below is partially blocked, or the trap arm slope is wrong. Should be 1/4″ per foot.
Special Cases: Freestanding Tubs and Wall-Mount Faucets
If your tub is a freestanding soaker, the install path changes significantly. The supply lines come up through the floor instead of the wall, and the faucet itself is a floor-mount or tub-mount filler. Our deep-dive on what a freestanding tub filler is and why you need one covers sizing, flow rate, and how to rough-in the floor stub-outs before tile goes down.
For wall-mount tub faucets where the spout sits on a finished tile wall (common in modern remodels), the procedure overlaps significantly with bathroom sink wall-mount installs — our complete wall-mount installation guide walks through bracket spacing, finished-wall depth, and waterproofing the penetration.
Codes, Standards, and When to Call a Pro
Every U.S. jurisdiction adopts some version of the Uniform Plumbing Code (UPC) or International Plumbing Code (IPC). Both require pressure-balance or thermostatic mixing valves for new tub/shower installs (ASSE 1016 listed), and both require a P-trap of the correct size — 1-1/2″ minimum for a residential tub. Permits are required in most cities for valve replacement, even like-for-like. Check before you cut.
Call a licensed plumber if any of the following apply: you’re moving the drain location, you’re working in a slab-on-grade home where the trap is buried in concrete, your supply lines are galvanized steel (which should be repiped, not patched), or you can’t positively identify hot and cold at the rough-in. Faucet manufacturers, including the partners we work with at aleashafaucet, void warranty coverage when installation doesn’t follow listed instructions — and inspectors will fail an install that doesn’t meet the code in force at permit issuance.
Material and Finish Considerations
Faucet finish matters more on a tub than on a sink because of constant humidity and the cleaning chemicals people use on tubs. Brushed nickel and matte black remain the most durable finishes for the steam-and-soap environment of a tub deck, while polished chrome continues to be the longest-running finish for resale value. If you’re choosing trim, our finish trend coverage — brushed nickel in 2026, matte black in 2026, and caring for gold finishes — can help you pick a trim that still looks current in five years.
On the mechanical side, look for solid-brass valve bodies (not zinc) and ceramic-disc cartridges. NSF/ANSI 61 and NSF/ANSI 372 certifications confirm the product meets U.S. lead-free standards. Every aleashafaucet bathtub valve we sell is tested to a minimum of 500,000 cycles — well above the IAPMO baseline — and ships with a limited lifetime warranty on the valve body and a 10-year warranty on finish.
FAQ
How long does it take to install a bathtub faucet and drain?
A confident DIYer with all materials staged can complete a like-for-like valve and drain replacement in 6–10 hours. A new install with rough-in plumbing and a fresh tub set takes a full weekend, plus tile and drywall closure time afterward.
Do I need a permit to replace my bathtub faucet?
In most U.S. jurisdictions, yes — even a like-for-like cartridge valve swap typically requires a plumbing permit because the new valve must be ASSE 1016 anti-scald listed. Permit fees are usually $40–$150 and protect you on resale and insurance.
Can I install a bathtub faucet without removing the tub?
Yes, if you have access to the valve from behind (a closet, hallway access panel, or removable plywood panel). The drain side is trickier — you need access from below or be willing to cut a small drywall opening downstairs. A trip-lever or pop-up drain can usually be serviced from inside the tub without any access at all.
What’s the difference between a tub spout diverter and a separate diverter valve?
A spout diverter has a small pull-up lever on top of the tub spout that redirects flow upward to the shower head. A separate diverter is a third handle (or a function on a multi-function valve) that does the same thing without water pressure dropping when the shower turns on. Spout diverters are more common and easier to replace; built-in diverters perform better at low household water pressure.
Why is my new tub spout dripping from the shower head when the tub is on?
This almost always means the diverter inside the spout isn’t fully engaging or the spout isn’t seated tight against the wall. Check that the spout bottoms out on the threaded nipple (or that the slip-fit set screw is fully tightened) and that the diverter washer inside the spout isn’t damaged. Replacement spouts are inexpensive — swap rather than rebuild.
Should I use plumber’s putty or silicone under the drain flange?
Plumber’s putty is the traditional choice and remains code-compliant, but stone, composite, and some colored acrylic tubs can stain from petroleum-based putty — use a non-staining putty or 100% silicone in those cases. Always follow the tub manufacturer’s instructions; using the wrong sealant can void the tub warranty.
What size supply lines do I need for a bathtub faucet?
1/2″ nominal copper, PEX, or CPVC supply lines are standard for residential tub valves. High-flow freestanding tub fillers (above 10 GPM) sometimes call for 3/4″ supply — check your specific filler’s installation sheet before roughing in.
Final Notes from the aleashafaucet Team
This guide was written by the aleashafaucet content and engineering team based on hands-on installations of single-handle, two-handle, and thermostatic tub valves across acrylic, cast iron, and porcelain-enameled steel tubs. We design and source faucets that meet or exceed NSF/ANSI 61 and 372 lead-free standards, with valve bodies tested per ASME A112.18.1 and finishes evaluated against ASTM B456 corrosion resistance. Every product page on www.aleashafaucet.com includes the rough-in dimensions, ASSE listing, and the spec sheet you’ll need for a permit application.
If you run into something this guide doesn’t cover — an unusual rough-in, a discontinued valve, or a cartridge identification question — reach out through our support page with photos and your home’s age. We’ve helped homeowners across the country diagnose installation issues that turned out to be everything from upside-down cartridges to municipal water-pressure problems. The fix is almost always simpler than it looks once you have the right information.