If you’ve been shopping for a shower loop system and feel like every listing describes something slightly different, you’re not imagining it. “Loop system” isn’t a tightly regulated term — brands use it for any shower kit where the outlets are plumbed in one continuous circuit and share a single valve. The good news: once you know what actually matters (the valve type, the flow rate, the diverter, and the finish), choosing one is genuinely straightforward. This guide walks you through it like a plumber friend would.
What exactly is a “shower loop system,” and how is it different from a normal shower?
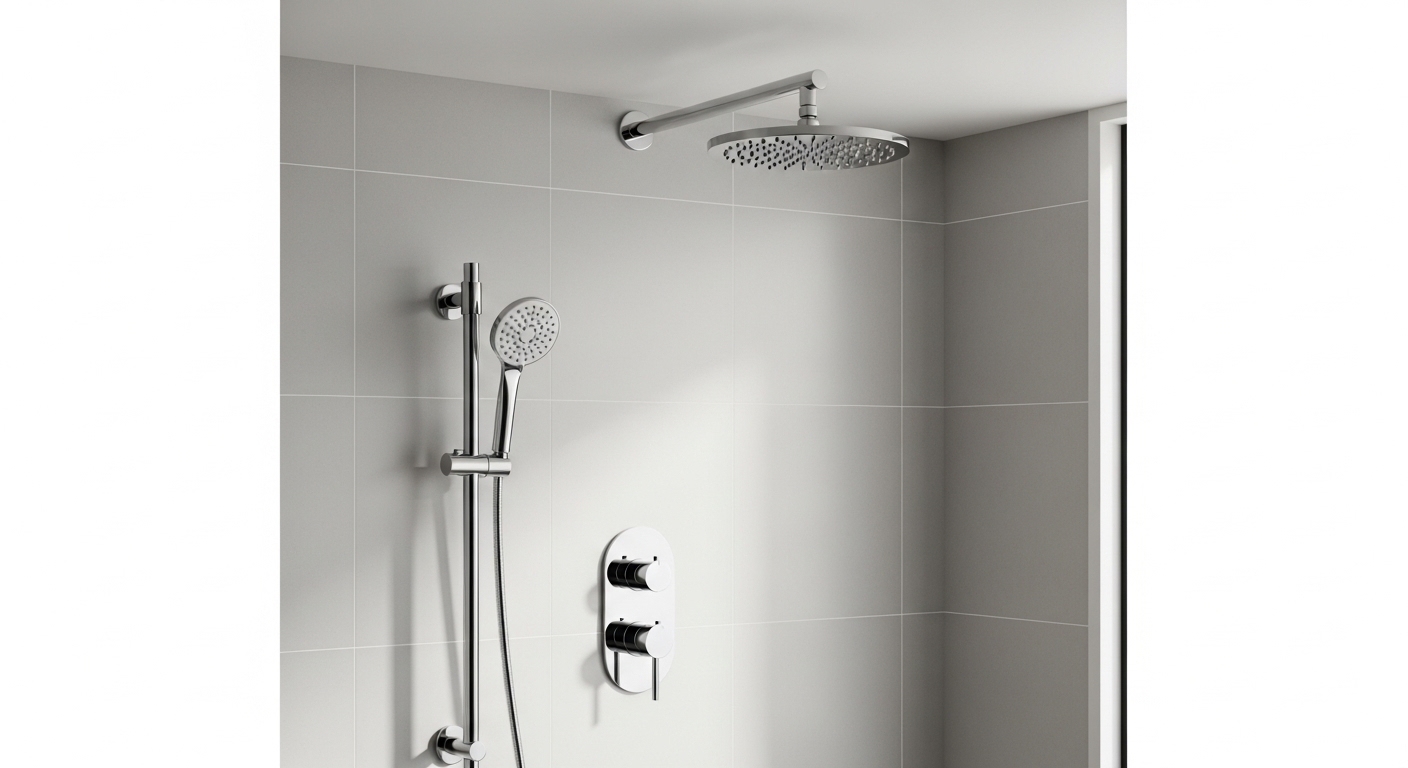
A shower loop system is a full shower package — valve, riser or shower arm, rain head, and handheld wand — engineered to work together on one shared water loop, instead of parts you buy separately and hope will match. The difference from a “normal” single shower head is that everything is coordinated: one valve controls temperature, one diverter switches between outlets, and every visible piece shares the same finish.
Think of it as the difference between buying a matched suit versus assembling one from three thrift stores. A basic shower is one head screwed onto a wall pipe. A loop system routes water from a central valve through a loop of supply lines feeding multiple outlets — so you can, for example, rinse shampoo under a wide rain head, then grab the handheld to rinse the tub or a dog without changing the temperature. This is closely related to what many brands call a shower system mixer tap, and in practice the two terms overlap heavily.
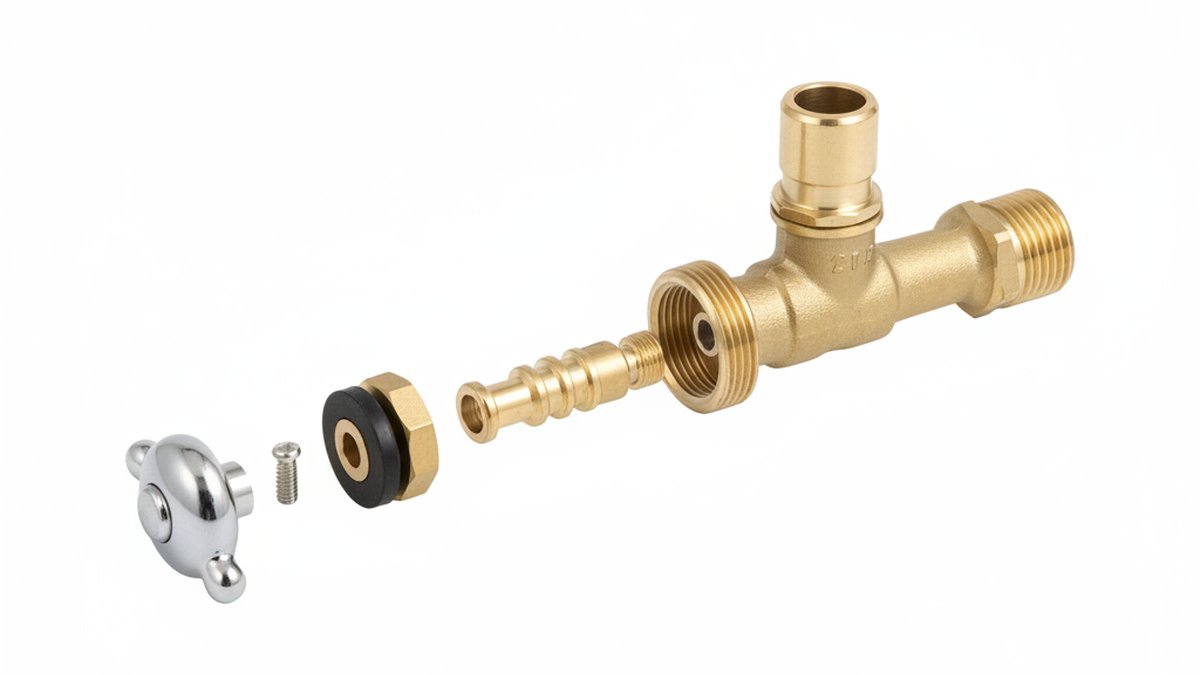
Key components of a typical loop system:
- The valve — the brain of the system. Either thermostatic (holds your set temperature) or pressure-balance (prevents scalding when someone flushes a toilet).
- The rain/overhead head — the main outlet, usually 8–12 inches wide.
- The handheld sprayer — on a hose, often mounted to a slide bar.
- The diverter — decides which outlet gets water (or both at once).
- Optional body jets — wall-mounted sprayers for a spa feel.
Do you actually need a shower loop system, or is it overkill for a normal bathroom?
You need a loop system if you want two or more spray options (rain head + handheld) working from one valve, or if you’re remodeling and want a coordinated look without hunting for matching parts. It’s overkill only if you truly want a single fixed head and nothing else — and even then, a simple thermostatic loop is a nice upgrade for the temperature control alone.
Here’s the honest breakdown by scenario:
- Family bathroom with kids or pets: Yes — the handheld is worth it every single day for rinsing kids, tubs, and dogs.
- Small apartment shower stall: A compact 2-outlet loop (rain head + wand) is ideal; skip body jets, which need more flow than most apartments provide.
- Master bath spa upgrade: Go for a thermostatic loop with body jets — but confirm your home can supply the flow (more on that below).
- Rental you’re improving cheaply: A basic pressure-balance loop under $200 gives 80% of the benefit.
One caveat worth flagging early: if your home already struggles with weak showers, adding more outlets won’t fix that. If your head dribbles while the rest of the house runs fine, the culprit is usually the head or valve, not the whole system — we cover that in our guide on why a shower head has low pressure but the rest of the house is fine. Read that before you spend money if pressure is your real concern.
Thermostatic vs. pressure-balance: which valve should a shower loop system have?
For most buyers, choose a thermostatic valve — it locks in your exact temperature and won’t flinch when someone flushes a toilet or starts the dishwasher. Pressure-balance is the cheaper, simpler option: it protects you from sudden scalding but doesn’t hold a precise temperature as steadily. If your budget allows the extra $50–$100, thermostatic is the upgrade you’ll feel every morning.
Why it matters in a loop system specifically: when you run a rain head and handheld at the same time, or switch between outlets, the pressure across the loop shifts. A thermostatic valve compensates instantly, so the water stays at your set temperature through every change. A pressure-balance valve keeps you safe but may drift a couple of degrees during those transitions.
| Feature | Thermostatic Loop System | Pressure-Balance Loop System |
|---|---|---|
| Holds exact temperature | Yes, precisely | Roughly — prevents scalding, may drift |
| Run two outlets at once | Excellent, stays steady | OK, small temp shifts possible |
| Typical price range | $250–$600 | $120–$300 |
| Best for | Master baths, families, spa setups | Rentals, budget remodels, single-user showers |
| Anti-scald safety | Yes + temp limit stop | Yes |
| Install complexity | Slightly more (larger valve body) | Standard |
How much water pressure and flow do you need to run one properly?
You need at least 40–45 psi of water pressure and enough flow to feed every outlet you plan to run at once — figure roughly 1.75–2.5 GPM per active outlet. A rain head plus handheld running together can pull 3.5–5 GPM, so if your home delivers weak flow, run one outlet at a time or choose a 2-outlet system over one with body jets.
This is the single most common reason people are disappointed with a loop system: they buy a gorgeous 5-outlet spa panel and their 1950s plumbing can only push enough water for one head. Do this quick check before buying:
- Test your pressure: A $10 gauge on an outdoor hose bib tells you your psi. Under 40 psi, prioritize a low-flow head and a single-outlet-at-a-time design.
- Time a bucket: Run your current shower into a 5-gallon bucket. If it takes longer than ~90 seconds to fill, your flow is limited — don’t add body jets.
- Check the supply line size: Half-inch supply lines feed most loop systems fine; older 3/8-inch lines may bottleneck multi-outlet setups.
If your existing shower is both weak and leaking, get that sorted first — a compromised valve or cartridge robs pressure. Our walkthrough on fixing a shower head with low water pressure and a leak shows how to diagnose it yourself before you install anything new.
What should you look for in a good shower loop system under $500?
Under $500, prioritize a solid-brass valve body, a thermostatic cartridge, a metal (not plastic) rain head arm, and a diverter that supports running the head and wand together. Skip systems where the “brass” is only the finish over plastic internals — those are the ones that leak in year two.
A concrete spec checklist to compare listings:
- Valve body: Forged brass, ideally lead-free/low-lead certified.
- Cartridge: Ceramic disc — it’s the part that determines how long the valve lasts before it drips.
- Rain head flow: 1.8–2.5 GPM. A 2.5 GPM head feels generous; 1.8 GPM is smart for low-pressure homes.
- Finish: PVD-coated finishes (brushed nickel, matte black, brushed gold) resist scratching and water spots far better than cheap electroplating.
- Handheld modes: 3+ spray patterns and an easy-clean rubber nozzle face that you can rub limescale off with a thumb.
- Diverter type: A 3-way diverter (head / wand / both) is the sweet spot for a loop system.
- Warranty: Look for a limited lifetime warranty on the valve and finish — it signals the maker trusts the internals.
On finishes specifically: matte black and brushed gold are the two biggest sellers heading into 2026, and both hide water spots better than polished chrome in hard-water homes. Chrome still wins on price and never looks dated, but it shows every droplet.
How hard is a shower loop system to install yourself?
If you’re only swapping the visible parts (head, arm, handheld, trim) onto an existing valve, it’s a 30–60 minute DIY job with basic tools. If you’re installing a new valve inside the wall, that’s a more involved job — you’re soldering or crimping supply lines behind the tile, and many people hire a plumber for that step even if they trim it out themselves.
The realistic split:
- Trim-only upgrade (DIY-friendly): Shut off water, unscrew old head and arm, wrap new threads in plumber’s tape, hand-tighten the new components, mount the slide bar with the included anchors, and test. No pipe work.
- New rough-in valve (call a pro or be confident): Opening the wall, mounting the valve at the correct depth, connecting hot/cold/outlets, and pressure-testing before you close the wall. Mistakes here mean water inside your wall — worth doing right.
Whichever route you take, always test for leaks at full pressure before you seal anything up, and set the valve’s anti-scald temperature limit stop so no one gets burned. Follow the manufacturer’s torque and thread-tape instructions rather than cranking everything as tight as possible — over-tightening cracks fittings and is a leading cause of hairline leaks.
Which shower loop system is right for you? A quick match-up
Match the system to your bathroom and your plumbing, not to the flashiest photo. Here’s the short version: budget rental → pressure-balance 2-outlet; family bathroom → thermostatic 2-outlet with handheld; master spa with strong plumbing → thermostatic multi-outlet with body jets.
| Your Situation | Recommended Loop System | Rough Budget |
|---|---|---|
| Rental / quick upgrade | Pressure-balance, rain head + handheld | $150–$250 |
| Busy family bathroom | Thermostatic, 3-way diverter, handheld on slide bar | $250–$400 |
| Hard-water region | Thermostatic + easy-clean nozzle head, PVD finish | $300–$450 |
| Master spa, strong pressure | Thermostatic, rain head + wand + 2–4 body jets | $450–$800 |
| Low-pressure old home | Thermostatic, single 1.8 GPM head + wand, no jets | $250–$400 |
FAQ
Is a shower loop system the same as a shower system mixer tap?
Largely yes — the terms overlap. A “mixer tap” refers specifically to the valve that blends hot and cold, while “loop system” refers to the whole coordinated kit built around that valve. In practice, most complete shower systems sold today are both. If you’re comparing the two names on product pages, focus on the valve type (thermostatic vs. pressure-balance) and the number of outlets rather than the marketing label.
Will a shower loop system increase my water pressure?
No — a loop system doesn’t add pressure; it distributes the pressure you already have across more outlets. If anything, running multiple outlets at once divides your available flow. If your shower feels weak, diagnose the real cause (a clogged head, a failing cartridge, or genuinely low house pressure) before assuming a new system will fix it.
Can I run the rain head and handheld at the same time?
Yes, if your system has a diverter that includes a “both” position and your plumbing can supply enough flow — roughly 3.5–5 GPM combined. Many people love this for rinsing while standing under the rain head. If your pressure is marginal, you’ll get a stronger experience running one outlet at a time.
How long does a good shower loop system last?
A quality system with a brass valve body and a ceramic-disc cartridge typically lasts 10–15+ years, with the cartridge being the first part to need replacement (often after 7–10 years, and it’s an inexpensive swap). Cheaper systems with plastic internals often start dripping within 2–3 years, which is why the valve material matters far more than the shine of the finish.
What finish holds up best in a hard-water bathroom?
PVD-coated brushed finishes — brushed nickel, brushed gold, and matte black — hide water spots and resist limescale etching better than polished chrome. They’re also more scratch-resistant. Whatever you choose, an easy-clean rubber-nozzle handheld makes limescale removal a 10-second thumb-rub instead of a soaking job.
Do I need a plumber to install one?
Not always. If you’re upgrading the trim and head onto an existing in-wall valve, it’s a beginner-friendly DIY job. If you’re installing a brand-new valve inside the wall, most people hire a plumber for the rough-in and pressure test — a leak behind tile is expensive to fix. When in doubt, do the trim yourself and leave the in-wall plumbing to a pro.
Author note: This guide was written by the aleashafaucet product team, who spec, pressure-test, and warranty shower systems for a living. We install and bench-test the valves and heads we sell — checking flow rates against their rated GPM, cycling cartridges for durability, and verifying finishes against corrosion and scratch standards. aleashafaucet backs its thermostatic valves with a limited lifetime warranty on the valve body and finish, and all wetted brass parts meet U.S. lead-free (NSF/ANSI 372) requirements. Our advice here reflects what we’d tell a friend, not what pads a receipt.