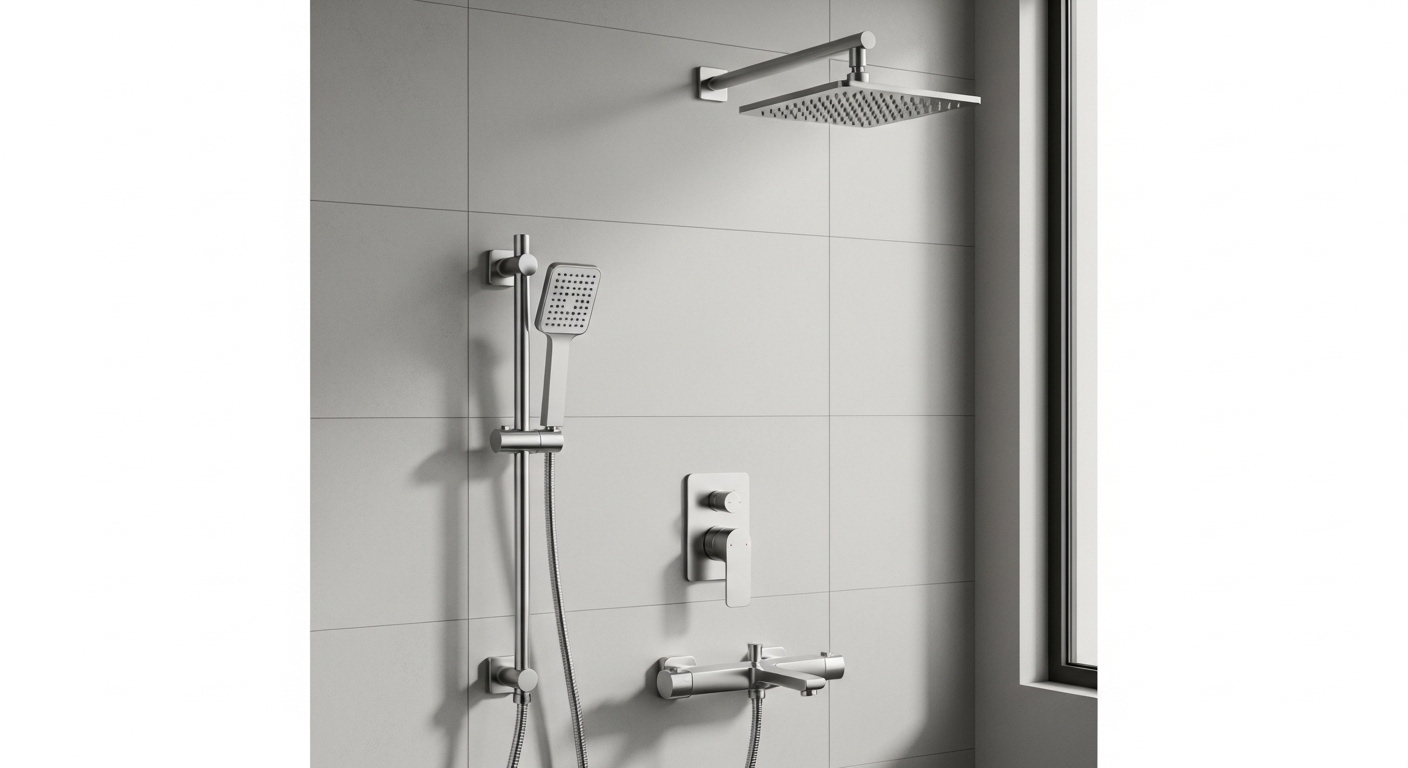
If you’ve been comparing bathroom upgrades and keep landing on the term shower system mixer tap, here’s the plain-English version: it’s the control heart of your shower. Instead of two separate hot and cold handles (or a flimsy plastic diverter), a mixer tap uses one valve and one or two levers to set your temperature and flow, then routes that water to whichever outlet you want — overhead rain head, handheld spray, or wall jets. Get the valve right and you get a shower that holds temperature when someone flushes a toilet. Get it wrong and you get scalds, drips, and a call to a plumber six months in. This guide walks you through exactly how to choose, in the order the questions actually come up.
What exactly does a shower system mixer tap do that two taps don’t?
A mixer tap combines hot and cold into one pre-blended stream and holds that blend steady, which two separate taps physically can’t do. With old twin taps you’re constantly nudging both handles to chase a comfortable temperature, and every pressure change — a washing machine filling, a toilet flushing — throws it off. A mixer valve reacts automatically instead.
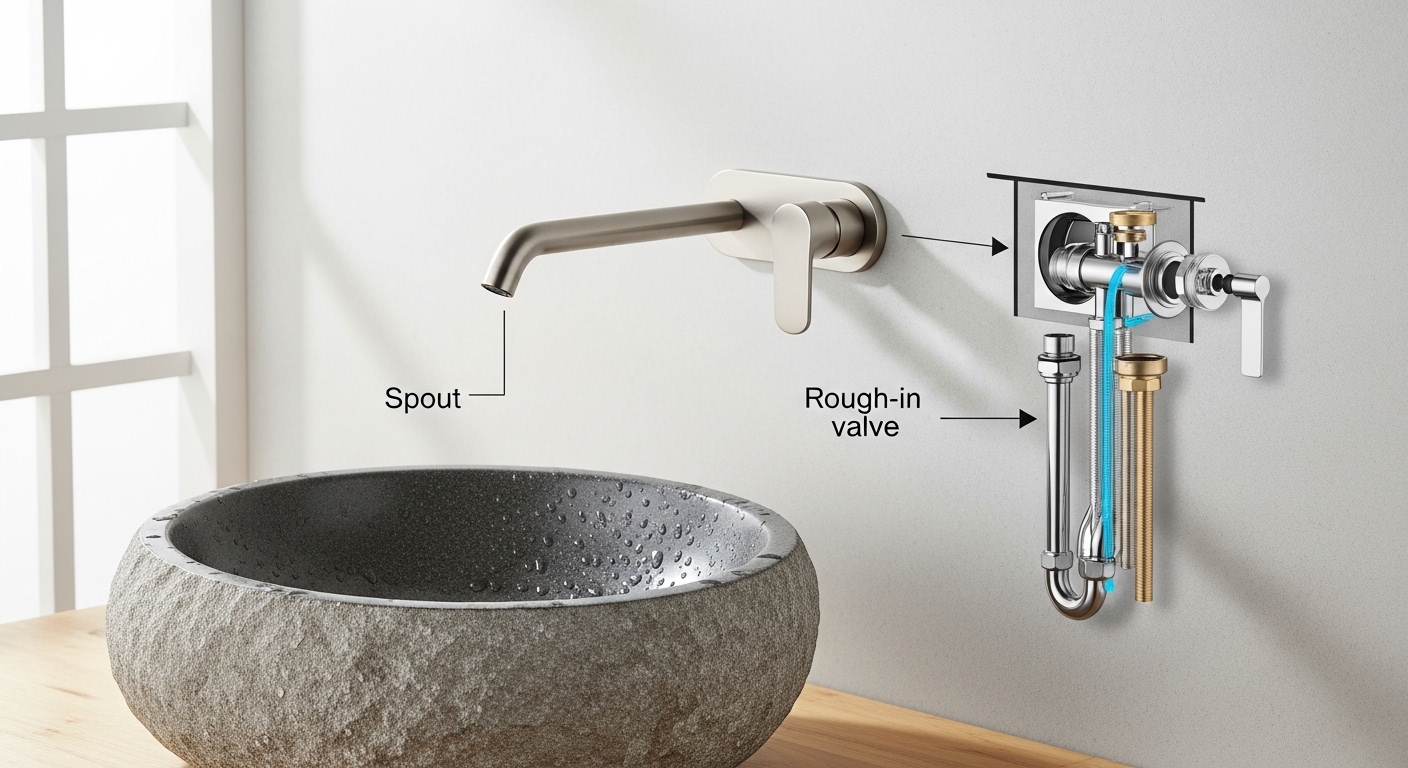
Under the trim, the “mixer” is really the cartridge or valve doing the work. There are two grades of protection you should know before you spend a dollar:
- Pressure-balanced valve: Keeps temperature roughly constant by reacting to pressure drops. If cold pressure drops (toilet flush), it cuts hot proportionally so you don’t get scalded. This is the U.S. code minimum for most shower valves and it’s genuinely good enough for a single-outlet shower.
- Thermostatic valve: Uses a wax or bimetal element that senses actual water temperature, not just pressure, and corrects within about 1–2°F. It’s the upgrade you want for a multi-function system with a rain head plus jets, or any home with kids or elderly users. Most thermostatic units include an anti-scald limit stop, often factory-set around 100–104°F.
The mixer is also what makes a true system possible. A shower system means multiple outlets — say a 10-inch rain head and a handheld — and the mixer includes a diverter so you send water to one, the other, or both. That’s the whole appeal: one clean control set, several ways to actually use the shower.
Thermostatic vs. pressure-balanced vs. manual: which mixer valve is right for my bathroom?
Pick thermostatic if you have a multi-outlet system or vulnerable users, pressure-balanced if it’s a straightforward single-head shower on a budget, and skip manual mixers unless you’re on a very tight remodel and have stable water pressure. Here’s the side-by-side so you can match it to your situation and budget.
| Valve type | Temp accuracy | Anti-scald | Best for | Typical price (valve + trim) |
|---|---|---|---|---|
| Manual mixer | Loose — you set it, pressure shifts it | No dedicated protection | Tight budgets, stable pressure, single head | $60–$130 |
| Pressure-balanced | ±3–5°F | Yes (reacts to pressure) | Standard single-head showers, code compliance | $120–$260 |
| Thermostatic | ±1–2°F | Yes (senses temperature) + limit stop | Rain head + jets + handheld, kids/elderly | $180–$450 |
| Digital/smart | ±1°F, presets | Yes, programmable limit | Luxury remodels, preset temperature per user | $450–$1,200 |
My honest take: for a full shower system with more than one outlet, thermostatic is worth the extra $60–$150. The moment you run a rain head and body jets together, flow demand goes up and pressure-balanced valves start to feel twitchy. A thermostatic mixer just holds the number you set. If it’s a single rain head in a guest bath, pressure-balanced is completely fine and you can put that money into a nicer finish instead.
How much should a good shower system mixer tap cost, and where’s the sweet spot?
For a quality, long-lasting shower system mixer tap, budget $180–$450 for the visible trim and valve together — that’s the sweet spot where you get a solid-brass body, a ceramic-disc or thermostatic cartridge, and a real warranty without paying luxury-brand markup. Below about $120 you’re usually buying a zinc-alloy or thin-wall body and a plastic cartridge that fails early. Above $500 you’re mostly paying for brand name, digital controls, or designer finishes.
Here’s how the money actually breaks down and where it’s smart to spend:
- The valve/cartridge (spend here): This is the part that leaks or fails. A ceramic-disc cartridge or a genuine thermostatic element is worth every penny. Cheap rubber-washer valves drip within a year.
- The body material (spend here): Solid brass or 304/316 stainless resists corrosion for decades. Zinc alloy pits and cracks, especially in hard water.
- The rain head (moderate): A larger head (10–12 inch) feels luxurious but needs adequate flow. Air-injection heads make a 1.8 GPM WaterSense head feel fuller.
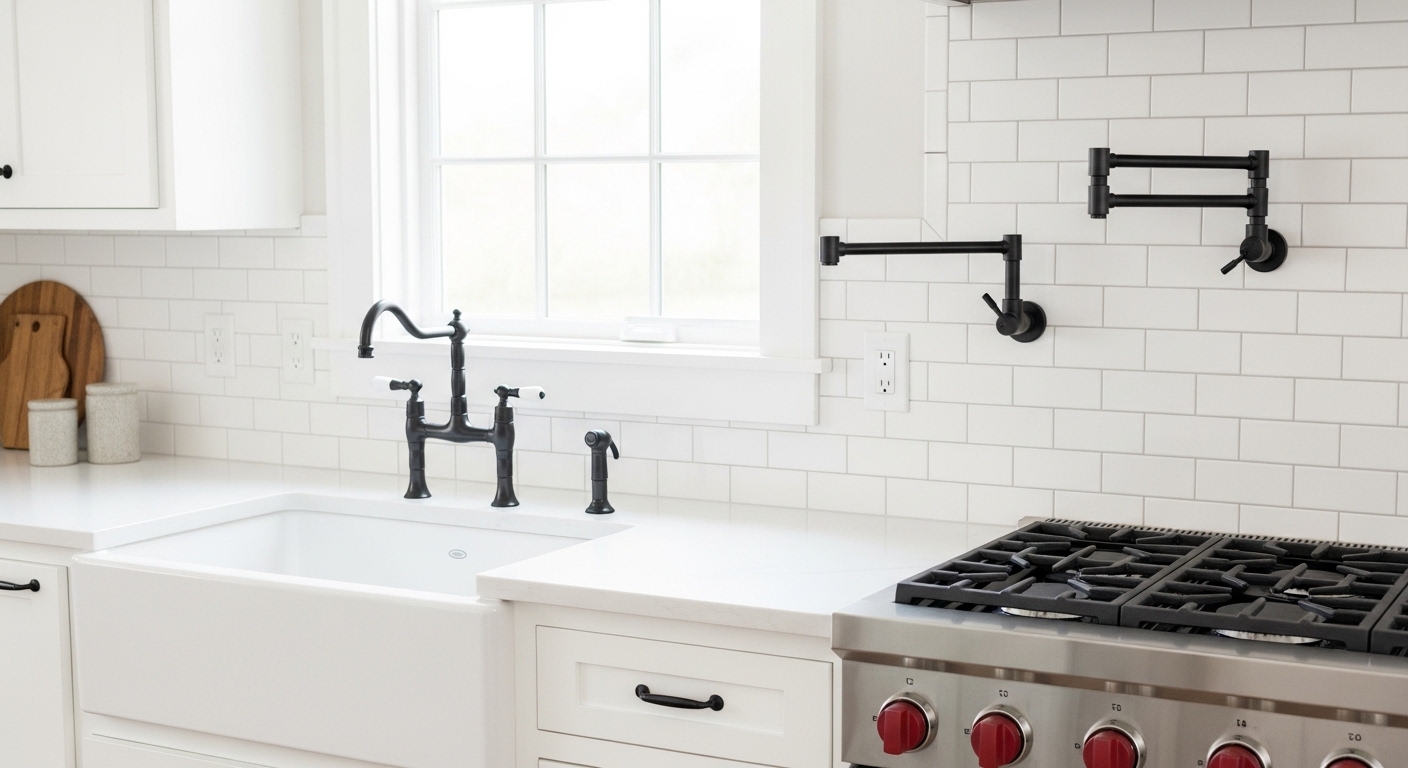
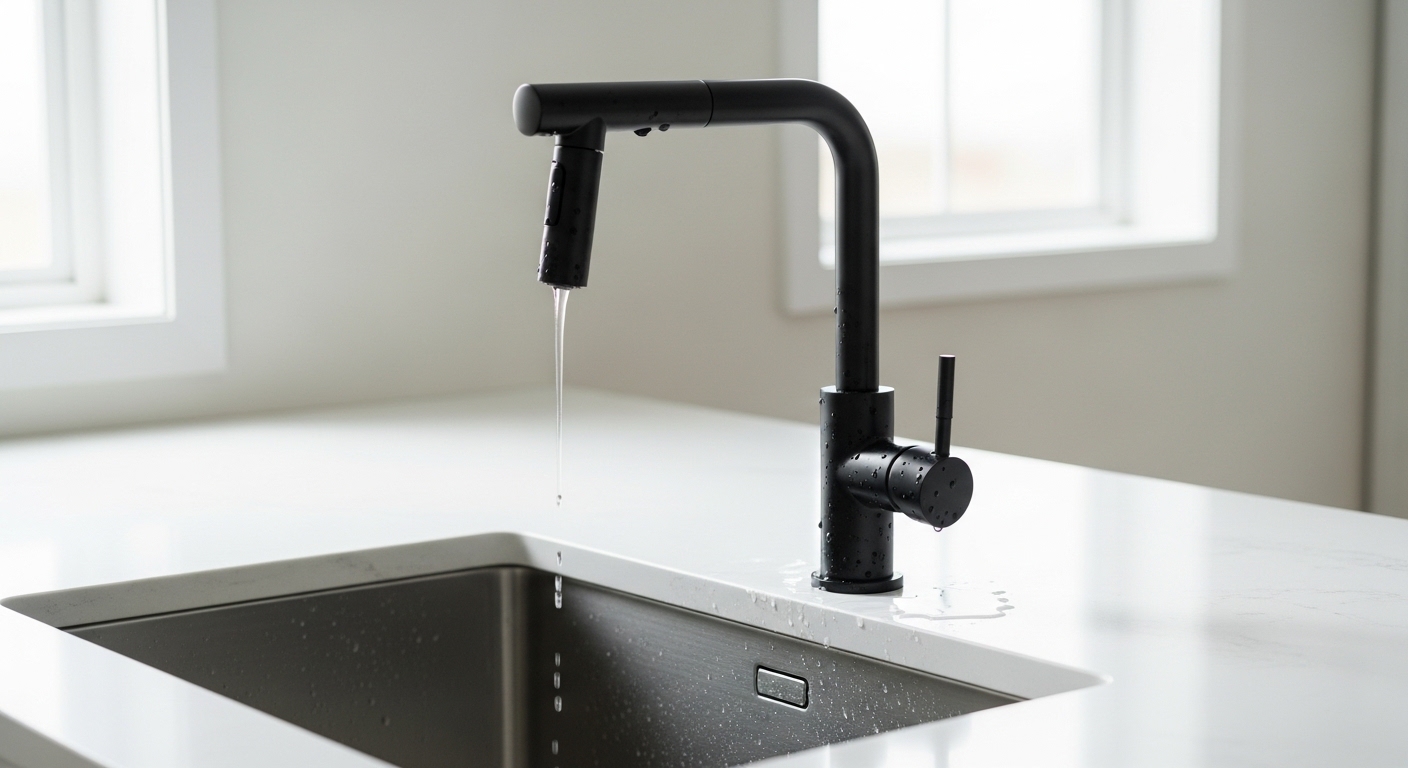
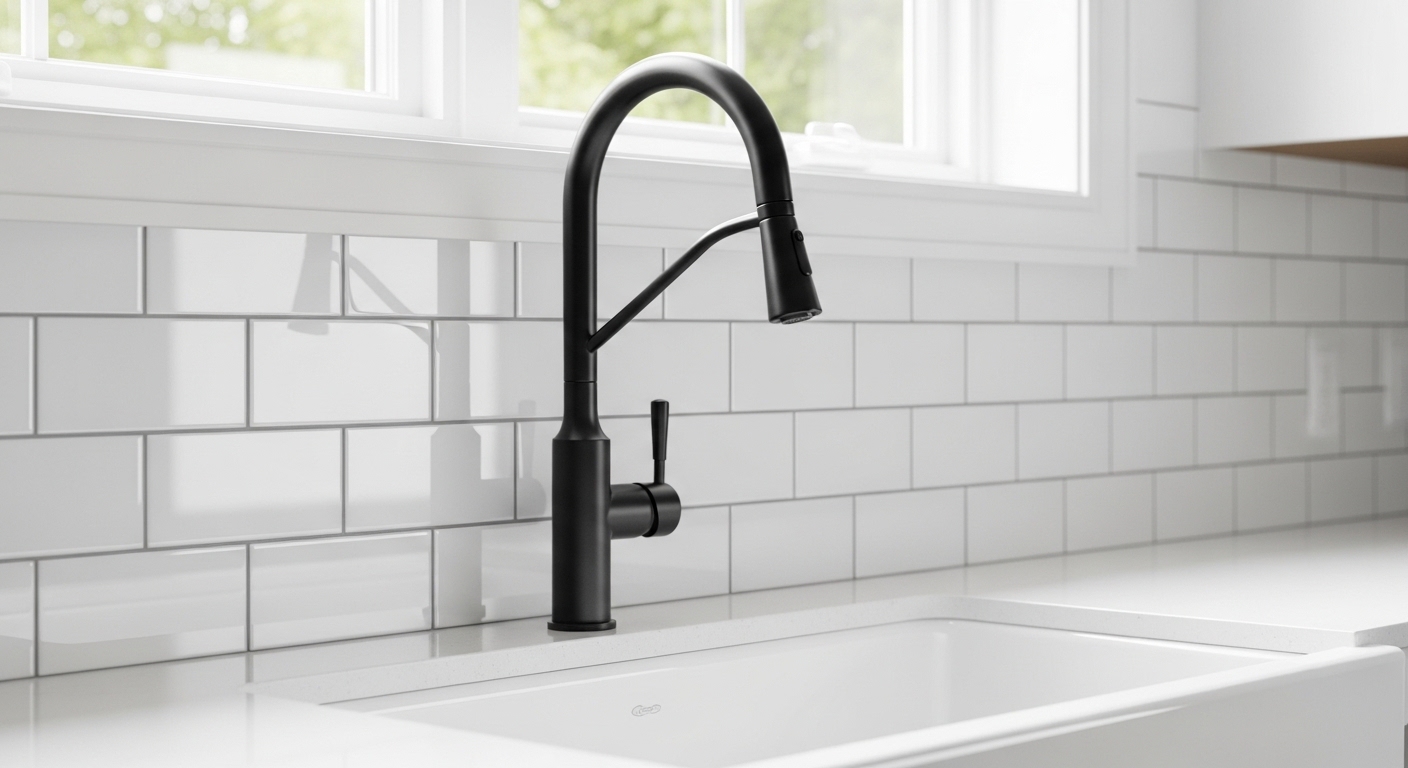
- The finish (personal): Matte black, brushed gold, brushed nickel, and chrome all cost roughly the same in a decent brand. Pick for your room, not for price.
One real-world note on flow: U.S. federal standard caps shower heads at 2.5 GPM, and WaterSense-labeled heads run at 1.8 GPM or less. If your system has a rain head plus jets you want to run together, check your home’s pressure (ideally 45–60 psi) — a beautiful system on weak pressure just dribbles. If you’re weighing several units, it’s worth timing your purchase around markdowns; our roundup of the best bathroom faucets on sale right now covers how to spot a real discount versus a fake “was” price.
Which finish holds up best — matte black, brushed gold, or chrome?
For a shower environment, brushed/PVD finishes (brushed nickel, brushed gold) and quality chrome hold up best because they hide water spots and resist the constant humidity, while matte black looks stunning but shows hard-water mineral spotting more in areas with heavy limescale. The finish technology matters more than the color.
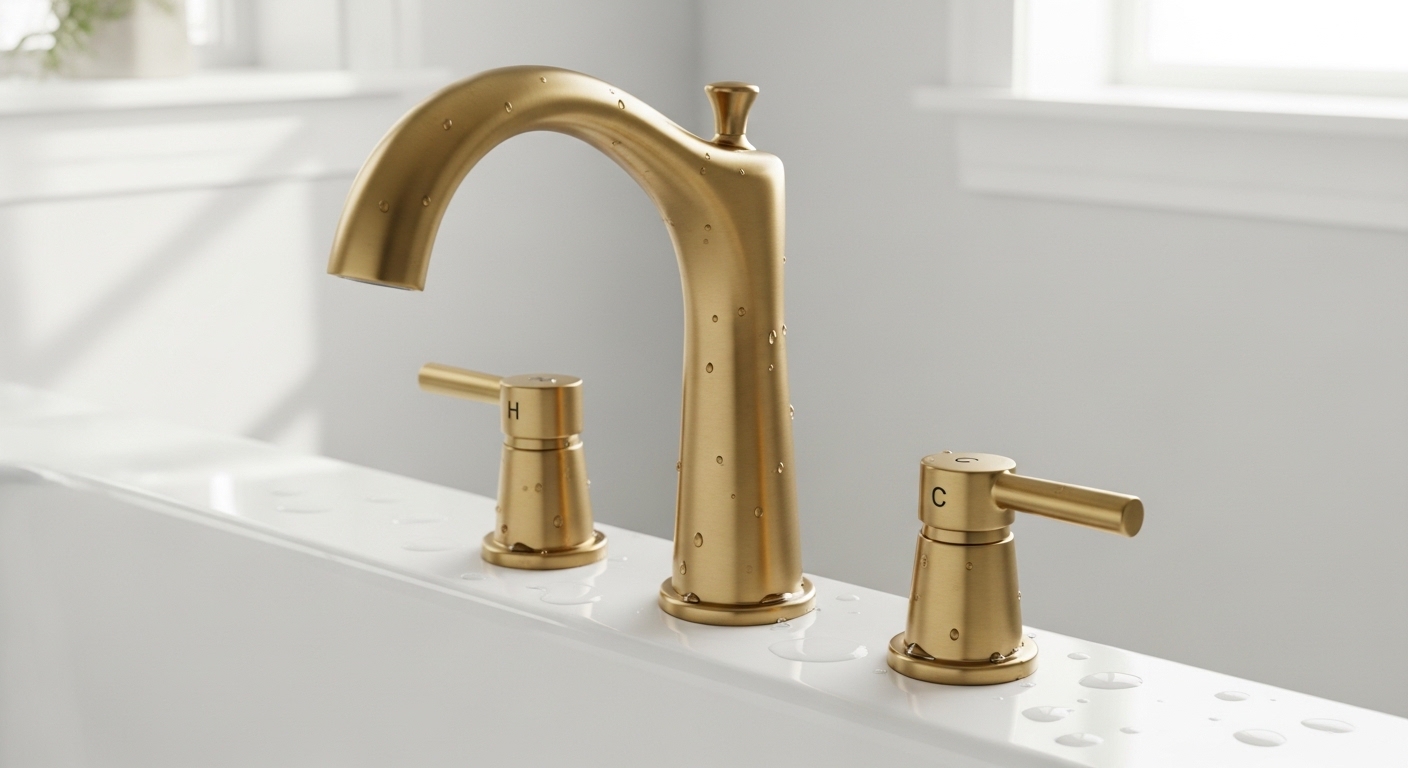
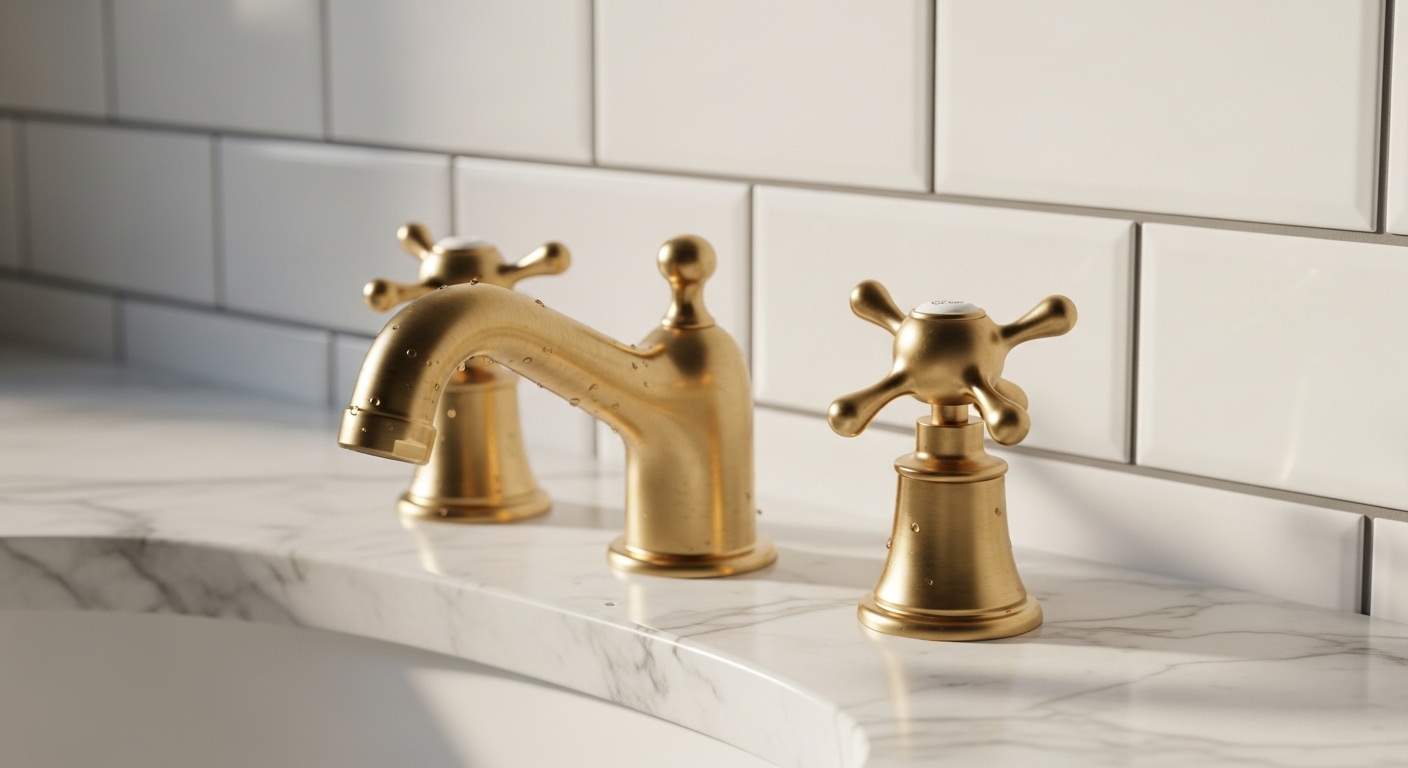
What to look for: a PVD (physical vapor deposition) coating is far more scratch- and tarnish-resistant than standard electroplating, and most reputable brands now use it on brushed and colored finishes. Chrome is the old reliable — cheapest to produce well, easy to clean, and it hides spots. Matte black is the design darling of the last few years and still going strong into 2026, but in a hard-water home you’ll be wiping it more often to keep that flat, even look. If you love a warm metallic, brushed gold has aged out of “trendy” and into “classic” — it reads timeless the same way our take on brushed gold traditional taps lays out for basin and tub fixtures.
How hard is a shower system mixer tap to install — can I DIY it?
Swapping the trim on an existing valve is a confident-DIYer job of 1–2 hours, but installing a new mixer valve means opening the wall and sweating or push-fitting supply lines — that’s plumber territory for most people. The dividing line is whether you’re touching pipes inside the wall.
Here’s the realistic breakdown of what you’re signing up for:
- Trim-only replacement (DIY-friendly): Your existing rough-in valve stays put; you unscrew the old handle and escutcheon and fit the new one. Shut off water, note the cartridge brand, buy matching trim. This is very doable.
- Full valve replacement in a finished wall (call a pro): Requires accessing the valve body, often from behind or by removing tile. Soldering copper or crimping PEX, plus pressure-testing, is where mistakes flood a room.
- New construction / studs exposed (DIY-possible for handy folks): Easiest time to install because everything’s open. Still, get the valve height right — mixer valve centers usually sit 42–48 inches off the floor, rain head arm around 80+ inches.
If you’re comfortable with wrenches, the general workflow mirrors a lot of what we cover for basin fixtures — the same shut-off, seal-the-threads, and no-overtightening discipline in our guide to installing kitchen taps and mixers applies directly to a shower mixer’s supply connections. And because the cartridge is the part you’ll eventually service, it helps to understand cartridge mechanics up front; the process in our how-to on replacing a tap cartridge is conceptually the same job you’ll do years later when your thermostatic element wears out.
What about matching it to a tub — do I need a different setup for a shower-over-bath?
Yes — if you have a bathtub under your shower, you want a mixer with a tub-spout diverter (a three-way or higher valve) so water can go to the spout, the rain head, or the handheld. A shower-only system doesn’t need the tub outlet, so buying one wastes an outlet and adds cost.
Count your outlets before you buy. Manufacturers label systems by function count: a “2-function” handles rain head + handheld; a “3-function” adds a tub spout or body jets; “4-function” adds another jet bank. Match the function count to what you’ll actually use. For a freestanding tub with a separate shower, you’re in different fixture territory entirely — a floor-mounted filler is its own animal, and if you’re planning that layout our piece on choosing the right Roman tub faucet is the better starting point for the tub side of the room.
How do I keep a shower mixer tap from dripping or losing pressure over time?
Ninety percent of shower mixer problems trace back to two things: a worn cartridge (causes dripping and temperature drift) and clogged aerators or spray nozzles (causes weak or uneven flow) — both are cheap, homeowner-fixable parts. You almost never need to replace the whole unit.
A simple maintenance rhythm keeps a good mixer running for 10–15 years:
- Descale the head yearly: Soak the rain head and handheld nozzles in white vinegar for an hour to clear limescale. Silicone rubber nozzles wipe clear with a thumb.
- Replace the cartridge when it drips or drifts: A dripping mixer or one that no longer holds temperature usually just needs a fresh cartridge — a $15–$50 part. If your tub or shower is dripping and you’re not sure whether it’s the cartridge or a seat, our walkthrough on why a tub faucet drips and how to stop it covers the same diagnostic logic.
- Flush the valve after install: Debris from new pipes is the top cause of early cartridge failure. Most makers tell you to run the valve wide open, without the cartridge or head, for 15–30 seconds first.
- Check your water pressure: Chronic weak flow across all outlets usually means low household pressure, not a bad mixer. A $10 gauge on a hose bib tells you fast.
Author note & why you can trust this
This guide was written by the aleashafaucet product team, drawing on hands-on bench testing of thermostatic and pressure-balanced cartridges and years of fielding real installation questions from customers. aleashafaucet designs and sells faucets and complete shower systems built to U.S. plumbing standards — our shower mixers use solid-brass and stainless bodies with ceramic-disc and thermostatic cartridges, are tested to ASME A112.18.1/CSA B125.1 performance and durability criteria, carry NSF/ANSI 372 lead-free compliance, and ship with a manufacturer warranty on the finish and valve. We recommend by fit and function, not by margin — if a $200 pressure-balanced unit is right for your bathroom, we’ll say so instead of upselling.
FAQ
Is a shower system mixer tap the same as a shower faucet?
Mostly, but not exactly. “Shower faucet” is the general term for any shower control; a “shower system mixer tap” specifically means a mixing valve that blends hot and cold and feeds multiple outlets (rain head, handheld, jets) through one control. Every mixer tap is a shower faucet, but not every shower faucet is a full mixer system.
Do I need thermostatic if I only have one shower head?
Not necessarily. For a single rain head, a code-compliant pressure-balanced valve holds temperature well enough and saves you $60–$150. Thermostatic becomes genuinely worth it when you run multiple outlets at once, or when kids and elderly family members need the tightest anti-scald protection.
What water pressure do I need to run a rain head and jets together?
Aim for 45–60 psi at the home. Rain heads and body jets have high combined flow demand, and below about 40 psi you’ll get a weak, uneven shower when everything runs together. Test with a $10 gauge on an outdoor spigot before buying a multi-function system.
Can I replace just the trim without opening the wall?
Often yes — if your new trim is compatible with the existing rough-in valve brand and model. Trim-only swaps are a 1–2 hour DIY job. If you’re changing valve brands or the old valve is failing, you’ll need to open the wall and that’s usually a plumber’s job.
How long should a good shower mixer tap last?
A quality solid-brass or stainless mixer with a ceramic-disc or thermostatic cartridge lasts 10–15 years or more with basic maintenance. The cartridge is a wear part you may replace once or twice in that span for $15–$50, but the valve body and finish should outlast the rest of your bathroom.
Will a matte black shower mixer show water spots?
In hard-water areas, yes, more than chrome or brushed finishes — you’ll see faint mineral spotting and need to wipe it down more often to keep the flat, even look. A quality PVD matte-black coating resists scratching and fading well; the spotting is cosmetic and wipes off with a damp cloth.