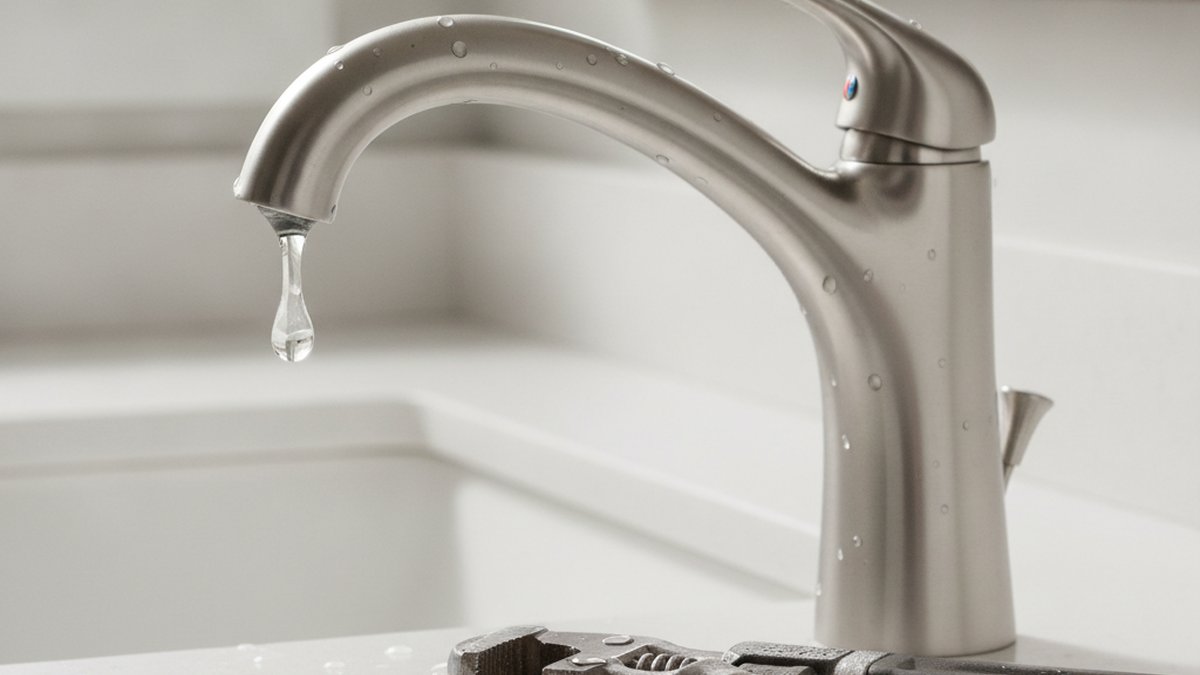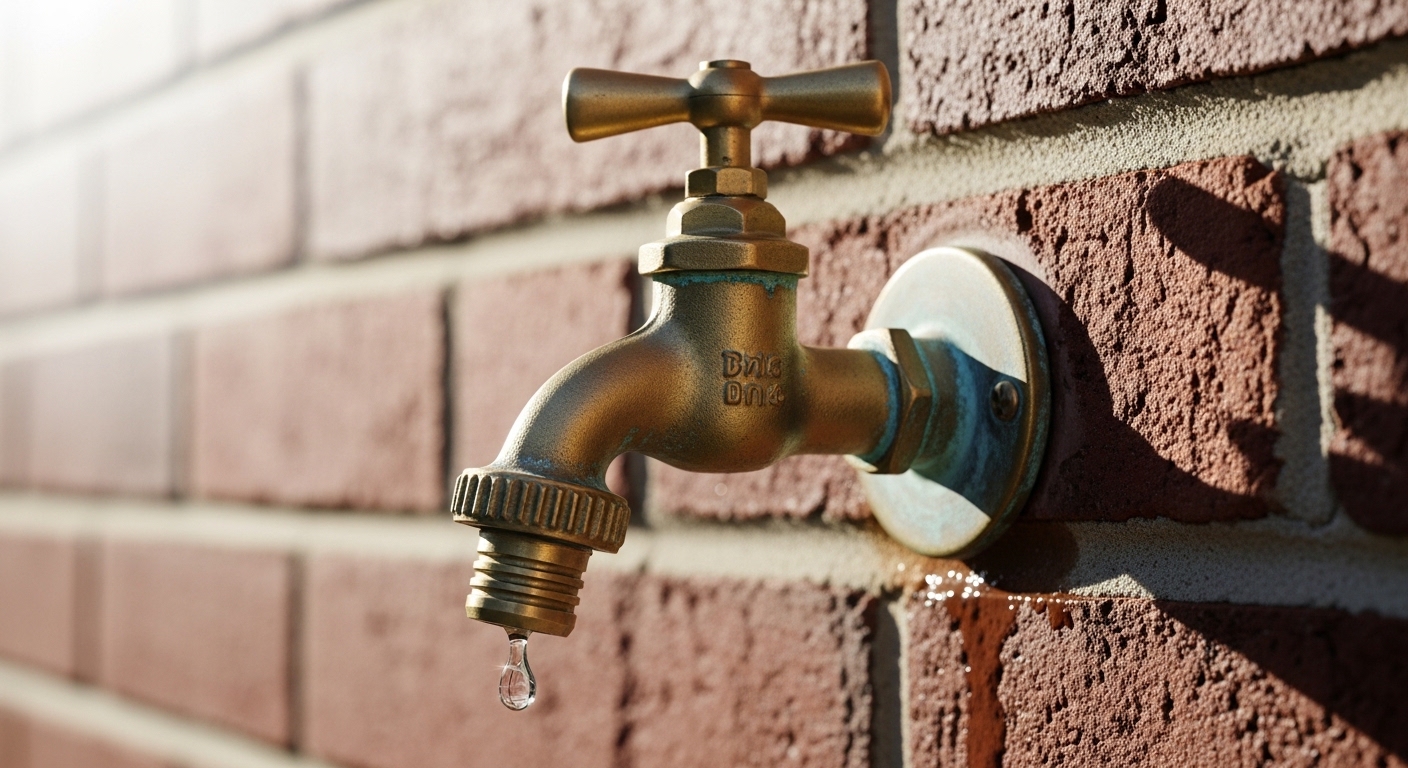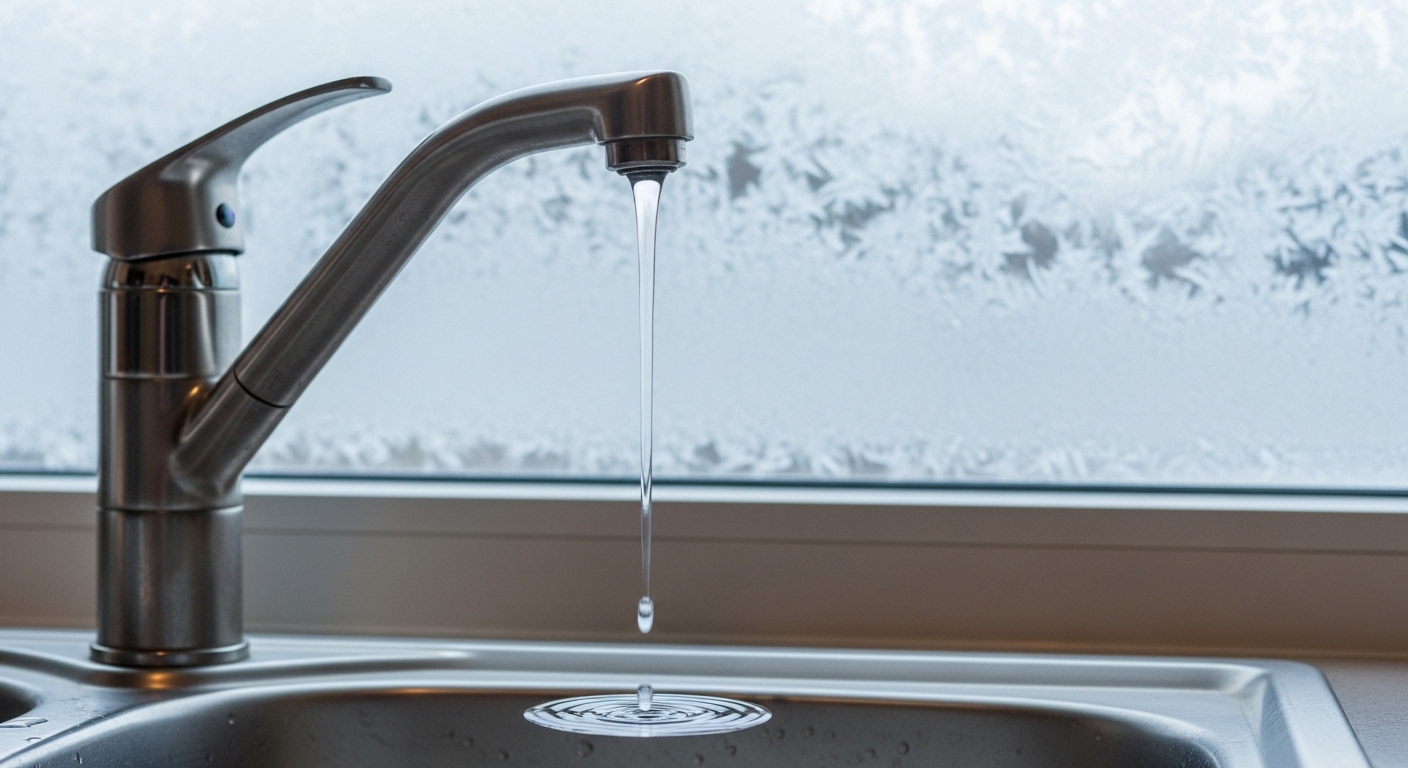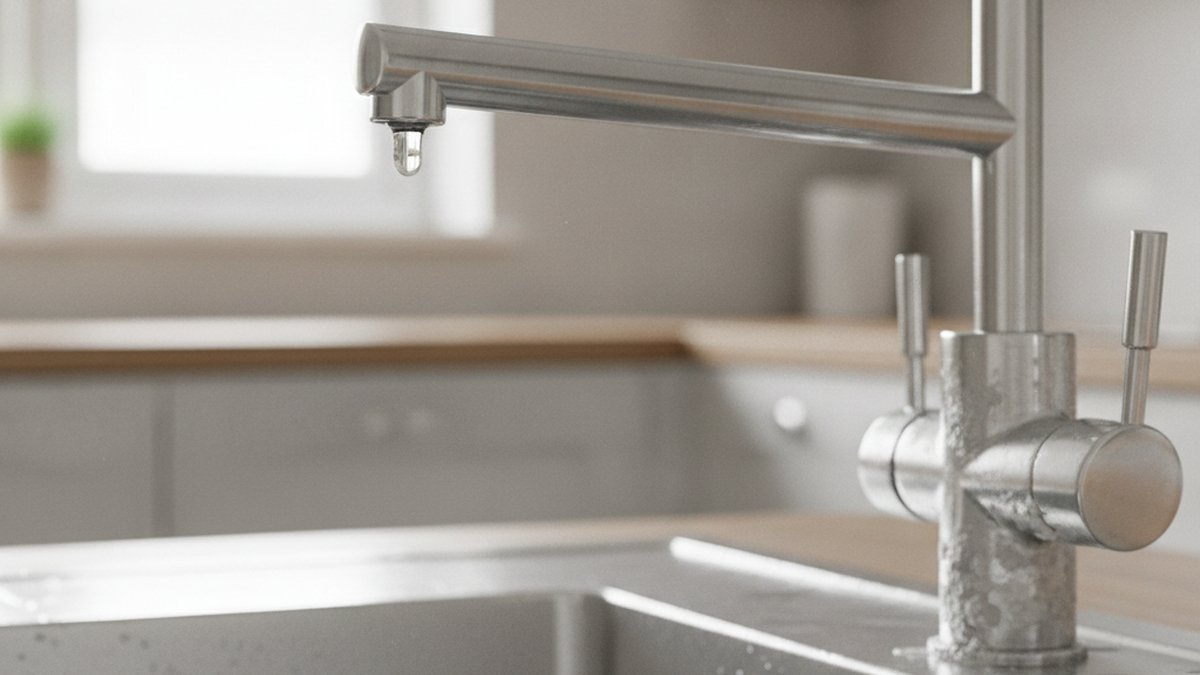
Learning how to fix a dripping faucet UK style is mostly about knowing which of two tap designs you own — a traditional compression tap with a rubber washer, or a modern ceramic disc (quarter-turn) tap — because the fix is completely different for each. Once you know that, the repair is a genuinely easy DIY job with basic tools, and you almost never need to call a plumber for a simple drip. A single dripping tap wastes around 5,500 litres of water a year, so it’s worth 30 minutes of your Saturday.
Below I’ll walk you through diagnosing the exact cause, the tools you need, and the step-by-step repair for both tap types — plus the handful of situations where the drip is coming from somewhere else entirely (like the spout base or the valve body) and needs a different approach.
How do I know if my tap has a washer or a ceramic cartridge?
Look at how the tap handle moves: if you have to turn it several full rotations to shut the water off, it’s a traditional compression tap with a rubber washer. If it stops with a light quarter- or half-turn, it’s a ceramic disc tap with a cartridge. This one test tells you which repair you need before you touch a spanner.
Age is another giveaway. Taps installed in UK homes before roughly the mid-2000s — especially separate hot and cold pillar taps on a basin — are usually compression washer taps. Newer single-lever mixers and quarter-turn taps almost always use ceramic disc cartridges. Ceramic discs last far longer (often 15–20 years) but when they finally fail, or when grit from the mains scratches them, they drip and no amount of tightening will help.
Here’s the quick decision guide:
- Multiple turns to close + drips from the spout → worn washer, replace the washer (and check the seat).
- Quarter-turn lever + drips from the spout → worn ceramic cartridge, replace the cartridge.
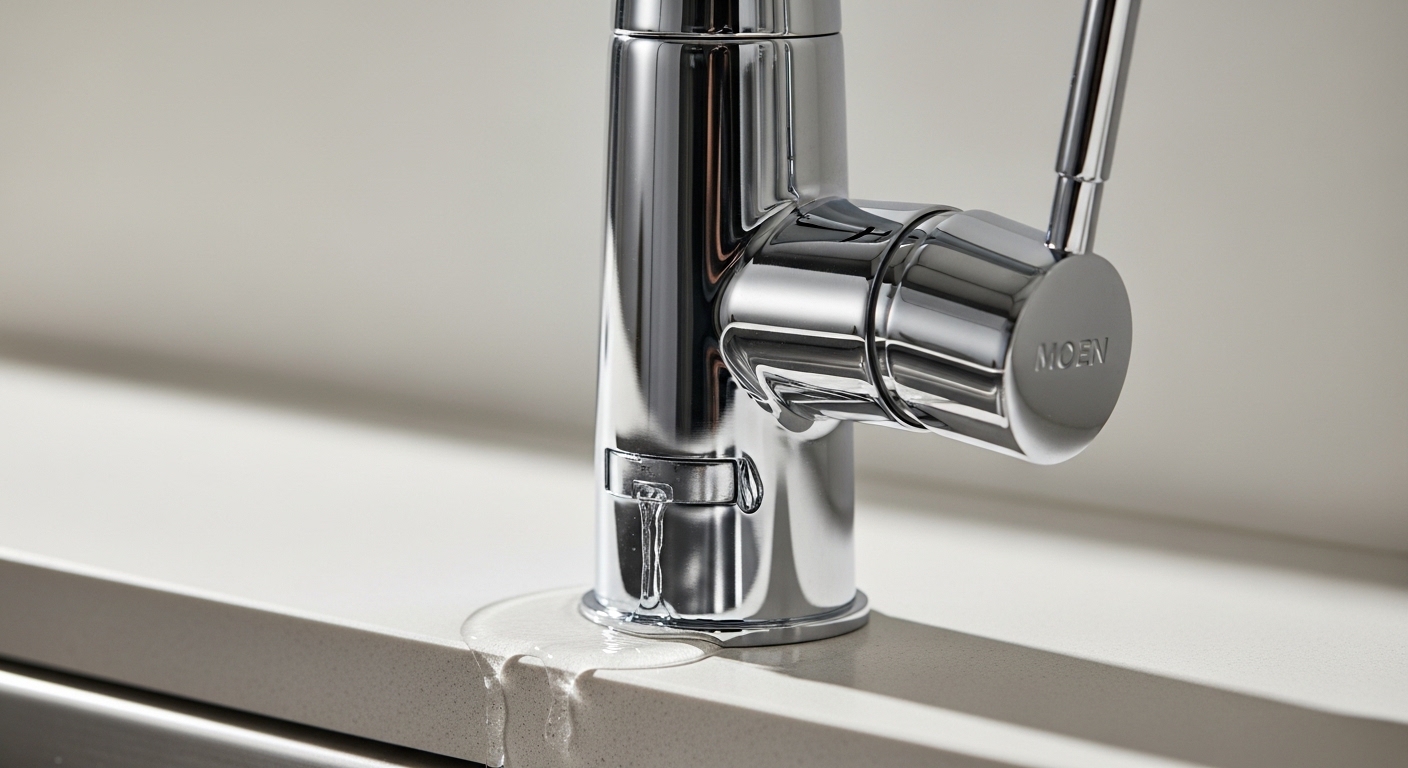
- Drips or seeps from the base of the spout, not the end → worn O-rings where the spout swivels.
- Water pooling under the tap / behind the sink → this is a supply or valve leak, not a drip — see the section below.
What tools and parts do I need to fix a dripping tap in the UK?
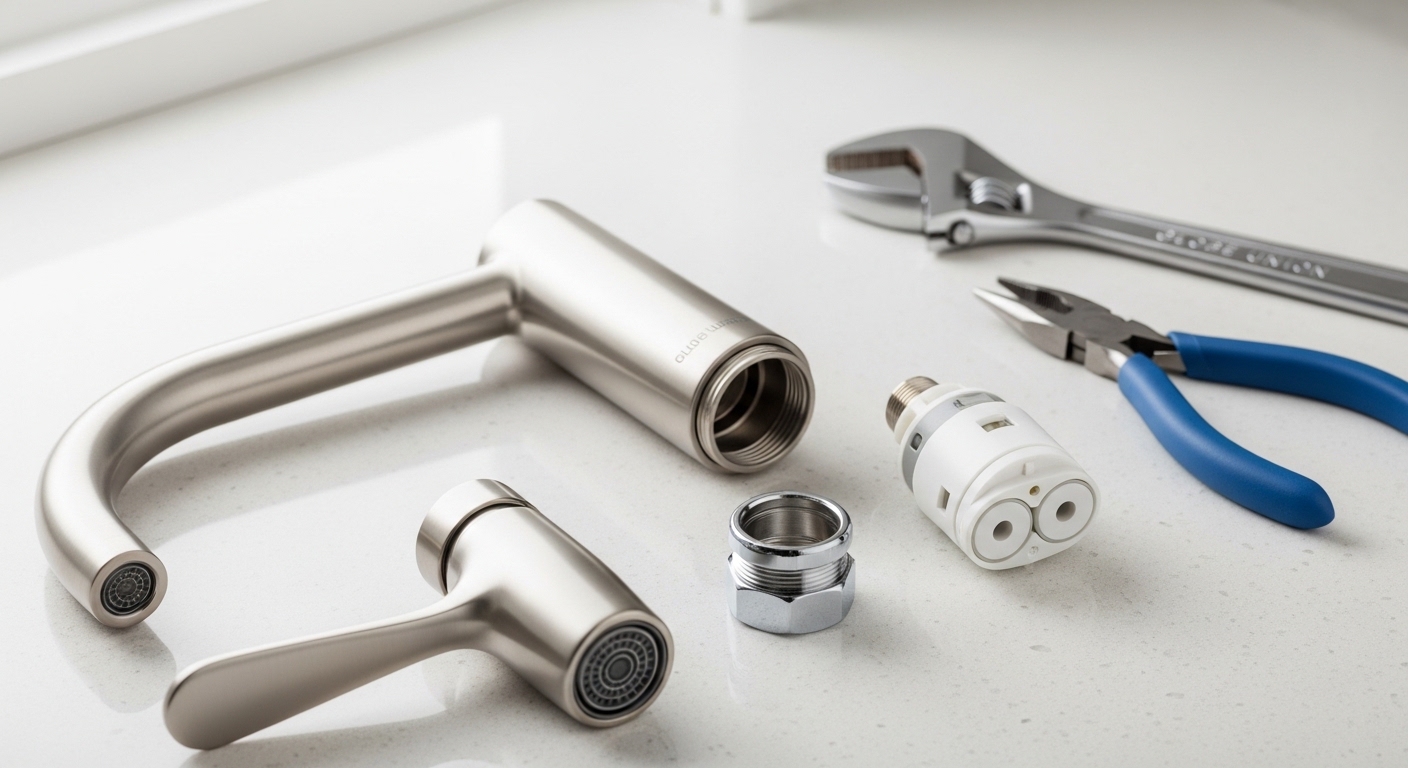
You need an adjustable spanner, a flat and a cross-head screwdriver, and the correct replacement part — a rubber tap washer (commonly ½” or ¾” for UK taps) or a ceramic disc cartridge that matches your tap. Total parts cost is usually £3 to £15. That’s the whole kit for 90% of dripping-tap repairs.
A few extras make the job smoother and are worth having in the drawer:
- An adjustable spanner or a set of open-ended spanners (an 8–10mm and a large adjustable cover most UK taps).
- A flat-blade screwdriver to prise off the hot/cold index cap on the handle.
- PTFE tape (plumber’s tape) for re-sealing threads.
- A small pot of silicone tap grease to protect new O-rings and washers.
- An old towel to plug the plughole — so a dropped screw doesn’t vanish down the drain.
- White vinegar or limescale remover, because in hard-water areas (most of southern and eastern England) the seat and cartridge will be crusted with limescale.
The single most important part is getting the right replacement. Take the old washer or cartridge to the shop, or note your tap brand and model. Ceramic cartridges are not universal — a 20mm cartridge won’t fit a tap built for a 25mm one. If you’re unsure which cartridge your tap takes, our guide on following a cartridge replacement video walks through how to identify and match the exact part before you buy.
How do you fix a dripping compression (washer) tap step by step?
To fix a dripping compression tap, turn off the water, remove the tap head, unscrew the headgear nut to expose the jumper valve, and swap the perished rubber washer for a new one. It’s a 20–30 minute job and stops the drip immediately if the washer was the cause.
Here’s the full sequence:
- Turn off the water. Use the isolation (service) valve on the pipe under the sink — turn the slotted screw a quarter-turn with a flat screwdriver so the slot sits across the pipe. No isolation valve? Turn off the mains stopcock (usually under the kitchen sink) and open the tap to drain it.
- Plug the plughole with a towel so nothing falls down the drain.
- Remove the handle. Prise off the small blue/red index cap on top, undo the screw underneath, and lift the handle off. On older taps you may need to unscrew a shrouded head.
- Undo the headgear nut with your spanner (turn anticlockwise). Hold the tap body steady so you don’t twist the whole fitting on the basin. It may be stiff with limescale.
- Find the washer on the bottom of the headgear or the jumper valve. Prise it off or undo its retaining nut.
- Fit the new washer of the same size, add a smear of silicone grease, and reassemble in reverse order.
- Restore the water slowly and check for drips. Run the tap for a moment to clear any air.
If you fit a new washer and it still drips, the brass valve seat the washer presses onto is probably scored or corroded. That’s common on old UK taps. You can reface it with a tap reseating tool or fit a seating washer — but if the seat is badly pitted, the cleanest fix is to replace the seat. Our step-by-step on removing an old tap seat that’s stuck or corroded covers exactly that scenario.
How do you fix a dripping ceramic disc (quarter-turn) tap?
To fix a dripping ceramic disc tap, you replace the whole cartridge rather than a washer — remove the lever, unscrew the retaining nut or grub screw, lift out the old cartridge, and drop in an identical new one. Ceramic discs can’t be “adjusted”; once they’re worn or scratched, only a new cartridge stops the drip.
The process mirrors the washer repair up to a point:
- Turn off the water at the isolation valve and open the tap to release pressure.
- Remove the lever handle — there’s usually a grub screw hidden under the hot/cold indicator cap, undone with a small Allen key.
- Unscrew the chrome shroud/dome, then the brass retaining nut holding the cartridge.
- Lift the ceramic cartridge straight out. Note its orientation and the position of any locating tabs.
- Clean the seat area of limescale with vinegar.
- Seat the new cartridge in the same orientation, hand-tighten the retaining nut, then nip it up — don’t overtighten or you can crack the ceramic.
- Reassemble and test on low pressure first.
A quick tip: on single-lever mixers, if the tap drips only when the lever is in one position, that’s a classic worn-cartridge symptom. If the mixer is dripping and you’re not sure whether the fault is the cartridge or the valve behind it, the diagnosis in our guide to a dripping faucet valve helps you tell the two apart before you order parts.
Washer tap vs ceramic cartridge tap: which repair applies to you?
Use the table below to match your symptoms to the fix. It’s the fastest way to confirm what you’re dealing with before you buy a part.
| Feature | Compression (washer) tap | Ceramic disc (quarter-turn) tap |
|---|---|---|
| Handle movement | Several full turns to close | Quarter or half turn |
| Typical age in UK homes | Pre-2005, separate pillar taps | Modern mixers & monobloc taps |
| Cause of drip | Perished rubber washer or worn seat | Worn or scratched ceramic cartridge |
| Part needed | Rubber washer (£1–£3) | Ceramic cartridge (£8–£15) |
| Repair time | 20–30 minutes | 20–40 minutes |
| Skill level | Beginner | Beginner–intermediate |
| Lasts | 3–10 years before next washer | 10–20 years |
Why is my tap dripping from the base or spout, not the end?
If water seeps from the base of the spout where it swivels — rather than dripping from the outlet — the culprit is worn O-rings, not a washer or cartridge. You fix it by pulling the spout up and out and replacing the two rubber O-rings around its base, a part that costs under £5.
This is a common and often misdiagnosed problem. People replace the cartridge, the drip from the spout end stops, but water still weeps around the base and pools on the worktop. The swivel spout on kitchen and bath mixers relies on those O-rings to seal against the tap body; over years they harden and split. Slide the old ones off with a flat screwdriver, grease the new O-rings with silicone, and slide the spout back on. It’s one of the cheapest tap fixes there is.
On some monobloc and pull-down kitchen taps the spout assembly is more integrated, and O-rings are part of a service kit specific to that model. If you’re shopping for a new tap because the old one is beyond economical repair, our roundup of the best pull-down kitchen taps for UK buyers points you to models with easily serviceable, WRAS-approved cartridges — which makes the next repair trivial.
When should you stop DIY-ing and call a plumber?
Call a plumber if water is leaking from the pipework or valve body under the sink (not just the tap), if the isolation valve or stopcock won’t shut off, or if the tap fitting spins on the basin because the backnut has failed. Those are supply-side problems where a mistake can flood the room, and they’re worth the call-out.
To be clear about the line between a simple drip and a real leak:
- DIY-able: drip from the spout, weep from the spout base, stiff handle, minor limescale — all washer/cartridge/O-ring jobs.
- Get help: water under mains pressure spraying from a joint, a seized stopcock, a cracked tap body, or a leak inside a wall or under the floor.
Also know your limits with old, corroded fittings. If the headgear nut is welded solid with 20 years of limescale and won’t budge even with penetrating oil, forcing it can snap the tap body. At that point replacing the whole tap is faster and cheaper than a repair — and you get a fresh warranty into the bargain.
A note on hard water — the real reason UK taps drip early
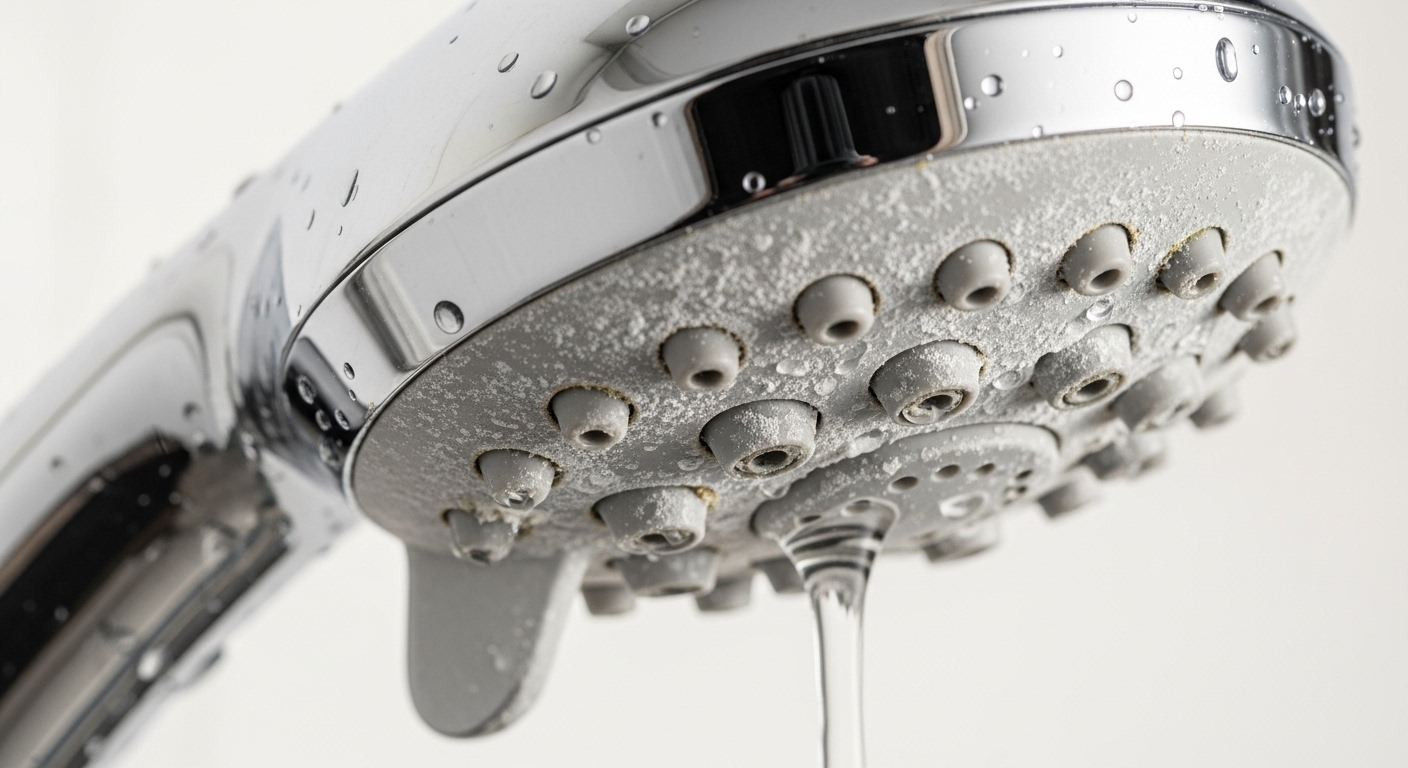
Around 60% of the UK lives in a hard-water area, and limescale is the number one enemy of a long-lasting tap. It coats the valve seat, roughens ceramic discs, and jams moving parts. When you have the tap apart, soak the internal parts in white vinegar or a proprietary descaler for 20 minutes and the difference is night and day. Fitting a new washer or cartridge into a limescale-caked body just means you’ll be back in six months — clean it properly the first time.
FAQ
Can I fix a dripping tap without turning off the water?
No — always isolate the water first. Use the small isolation valve on the pipe under the sink (turn the slot a quarter-turn across the pipe) or shut the mains stopcock. Working on a tap under pressure will soak you and can flood the room the moment you remove the headgear.
How much does it cost to fix a dripping tap in the UK?
DIY, it’s the price of the part: around £1–£3 for a washer, £8–£15 for a ceramic cartridge, and under £5 for O-rings. If you call a plumber, expect roughly £80–£150 for a straightforward washer or cartridge replacement including the call-out, which is why this is such a popular DIY job.
Why does my tap still drip after I replaced the washer?
The valve seat the washer presses against is almost certainly scored or corroded, so the new washer can’t form a seal. Reface the seat with a reseating tool or fit a seating washer; if it’s badly pitted, replace the seat entirely. Overtightening the tap to “force” a seal just destroys the new washer faster.
How long does it take to fix a dripping faucet?
For a confident DIYer, 20–40 minutes including cleaning off limescale. First-timers should allow up to an hour, mostly because stiff, scaled-up nuts take patience and penetrating oil. Having the correct replacement part on hand before you start is what keeps it quick.
Are ceramic disc taps better than washer taps?
Yes, for durability — ceramic discs typically last 10–20 years versus 3–10 for a rubber washer, and they close with a light quarter-turn. The trade-off is that when a cartridge finally fails you replace the whole (pricier) cartridge rather than a cheap washer, and grit or limescale can scratch the discs. For most UK households the longer service life makes ceramic the better choice.
Can limescale cause a tap to drip?
Absolutely. Limescale builds up on the valve seat and ceramic discs, preventing a clean seal, and it jams the moving parts so the tap can’t fully close. In hard-water areas, descaling the internal components with white vinegar whenever you service a tap is the single best thing you can do to make the repair last.
About the author: This guide was written by the aleashafaucet product and technical team, who have spent over a decade designing, pressure-testing and servicing faucets and bathroom fixtures for UK and international homes. We repair, cut apart and stress-test the same cartridges and washers we write about, so the steps here reflect what actually works on a real basin — not theory.
About aleashafaucet: aleashafaucet designs and supplies faucets, shower systems and bathroom fixtures built to WRAS-recognised standards, with ceramic disc cartridges rated for hundreds of thousands of open/close cycles and backed by our multi-year manufacturer warranty. Every tap we ship is flow- and pressure-tested before it leaves the factory, so the parts you’d replace in a repair are the same quality-controlled components we build into new fixtures.