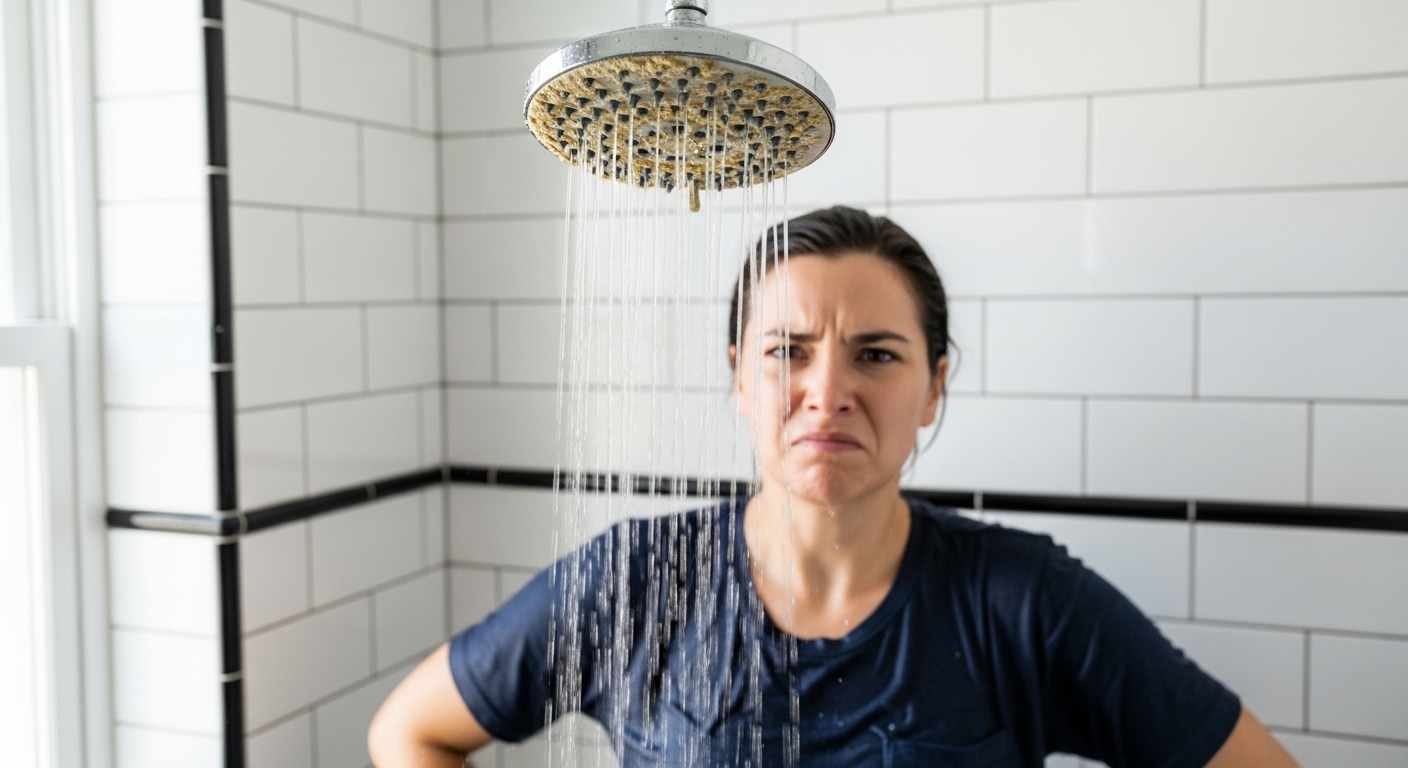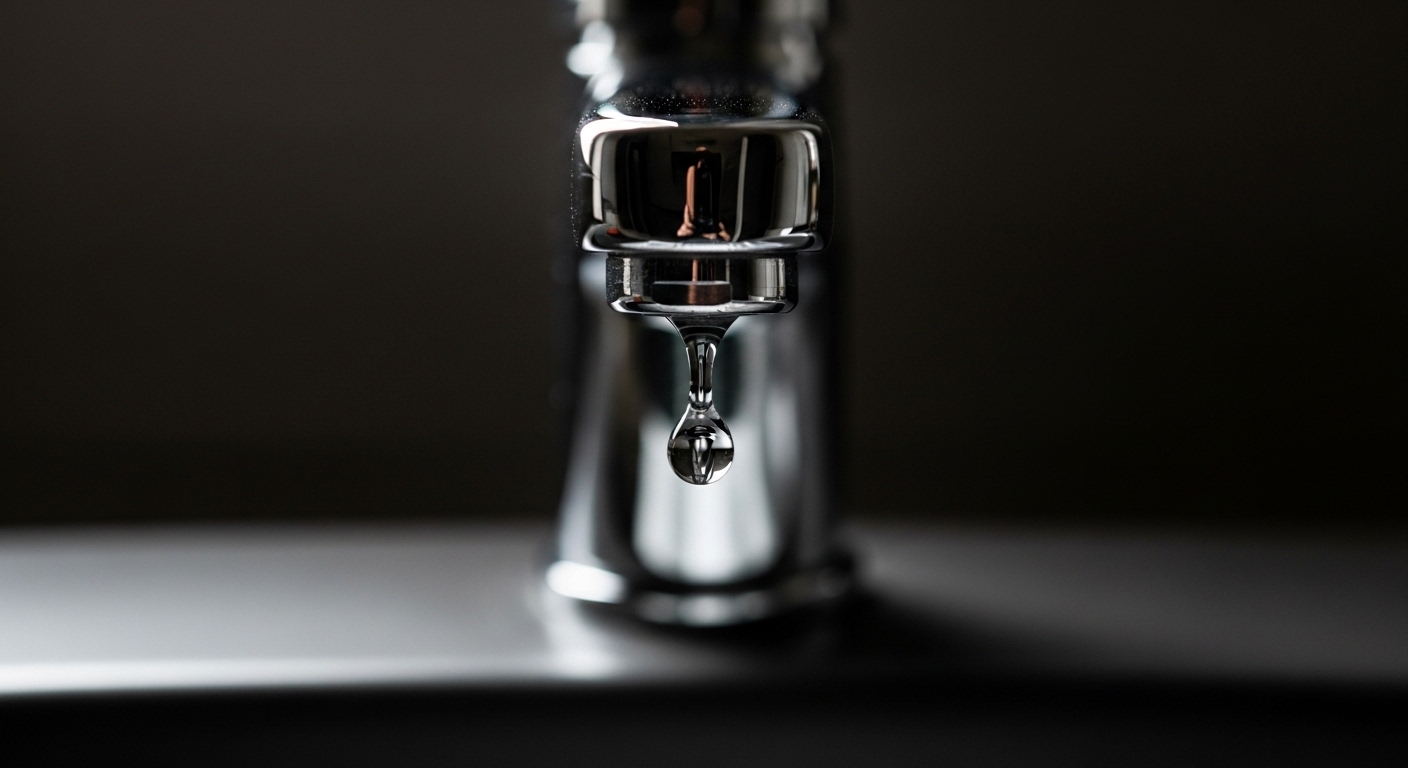
If you’ve got a dripping faucet valve — that slow, maddening tick… tick… tick into the sink at 2 a.m. — the good news is that it’s one of the most fixable problems in your entire house. The valve is the part of the faucet that actually starts and stops the water flow, and when it drips, it’s telling you that one small rubber or ceramic component inside has worn out. Replace that one part and the drip stops. You don’t replace the whole faucet, and you almost never need a professional. Below I’ll walk you through exactly what’s leaking, how to diagnose which valve you have, and how to fix each type step by step.
What Actually Causes a Faucet Valve to Drip?
A faucet valve drips because the sealing surface inside it no longer seals — usually a worn cartridge, a corroded valve seat, a cracked O-ring, or a flattened rubber washer. Water pressure never rests, so it constantly pushes against these tiny parts until they fail.
Here’s the mental model that makes everything else click: every faucet has a valve that opens to let water pass and closes to block it. Whether it’s a modern single-handle mixer or an old two-handle setup, the “close” only works if a soft or precision-ground surface presses tightly against a matching seat. Over months and years, three things wear that seal down:
- Rubber fatigue — washers and O-rings harden, flatten, and crack, so they can’t fill the gap anymore.
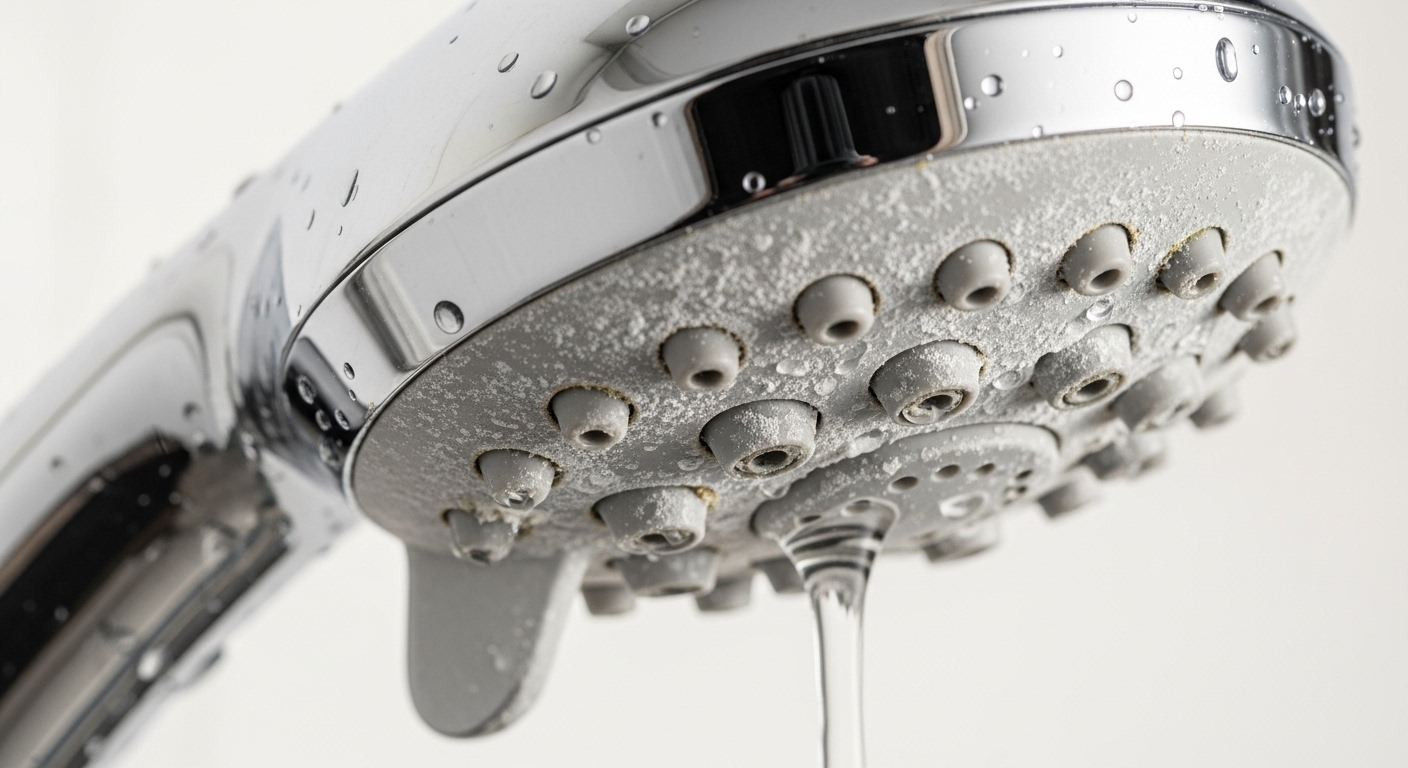
- Mineral buildup — hard water leaves calcium and lime deposits that hold the valve slightly open or scratch the sealing surface.
- Grit and corrosion — tiny sediment particles score the brass valve seat, and a scored seat will leak past even a brand-new washer.
That’s why a drip usually returns a few weeks after you “just tightened the handle.” Tightening masks the problem by crushing a dying washer a little harder; it doesn’t fix the worn valve. Once you accept that the fix is replacement of one internal part, the whole job gets simple.
What Type of Faucet Valve Do I Have — and Why Does It Matter?
Before you buy a part, you need to identify your valve type, because each of the four common types drips for a slightly different reason and takes a different replacement part. You can usually tell by how the handle moves and how old the faucet is.
| Valve type | How to spot it | Why it drips | Fix & typical cost |
|---|---|---|---|
| Compression (rubber washer) | Two handles; handle keeps turning tighter and tighter; older homes pre-1990s | Flattened rubber washer or scored seat | New washer + reface seat — $5–$10 |
| Ceramic disc cartridge | Single lever, ¼-turn feel; modern faucets | Cracked disc or grit between discs | Clean or replace cartridge — $15–$40 |
| Ball valve | Single handle that moves in a dome; common on kitchen faucets | Worn springs, seats, or the ball itself | Repair kit — $15–$25 |
| Cartridge (stem style) | Single or double handle, smooth rotation; Moen, Delta, etc. | Worn O-rings or cartridge seals | Replace cartridge — $10–$40 |
Why does this matter so much? Because buying the wrong part is the number-one reason DIY faucet repairs fail. If you have a ceramic disc cartridge and you try to “fix” it with a rubber washer kit, you’ll waste an afternoon. Take a photo of your faucet, note the brand (usually stamped on the base or handle), and match the valve type before you buy. If you’re not sure which cartridge you have, our guide on how to replace a kitchen tap cartridge yourself walks through identifying and matching cartridges by brand.
How Do I Fix a Dripping Faucet Valve Step by Step?
To fix a dripping faucet valve: shut off the water, plug the drain, remove the handle, pull the worn valve part, install an exact-match replacement, and turn the water back on slowly. Here’s the universal sequence that works for every valve type.
- Shut off the water. Turn the two supply valves under the sink clockwise until they stop. No under-sink valves? Shut off the main. Then open the faucet to release pressure.
- Plug the drain. Drop in a stopper or a rag so you don’t lose the tiny screws and springs down the pipe.
- Remove the handle. Pop off the decorative cap, back out the handle screw, and lift the handle straight up. A little penetrating spray helps if it’s stuck.
- Expose the valve. Unscrew the retaining nut or clip. Note the orientation of everything as you go — take photos on your phone at each step.
- Pull the worn part. Remove the cartridge, ball, or stem. Cartridges sometimes need a puller tool ($8) if mineral buildup has locked them in.
- Inspect the seat and O-rings. Look for pitting, white crust, or grooves. Reface a scored brass seat with a seat-dressing tool, or replace the whole seat if it’s removable.
- Install the exact replacement. Seat the new cartridge or washer in the same orientation. Smear the O-rings with plumber’s silicone grease — never petroleum jelly, which swells rubber.
- Reassemble and test. Turn the supply back on slowly, run hot and cold, and watch for drips for a full minute.
The whole job runs 20–60 minutes depending on how corroded things are. If your valve is a proprietary import you can’t identify, the process for a Globe Union faucet cartridge replacement shows how to handle no-name cartridges that big-box stores don’t stock.
What tools and parts do I need before I start?
You need less than you’d think. A basic dripping-valve repair calls for an adjustable wrench, a set of hex/Allen keys, a Phillips and flathead screwdriver, needle-nose pliers, plumber’s silicone grease, and the correct replacement part. For compression faucets add a seat wrench and a seat-dressing tool. Buy a small assortment of O-rings and washers — they cost a couple dollars and save a second trip to the store.
Why Does My Faucet Still Drip After I Replaced the Washer or Cartridge?
If your faucet still drips after a fresh part, the culprit is almost always the valve seat — the brass ring the washer presses against. A new washer sealing against an old, pitted seat will leak within days. This is the mistake that sends people back to the hardware store three times.
Run your fingertip (carefully) around the seat inside the valve body. If it feels rough, grooved, or crusty instead of glassy-smooth, that’s your leak path. You have two options: reface it with a seat-dressing tool, which grinds it smooth in about two minutes, or replace it entirely if it’s the removable type (a seat wrench backs it right out). Other common “why is it still dripping” causes:
- Wrong part number. A cartridge that’s close but not exact won’t align its ports correctly. Match brand and model precisely.
- Reused O-rings. If you moved the old O-rings to the new cartridge, replace them — they’re pennies.
- Debris in the line. Grit lodged on the new seal. Flush the line with the cartridge out before final assembly.
- Overtightening. Cranking the retaining nut can distort a ceramic cartridge and actually cause a leak.
Is It Cheaper to Repair or Just Replace the Whole Faucet?
Repairing a dripping valve is dramatically cheaper — usually $5–$40 in parts versus $80–$400 for a new faucet plus install — so repair first unless the faucet is genuinely worn out. A drip almost never means the whole faucet is dead; it means one internal part is dead.
That said, replacement makes sense in a few specific cases: the faucet body itself is cracked or corroded through, replacement cartridges are discontinued and unavailable, the finish is flaking off, or you’ve already rebuilt the valve twice this year. If you do decide to upgrade rather than repair, it’s worth choosing a faucet built around a serviceable, widely-stocked cartridge so your next repair is a five-minute job — our roundup of the most reliable kitchen faucets focuses heavily on which valve designs actually last.
Does a dripping valve really waste that much water?
Yes — more than most people believe. A faucet dripping once per second wastes roughly 3,000 gallons a year, enough for over 180 showers. A faster drip can top 10,000 gallons. On a metered supply that’s real money, and on a hot-water drip you’re also paying to heat water you never use. Fixing a $5 washer often pays for itself in a single billing cycle, which is exactly why chasing down a valve drip is one of the highest-return home repairs you can do.
Is a Dripping Valve the Same as an Outdoor Faucet or Winter Drip?
No — an indoor valve drip is a wear problem you fix, while an outdoor hose-bib drip and a deliberate cold-weather drip are different situations entirely. It’s worth separating them so you don’t misdiagnose.
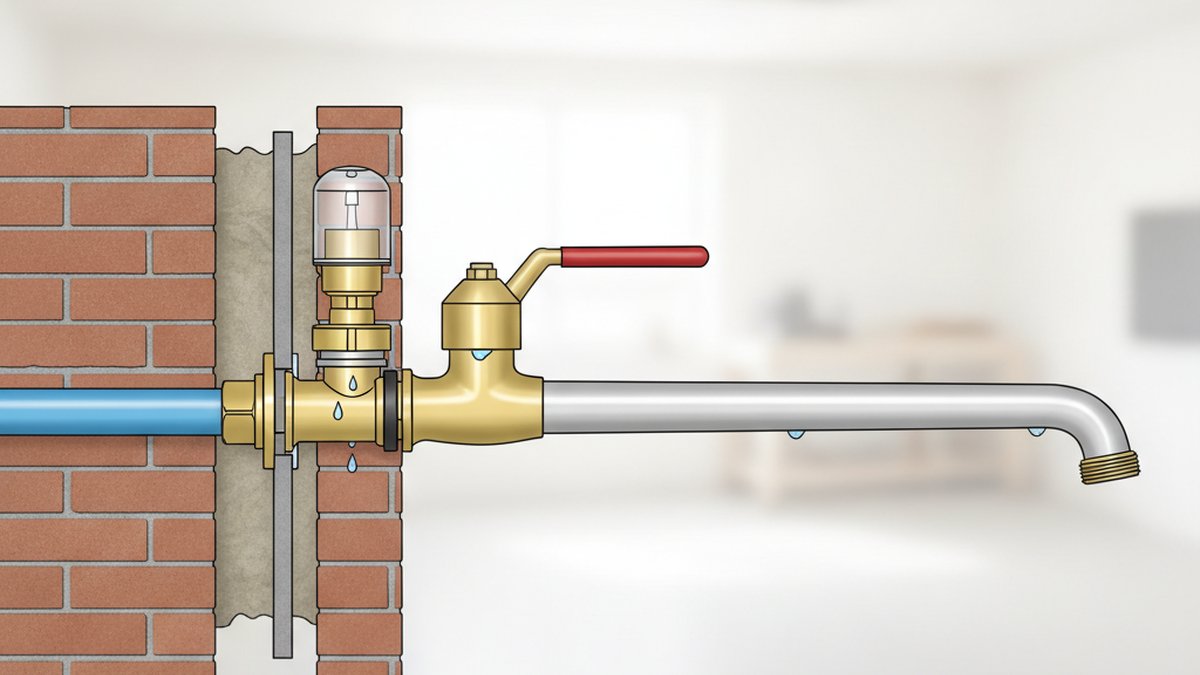
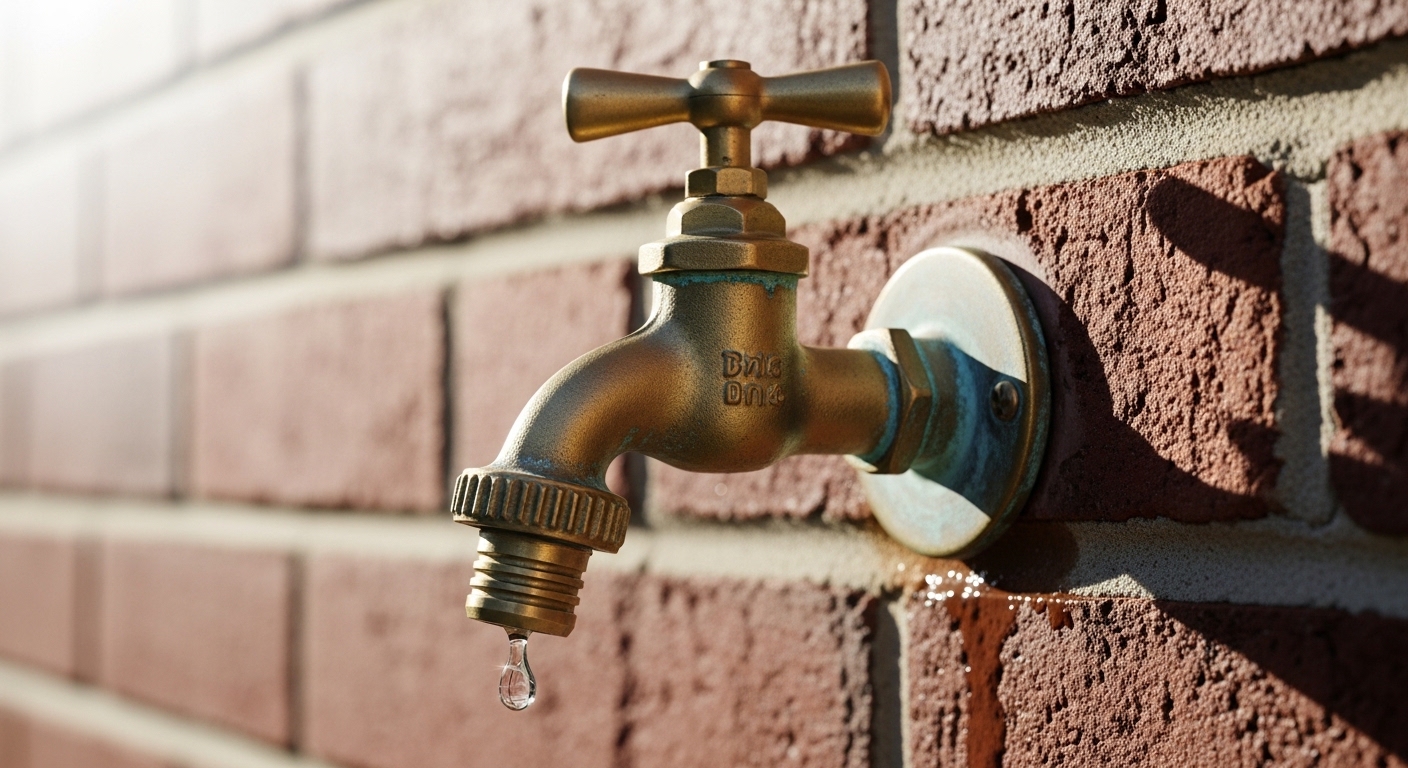
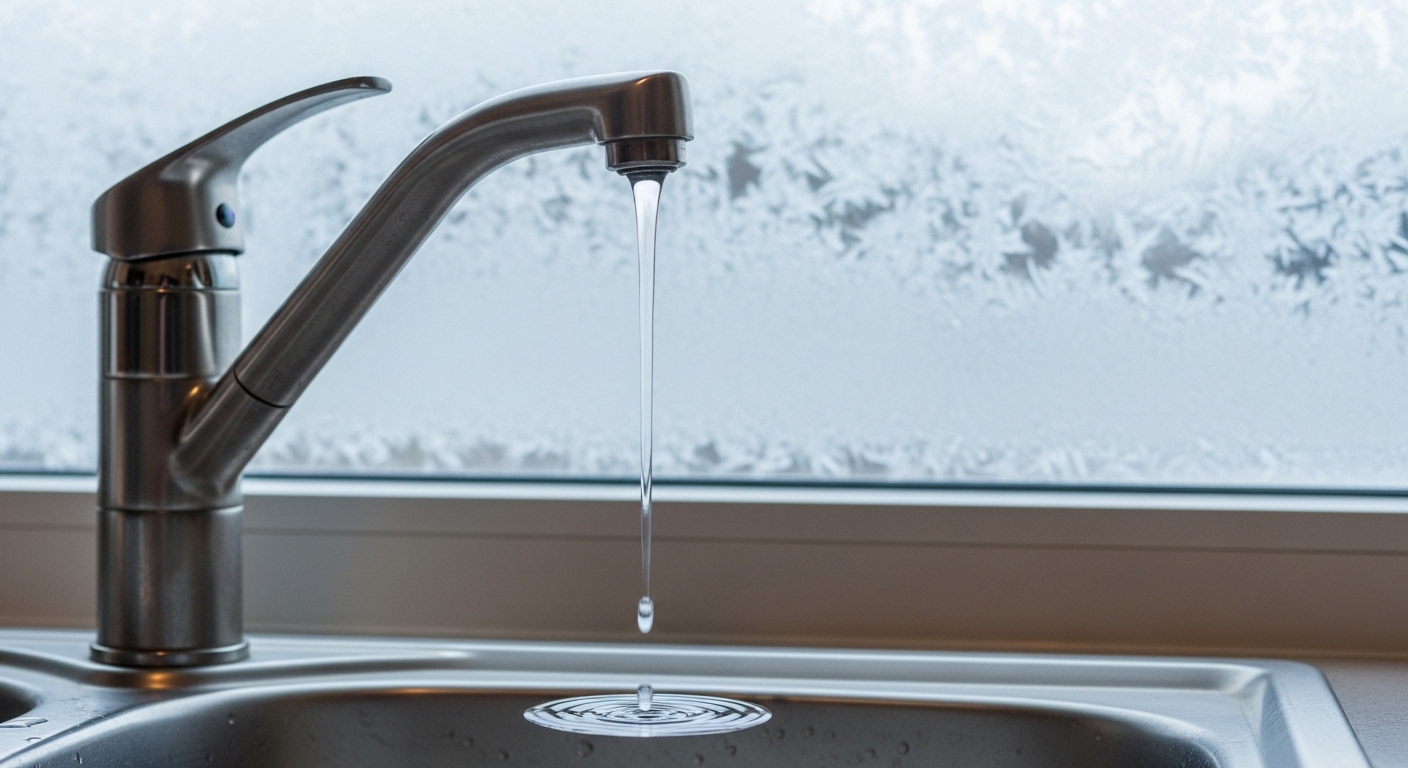
An outdoor faucet (hose bib or sillcock) drips for many of the same internal reasons, but freeze damage and packing nuts come into play, so the repair differs slightly — we cover that in why your faucet is dripping outside and how to fix it. And during a hard freeze, plumbers actually tell you to let a faucet drip on purpose to keep water moving so pipes don’t burst; whether that’s the right call is covered in should you drip a faucet or not during a hard freeze. Neither of those is the worn-valve drip we’re fixing here — an unwanted, constant indoor drip that means a part inside has failed.
When Should I Actually Call a Plumber for a Dripping Valve?
Call a plumber if the drip continues after you’ve replaced the cartridge and refaced the seat, if the valve body is cracked, if a corroded part won’t budge and you risk snapping a pipe, or if you can’t shut off the water at all. Those are the genuine judgment calls.
For everything else, this is squarely a DIY repair. The parts are cheap, the tools are basic, and the worst realistic outcome is a second trip to the hardware store. Set a rule for yourself: if you’ve done a clean cartridge swap plus a seat treatment and it still drips, stop guessing and bring in a pro — at that point you may have a supply-line or valve-body issue that’s worth an expert eye. There’s no shame in it, and it’s cheaper than water damage from a botched fix.
FAQ
Can I stop a dripping faucet valve without replacing anything?
Sometimes, temporarily. If the drip is caused by grit or light mineral buildup, disassembling the valve, cleaning the ceramic discs or seat, and re-greasing the O-rings can stop it without new parts. But if the washer, seat, or cartridge is physically worn, cleaning only buys you a few weeks — plan to replace the part.
How long does it take to fix a dripping faucet valve?
For most people, 20 to 60 minutes. A straightforward cartridge swap on a modern faucet takes about 20 minutes. Add time if parts are corroded in place, if you need to reface a valve seat, or if you have to make a store run to match the exact cartridge. Having the right part in hand before you start is the biggest time-saver.
Why does my faucet drip only from the hot side?
Because hot water accelerates rubber breakdown and mineral scaling, the hot valve almost always wears out first. Heat hardens washers and O-rings faster and drives more calcium out of solution onto the seat. If only the hot side drips, replace the hot cartridge or washer — and consider doing the cold side at the same time, since it’s usually not far behind.
What kind of grease should I use on faucet valve O-rings?
Use plumber’s silicone grease (also sold as faucet or valve grease), never petroleum jelly or oil-based lubricants. Silicone grease is safe for potable water, won’t wash away, and won’t swell or degrade rubber and EPDM seals. A small tube costs a few dollars and lasts for years of repairs.
Is a slow drip really worth fixing right away?
Yes. Beyond wasting thousands of gallons a year, a constant drip keeps the sink area damp, encourages mineral staining and mildew, and slowly worsens as the leak path erodes wider. A drip never fixes itself and only gets faster. Since the parts cost a few dollars, there’s no reason to live with it.
About the author: This guide was written by the Aleasha Faucet fixtures team, drawing on hands-on bench testing of compression, ceramic-disc, ball, and cartridge valves across dozens of faucet brands. We disassemble and rebuild real valves to document exactly where they fail and how to fix them.
Why trust Aleasha Faucet: Aleasha Faucet (www.aleashafaucet.com) designs and sells kitchen and bathroom fixtures built around serviceable, widely-available cartridges. Our valves are tested to industry cycle-life and lead-free standards (compliant with NSF/ANSI 61 and 372 for drinking-water safety), and our fixtures carry a manufacturer warranty covering valve and finish defects — because a faucet you can repair in ten minutes is a faucet worth owning.