To replace a shower tub faucet, shut off the water, pull the old handle and trim off the valve, then either swap new trim onto your existing valve (when the new faucet is the same brand) or open the wall and install a new valve (when you’re changing brands or the valve itself is damaged). Most homeowners finish in 2 to 4 hours with basic hand tools — no plumber required for a same-brand swap. The whole project comes down to knowing which of two jobs you actually have: a simple trim swap (new handle, spout, and escutcheon on the same valve) or a full valve replacement (opening the wall to change the guts).
This guide walks through both paths, shows you exactly how to tell which one you’re facing, and flags the mistakes that turn a two-hour project into a weekend of frustration. Below you’ll get the tools, the step-by-step process, how to remove the old faucet cleanly, how a bathtub faucet replacement differs, a comparison of your real options, and answers to the specific questions people ask before they pick up a wrench.
Do You Really Need to Replace the Whole Faucet, or Just the Trim?
Most of the time, you only need to replace the trim — not the valve buried in the wall. If your old faucet is leaking, sticking, or just ugly, and the valve behind it is the same brand as your new faucet, you can usually keep the valve and swap only the visible parts. That’s the easy version and it doesn’t require opening the wall.
You need a full valve replacement only in these cases:
- The valve body itself is cracked, corroded, or leaking behind the wall.
- You’re switching brands (a Moen trim won’t fit a Delta valve, and vice versa).
- You’re going from a two- or three-handle setup to a single-handle setup (or the reverse).
- Your old valve has no anti-scald / pressure-balancing feature and you want one to meet current safety standards.
Here’s the honest rule of thumb: trim swaps are a same-brand game. Faucet valves and trim are matched systems. If you have a Delta Monitor 1700 valve, a Delta 1700-series trim kit bolts right on. If you’re moving to a different manufacturer, you’re opening the wall no matter how nice the old valve looks. If you’re unsure what you even have, our guide on figuring out the right bathtub faucet name for the fixture you’re replacing will help you identify the valve and order the correct parts the first time.
What Tools and Parts Do You Need to Replace a Shower Tub Faucet?
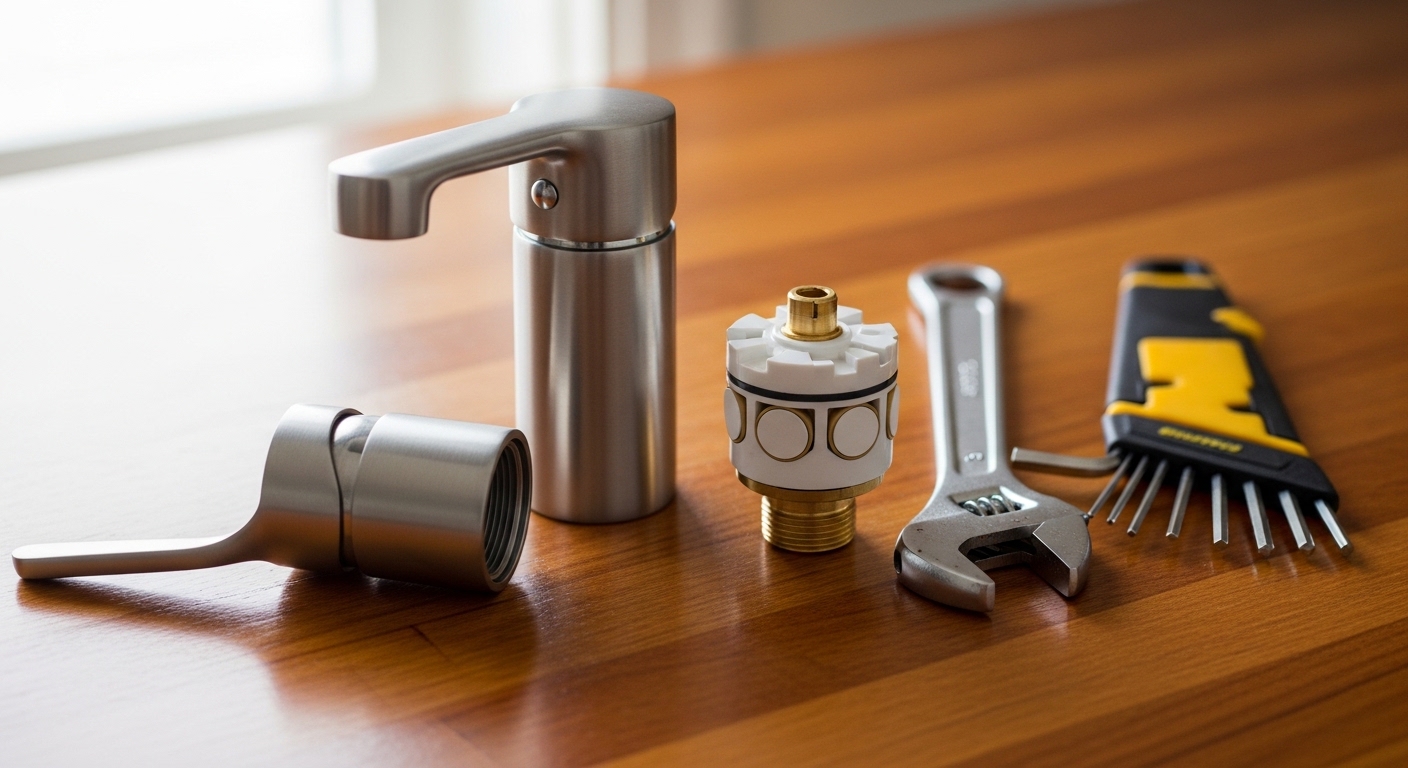
You need about six hand tools and, in most cases, plumber’s tape and silicone — nothing exotic. For a trim swap you won’t need a torch at all. Here’s the full kit so you can gather everything before you shut the water off.
- Allen/hex key set — most single-handle set screws are hidden under the handle or a cap.
- Adjustable wrench and a pair of channel-lock pliers.
- Flathead and Phillips screwdrivers.
- Deep socket or a tub spout removal wrench for the spout and cartridge nut.
- Plumber’s tape (PTFE) for spout and showerhead threads.
- 100% silicone caulk to reseal the escutcheon against the wall.
- A cartridge puller if you’re replacing a stuck cartridge (brand-specific for Moen, universal for Delta-style).
- For a full valve swap: a propane torch, solder, flux, and an emery cloth — or push-fit (SharkBite) fittings if you’d rather skip soldering.
Buy the exact replacement parts before you start. Take a photo of the old handle, count the handles, and if you can, find the model number stamped on the trim or valve. Ordering the wrong cartridge is the number-one reason these projects stall out overnight with the water off.
How Do You Remove an Old Shower Faucet?
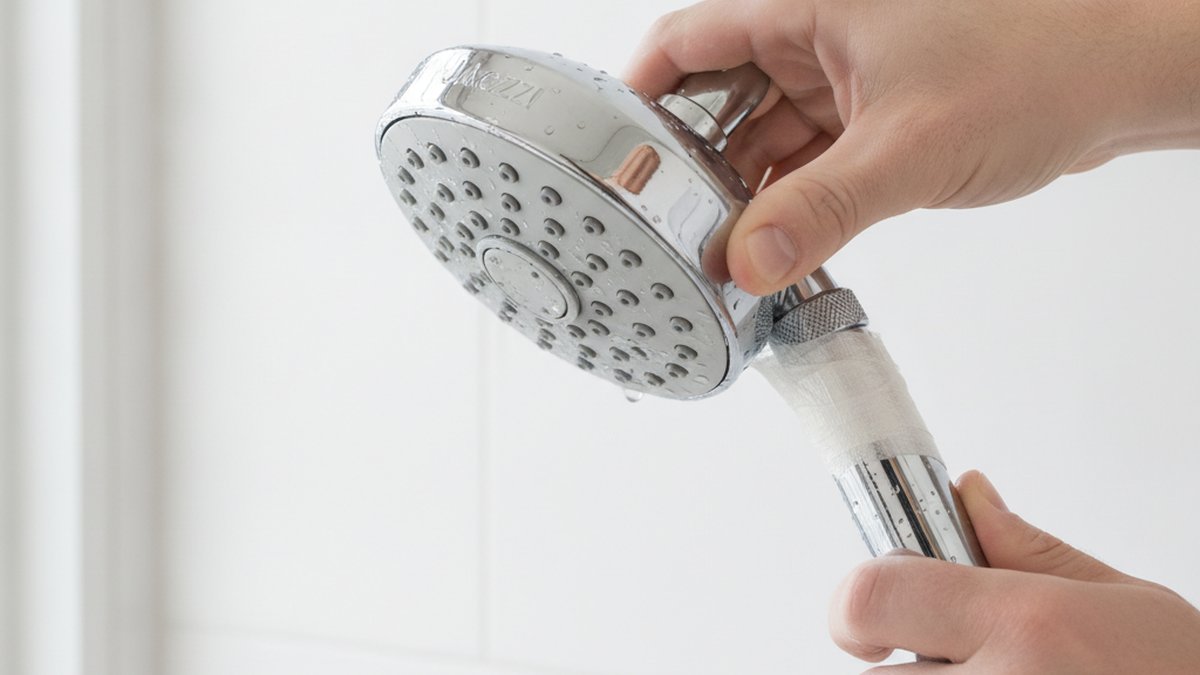
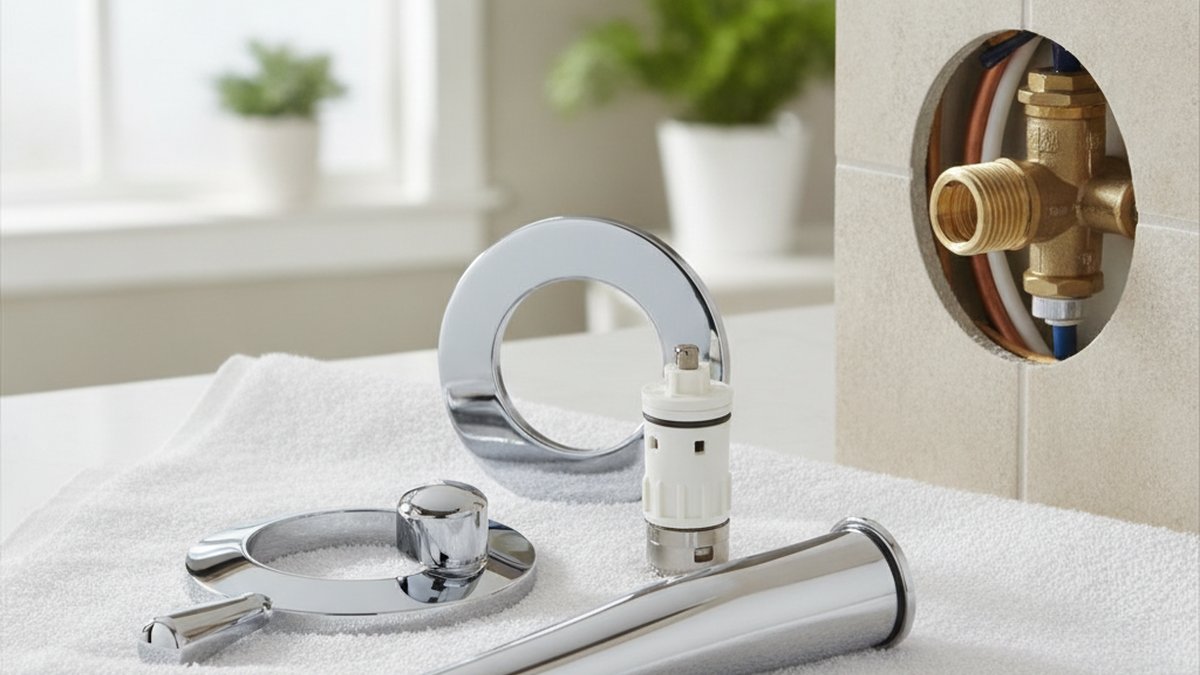
To remove an old shower faucet, shut off the water, pop the cap off the handle, back out the set screw with a hex key, and pull the handle straight off. Then unscrew the escutcheon plate and unthread the tub spout (either twist it counterclockwise or loosen the set screw underneath a slip-on spout) and the showerhead. That exposes the cartridge and retaining clip so you can pull them out — and it’s as far as you need to go for a trim swap.
A few things make removal go smoothly:
- Drain the lines first. After shutting off the water, open the faucet to relieve pressure so nothing sprays when the spout or cartridge comes loose.
- Check the spout type before you twist. Threaded spouts unscrew counterclockwise; slip-on spouts slide off after you loosen a small Allen screw on the underside. Forcing the wrong type can snap the pipe nipple.
- Free up stuck parts gently. Mineral scale can weld a handle or cartridge in place. A little penetrating oil and patience beat brute force, which can crack tile or the valve body.
Once the trim is off, you’ve completed the removal stage whether you’re doing a simple swap or a full valve replacement — the valve work only begins after the old faucet is out of the way.
How Do You Replace the Shower Tub Faucet Step by Step?
Here’s the full process for a single-handle tub-and-shower faucet, which covers the vast majority of homes. A trim swap follows steps 1–4 and 8–10; a full valve replacement adds steps 5–7.
- Shut off the water. Use the bathroom shut-off if you have one, otherwise the main. Open the tub faucet to drain the lines and confirm the water is truly off before you touch anything.
- Cover the drain. Put a rag or the stopper over the tub drain so no screws or set screws disappear down it. This one habit saves a lot of grief.
- Remove the handle. Pop off the decorative cap, loosen the set screw with your hex key, and pull the handle straight off. If it’s stuck from mineral buildup, wiggle gently — don’t pry against the wall tile.
- Remove the escutcheon and trim sleeve. Unscrew or unclip the plate covering the valve. You’ll now see the cartridge and the retaining clip or nut.
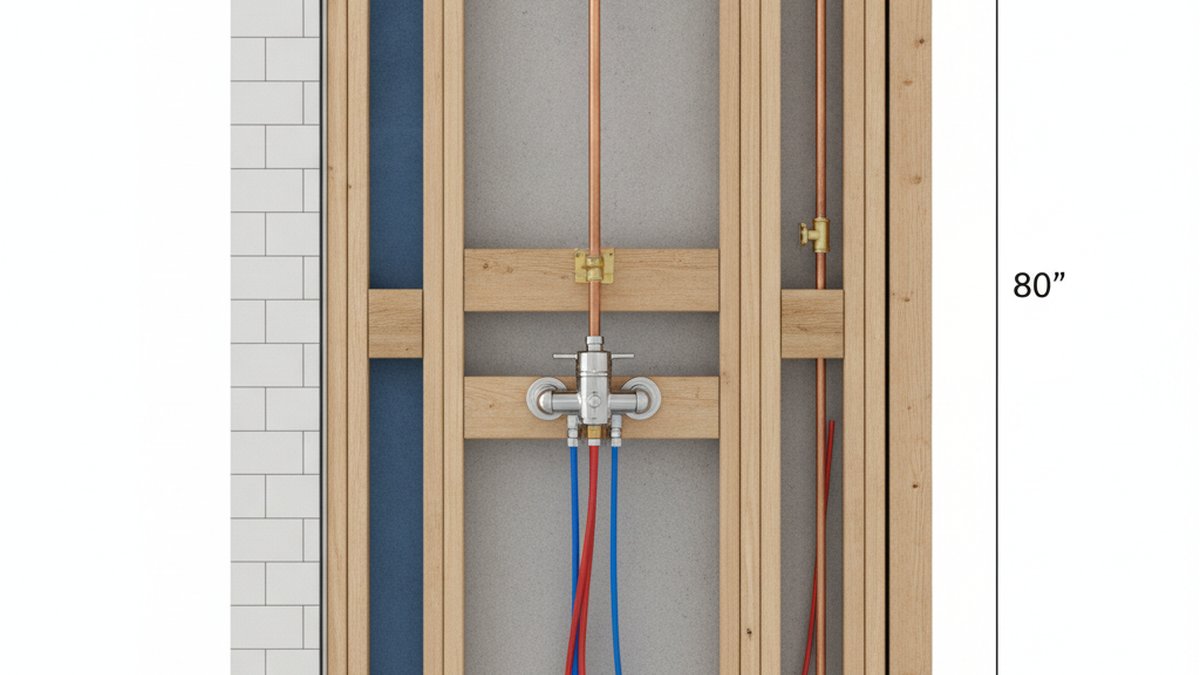
- (Valve swap only) Access the valve. If you’re replacing the whole valve, you’ll need an access panel behind the wall, or you’ll cut an opening in the tile/drywall. Some valves can be serviced through the front opening; older ones can’t.
- (Valve swap only) Disconnect and remove the old valve. Cut or unsolder the supply lines and the riser to the showerhead and the drop to the spout. Note the orientation before it comes out.
- (Valve swap only) Install the new valve. Solder or push-fit the new valve in place, matching hot on the left, cold on the right, “shower” up and “tub” down. Set it to the correct depth for your finished wall thickness — most valves have a plaster guard marked for this.
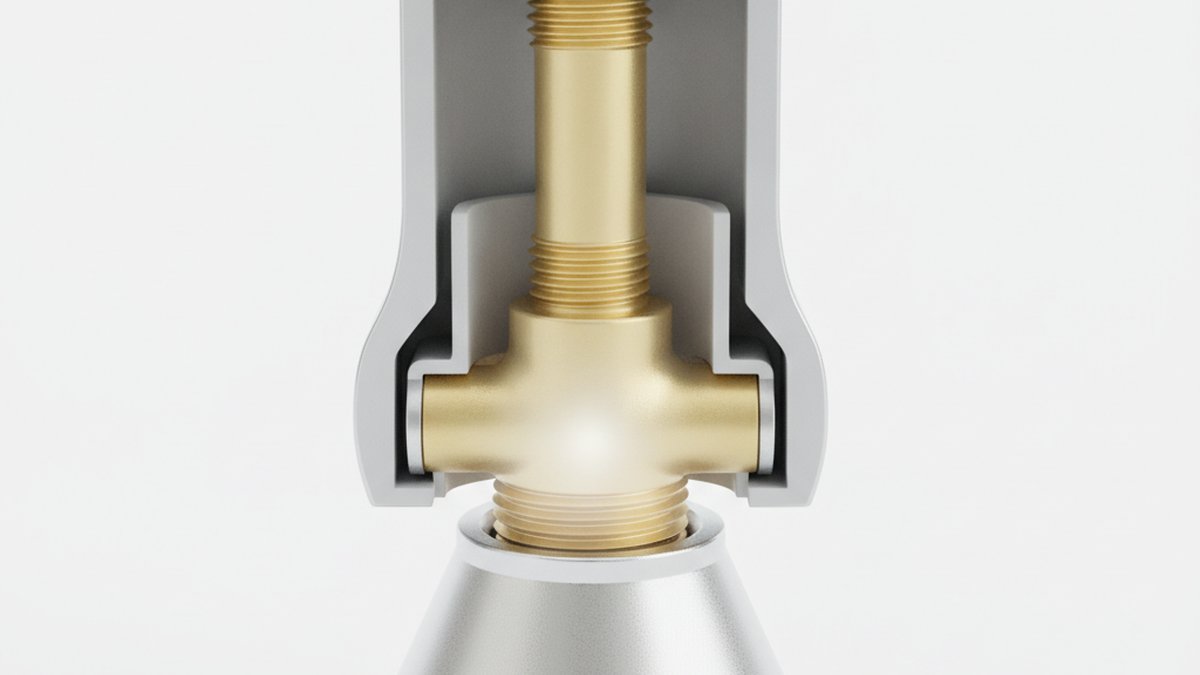
- Replace or reseat the cartridge. For a trim swap, pull the old cartridge with a puller, note its orientation, and press the new one in the same way. A cartridge installed backwards reverses hot and cold — a classic and easily avoided mistake.
- Install the new spout and showerhead. Wrap the threads with plumber’s tape, hand-tighten, then snug with a wrench (don’t overtighten a slip-on spout’s set screw). If you’re going for a bolder look while you’re in there, a matte finish spout pairs beautifully with modern trim — our roundup of the best black tub spouts covers what actually matches and lasts.
- Turn the water back on and test. Restore water slowly, check for leaks at every connection, run hot and cold to confirm they aren’t reversed, then caulk around the escutcheon and spout with silicone.
If your project is really about a leaking or failing valve rather than a cosmetic upgrade, don’t skip the diagnosis — our dedicated walkthrough on how to replace a bathtub faucet valve yourself goes deeper on the cut-and-solder version of this job.
How Is a Bathtub Faucet Replacement Different From a Shower Faucet?
A bathtub faucet replacement is the same core job as a shower faucet replacement — same valve, same handle, same trim — with one extra piece: the tub spout. On a combined tub-and-shower, the valve feeds both the showerhead and the spout, and a diverter (a pull-up tab on the spout or a third handle) sends water up or down. So whether your search is for “tub faucet replacement” or “shower faucet replacement,” you’re working on the same fixture from the same opening.
What changes depending on your setup:
- Tub-only faucet: You’re replacing the spout, handle(s), and possibly the valve — no showerhead involved. The spout often carries the diverter, so match the spout style (threaded vs. slip-on) to your pipe stub.
- Shower-only faucet: No spout — just the showerhead, handle, and valve.
- Combined tub-and-shower: The full job covered in the steps above — spout, showerhead, handle, and valve with its diverter.
The one part unique to a bathtub (or tub/shower) replacement is the tub spout itself, and it’s the easiest piece to get wrong. Measure from the wall to the end of the pipe stub and check whether the old spout threaded on or slipped over a copper stub before you buy a replacement. For a tub-only upgrade where only the spout is changing, our guide on a wall mount faucet spout replacement without tearing open the wall covers the measuring and fitting details that keep a simple swap simple.
Trim Swap vs. Full Valve Replacement: Which One Fits Your Situation?
The right choice comes down to why you’re replacing the faucet and whether you’re staying with the same brand. This table lays out the real trade-offs in time, cost, and difficulty.
| Factor | Trim Swap (same brand) | Full Valve Replacement |
|---|---|---|
| When to choose it | Cosmetic upgrade, sticky/leaky handle, same-brand valve in good shape | Cracked/leaking valve, brand change, adding anti-scald, changing handle count |
| Open the wall? | No — work through the front opening | Usually yes (access panel or cut tile) |
| Soldering needed? | No | Yes, or push-fit fittings |
| Time (DIY) | 1–2 hours | 3–6 hours |
| Typical parts cost | $40–$150 (trim kit + cartridge) | $120–$350 (valve + trim + fittings) |
| Skill level | Beginner-friendly | Intermediate — plumbing + tile work |
| Plumber cost if hired | $150–$300 | $350–$800+ |
The takeaway: if you’re staying with the same brand and the valve is sound, do the trim swap yourself and pocket the savings. If you’re changing brands or chasing a hidden leak, budget for the wall work — and consider whether you’re comfortable soldering or would rather use push-fit connectors.
What Are the Most Common Mistakes When Replacing a Tub Faucet?
The most common mistake is buying a trim kit that doesn’t match your valve — followed closely by installing the cartridge backwards. Both are avoidable if you slow down at two specific points. Here are the pitfalls that cause the most re-dos:
- Assuming any trim fits any valve. It doesn’t. Match the brand and series before you buy.
- Reversing hot and cold. Photograph the cartridge orientation before removing it, and test temperature before you caulk.
- Overtightening the spout. You can crack the fitting or strip the threads. Snug, not gorilla-tight.
- Skipping the plumber’s tape on threaded connections, then chasing drips afterward.
- Forgetting to reset the anti-scald limit stop on a new cartridge, which can leave your hot water uncomfortably weak — or dangerously hot.
- Not sealing the escutcheon with silicone, letting water get behind the wall over time.
One more that trips people up: a corroded or seized part that won’t budge. If the old spout or seat is fused with mineral scale, forcing it can crack the pipe stub. Our guide on removing an old tap seat that’s stuck, corroded, or stripped has the penetrating-oil and extraction tricks that get you unstuck without damage.
How Long Does It Take, and When Should You Just Call a Plumber?
A same-brand trim swap takes a confident DIYer 1–2 hours; a full valve replacement takes 3–6 hours, more if tile work is involved. Call a plumber when the job crosses into territory you’re not equipped for — specifically, when you’d have to open a tiled wall you can’t neatly patch, when the supply pipes are galvanized steel or in poor shape, or when you smell a hidden leak but can’t locate the source.
You should also call a pro if your home has no shut-off valves anywhere near the bathroom and the main shut-off is unreliable, or if you’re on a slab with no access panel and the only way in is through finished tile. There’s no shame in it — the money you’d spend on a plumber is far less than the cost of water damage from a botched behind-the-wall connection. Wall-mounted and unusual configurations have their own quirks; if that’s your setup, our piece on handling a wall mount faucet spout replacement without tearing open the wall is worth a read first.
A Note From Our Team on Doing This Right
Author note: This guide was written by the aleashafaucet product and installation team, drawing on hands-on testing of tub-and-shower trim kits, cartridges, and valves across the major North American brands. We’ve installed, pulled apart, and pressure-tested these fixtures ourselves, which is why the steps above call out the small things — cartridge orientation, limit-stop resetting, escutcheon sealing — that manuals gloss over.
Why you can trust this: aleashafaucet designs and sells bathroom and kitchen fixtures direct to homeowners, so we field real installation questions every day. Whenever you buy or replace a pressure-balancing valve, look for one that meets ASME A112.18.1 / CSA B125.1 standards for anti-scald performance, and register it to keep the manufacturer’s warranty intact — most quality tub/shower valves carry a limited lifetime warranty on the valve body and finish. Replacing your own trim generally does not void that valve warranty, but always keep your receipt and model records.
FAQ
Can I replace a shower tub faucet without turning off the main water supply?
Only if you have a dedicated shut-off for that bathroom or accessible stops on the hot and cold lines feeding the valve. Most tub/shower valves don’t have local stops, so you’ll usually need the main. Never remove a cartridge or spout under pressure — you’ll flood the room.
How do I remove an old shower faucet handle that’s stuck?
After shutting off the water, pop off the handle cap and back out the set screw completely, then wiggle the handle straight off — never pry against the tile. If mineral scale has seized it, apply penetrating oil, wait about 15 minutes, and try again, or use a handle puller for a stubborn cartridge handle. Forcing it risks cracking the valve or the wall.
Do I have to replace the valve, or can I just change the handle and spout?
If your new trim is the same brand and series as the existing valve, you can change just the handle, spout, and escutcheon — no wall opening required. You only need to replace the valve if it’s damaged, you’re switching brands, or you’re changing the number of handles.
Is replacing a bathtub faucet different from replacing a shower faucet?
It’s the same valve and trim; the only difference is the tub spout. A tub-and-shower faucet uses one valve to feed both the spout and the showerhead, with a diverter that sends water up or down. A tub-only replacement skips the showerhead, and a shower-only replacement skips the spout — but the handle and valve work is identical.
How do I know what brand my shower valve is?
Check the handle, escutcheon, or cartridge for a stamped logo or model number, and match the cartridge shape to a brand (Moen, Delta, Kohler, and Pfister all use distinct cartridges). If nothing’s marked, photograph the cartridge and bring it to a supply store, or match it against a brand identification guide before ordering trim.
Why is my new faucet leaking after I replaced it?
The usual culprits are missing plumber’s tape on threaded joints, a cartridge that isn’t fully seated, or a retaining clip that wasn’t reinstalled. Turn the water off, recheck each connection, confirm the cartridge is pressed all the way in, and make sure the clip is engaged before testing again.
Is it safe to solder near the wall studs and insulation?
It can be done safely with a flame shield behind the fitting and a spray bottle handy, but if you’re not comfortable with a torch, use push-fit (SharkBite-style) connectors instead — they require no flame and hold to the same pressure ratings when installed on properly deburred, correctly cut pipe.
How much does it cost to replace a shower tub faucet in 2026?
Doing it yourself runs roughly $40–$150 for a same-brand trim swap and $120–$350 for a full valve replacement in parts. Hiring a plumber typically costs $150–$300 for a trim swap and $350–$800+ for a valve replacement that involves opening a wall.