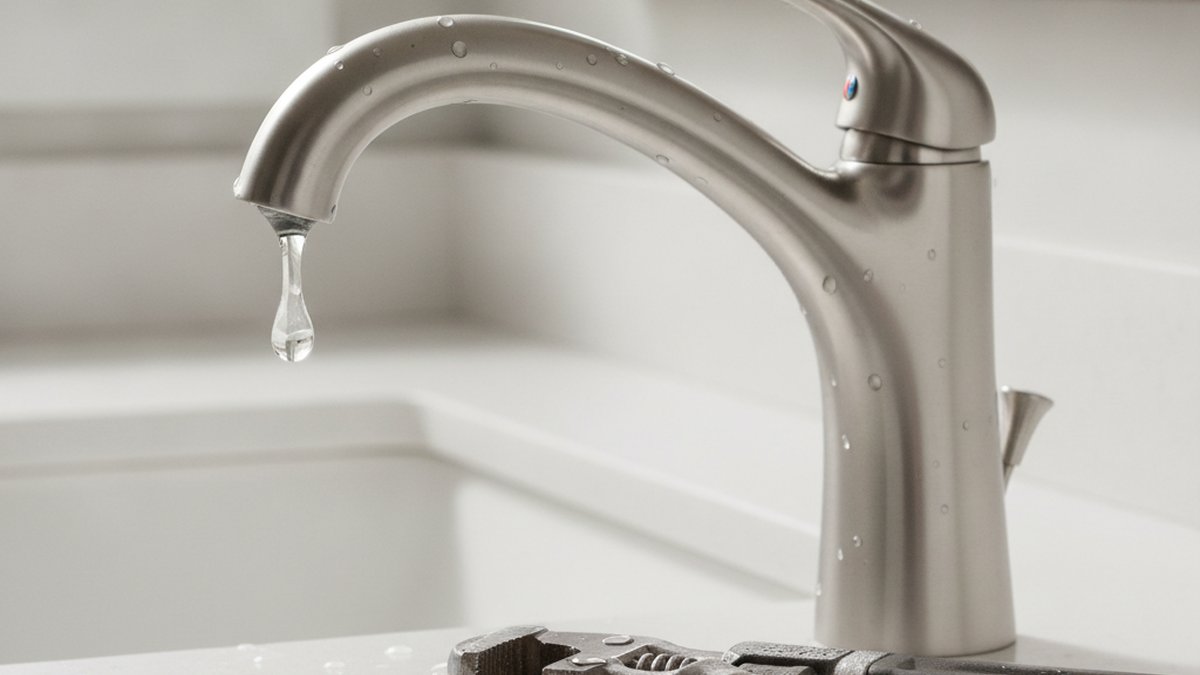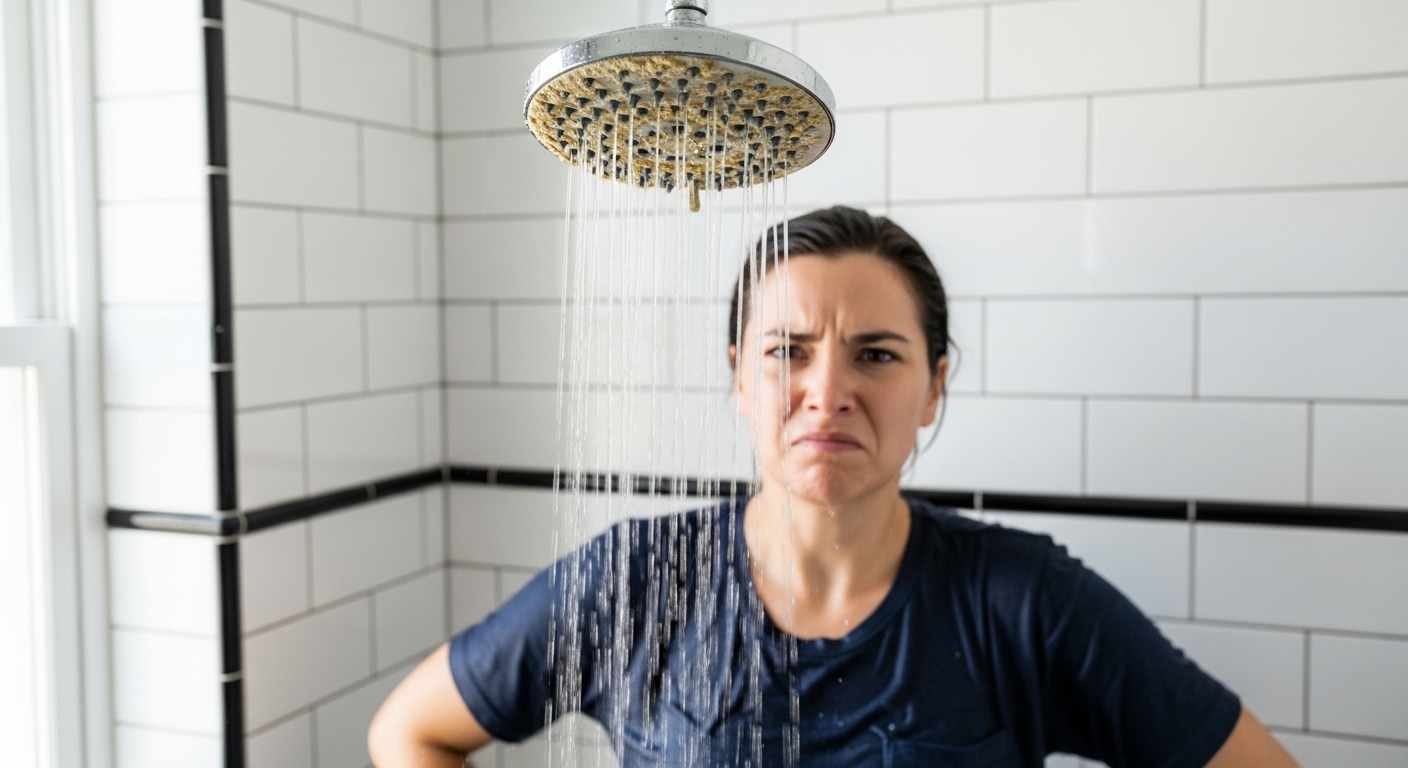
When your shower head has low pressure but the rest of the house does just fine — the kitchen faucet blasts, the toilet refills fast, the bathroom sink runs strong — you can rule out the big, scary, expensive causes right away. You don’t have a broken pressure regulator, a leaking main line, or a city supply problem. If those were failing, every fixture would be weak. Because the weakness is isolated to one shower head, the culprit is almost always a small, cheap part inside that specific fixture that you can reach with a wrench, a toothbrush, and a bowl of vinegar.
This guide walks through exactly why that happens, how to diagnose it in about five minutes, and how to fix each cause step by step — in plain English, from someone who has taken apart a lot of shower heads.
How Do I Know It’s the Shower Head and Not My Home’s Water Pressure?
Run a quick two-test check: if other faucets are strong but the shower is weak, it’s the shower — full stop. Whole-house pressure problems don’t politely limit themselves to one fixture.
Do this before you buy or touch anything:
- Test other fixtures. Turn on the kitchen faucet, the bathroom sink, and flush a toilet. If they all have normal, strong flow, your incoming supply and pressure regulator are healthy.
- Test the shower arm without the head. Unscrew the shower head and briefly turn the shower on (point it at the wall or hold a bucket). If water gushes out of the bare shower arm but trickles through the head, you’ve just proven the problem is the head or its flow restrictor — not the plumbing behind the wall.
That second test is the single most useful thing you can do. A strong stream from the bare arm plus a weak stream through the head narrows it down to two cheap parts: the shower head itself, or the restrictor and screen inside it. If the bare arm is also weak, the problem moves upstream to the shower valve, the cartridge, or the pipe feeding that one bathroom.
Why Does Only My Shower Head Have Low Pressure but the Rest of the House Does Not?
The four usual suspects, in order of likelihood: mineral buildup clogging the nozzles, a gunked-up flow restrictor, a worn or debris-jammed valve cartridge, and a kinked or crushed shower hose. Hard water is behind most of them.
Here’s what’s actually happening inside your shower when the rest of the house is fine:
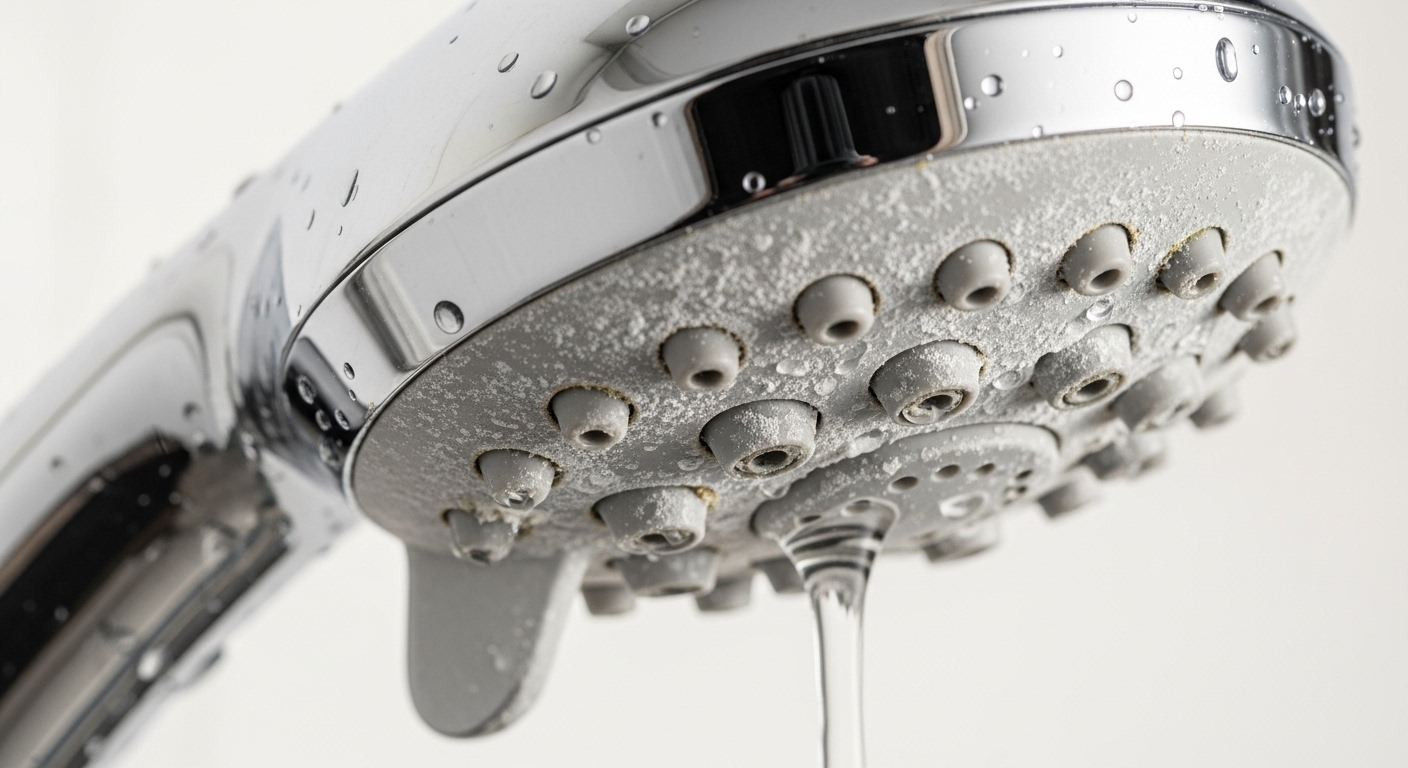
- Clogged nozzles (most common). Those tiny rubber or plastic spray tips are the narrowest opening in your entire water path. Calcium and magnesium from hard water crust over them first. You’ll often see white or greenish crust and a spray that shoots off at weird angles.
- Scaled-up flow restrictor. Nearly every U.S. shower head sold since 1992 has a small plastic flow restrictor inside (federal law caps flow at 2.5 gallons per minute). Sediment and scale collect in its little hole and choke it down to a dribble.
- Blocked inlet screen/filter. Many heads have a tiny mesh screen at the inlet that catches pipe debris, rust flakes, or bits of an old water heater’s anode rod. It clogs silently.
- Failing shower valve cartridge. If cleaning the head does nothing and the bare arm is also weak, the cartridge inside your shower valve may be worn, cracked, or full of grit. This is common in homes 8–15+ years old.
- Kinked or restricted hose (handheld showers). A handheld unit’s flexible hose can kink behind the bracket or collapse internally, strangling flow.
How Do I Fix a Clogged Shower Head Myself in Under 30 Minutes?
Soak the shower head in white vinegar for a few hours, scrub the nozzles, and clear the inlet screen — this fixes the majority of low-pressure showers for free. No plumber, no new parts.
Here’s the exact process:
- Unscrew the shower head from the shower arm by turning counterclockwise. Wrap the connection nut with a rag first, then use an adjustable wrench or pliers so you don’t scratch the finish. Hold the arm steady with your other hand.
- Remove and inspect the flow restrictor and screen. Look inside the inlet — you’ll usually find a mesh screen and, under it, a colored plastic restrictor (often star-shaped). Pop them out with a flathead screwdriver or needle-nose pliers. Rinse both under a strong tap.
- Soak everything in white vinegar. Submerge the head, restrictor, and screen in a bowl of warm white vinegar for 2–8 hours (overnight for heavy scale). Vinegar dissolves calcium without harming most finishes.
- Scrub the nozzles. Use an old toothbrush on the spray face. For stubborn tips, rub the rubber nozzles with your thumb — many are self-cleaning silicone and the scale flakes right off.
- Clear the tiny holes. Poke a toothpick, safety pin, or paperclip through any nozzle or restrictor hole that’s still blocked.
- Reassemble and reinstall. Put the screen and restrictor back in the same orientation, wrap the shower arm threads with 2–3 turns of plumber’s tape (Teflon tape), and hand-tighten the head back on. Snug it a quarter-turn with the wrapped wrench.
Turn the water on and check. If flow is back, you’re done. A quick note on the flow restrictor: you can technically remove it to boost pressure, but it’s there for a reason — water conservation and, in many areas, code compliance. If your pressure is genuinely fine once it’s clean, leave it in. If you have chronically low household pressure and want more flow, cleaning it is the safe first move before you consider removing it.
If your shower head is also dripping or leaking on top of the weak flow, that’s a slightly different diagnosis — the connection, washer, or valve is involved too. We break that combination down in our guide on why a shower head has low water pressure and a leak, and how to fix it yourself.
What If Cleaning Didn’t Work — Is It the Shower Valve Cartridge?
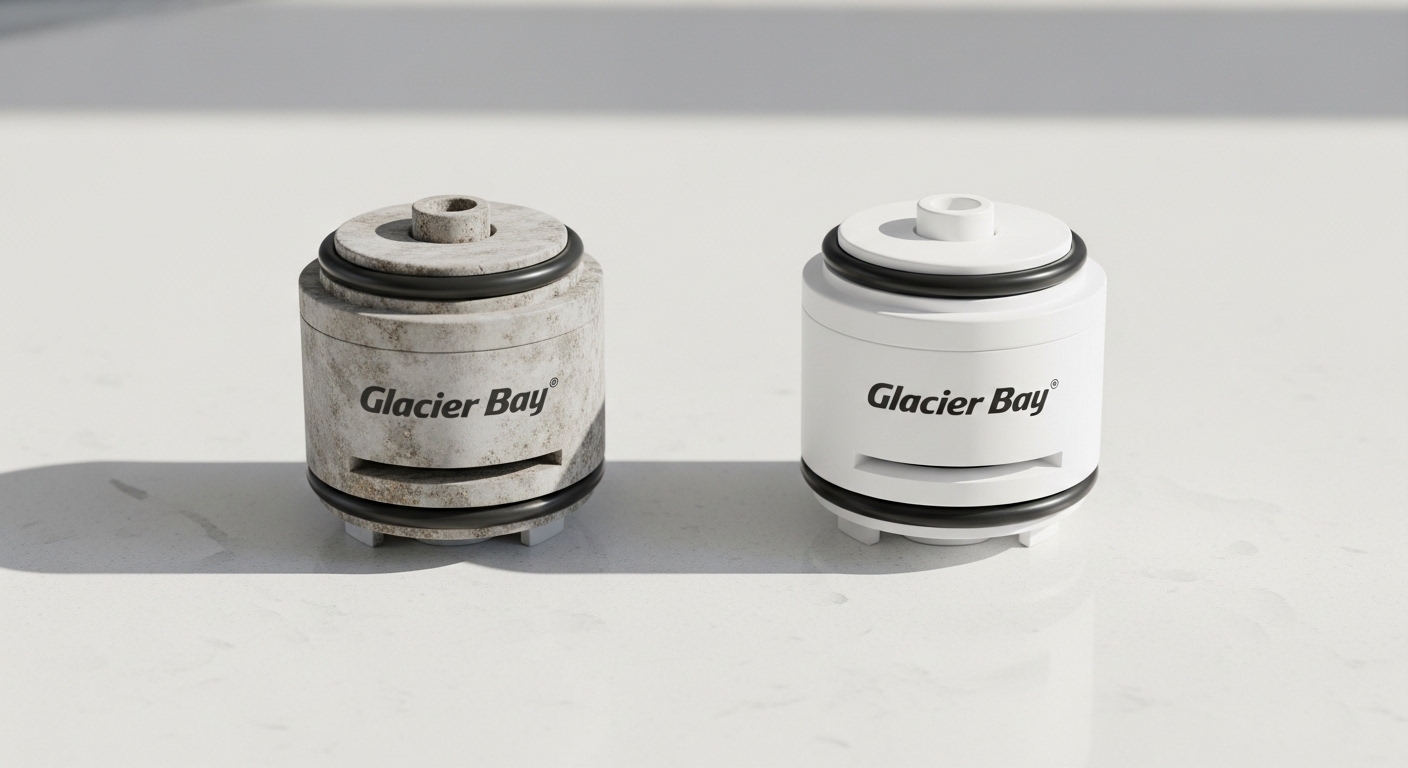
If the shower head is clean but flow is still weak — especially if the bare shower arm was also weak in the earlier test — the shower valve cartridge is the likely culprit and usually costs $15–$50 to replace. The cartridge is the heart of your single-handle mixing valve, and it wears out.
Signs it’s the cartridge, not the head:
- Cleaning or swapping the shower head changed nothing.
- The bare shower arm also ran weak in the two-test check.
- Water temperature is hard to control, or hot and cold aren’t mixing right.
- The handle feels gritty, stiff, or too loose to turn.
Replacing a shower cartridge is a very doable DIY job, but it does require shutting off water to the shower (either at a local stop or the main), pulling the handle and trim plate, and removing a retaining clip. The critical rule: buy the exact cartridge for your valve brand and model — Moen, Delta, Kohler, and Pfister all use different, non-interchangeable cartridges. The mechanics are close cousins to a kitchen job; if you want to see the general rhythm of a cartridge swap first, our walkthrough on replacing a tap cartridge yourself without calling a plumber covers the same shut-off, pull, and reseat logic step by step.
Which Cause Is It? A Quick Diagnostic Comparison
Match your symptoms to the table below to pinpoint the cause, the fix, and roughly what it’ll cost you.
| Cause | Telltale symptom | Fix | Time / Cost | DIY difficulty |
|---|---|---|---|---|
| Clogged nozzles | Spray shoots sideways; visible crust on face | Vinegar soak + scrub | 15 min work / free | Easy |
| Scaled flow restrictor | Even trickle; head is clean-looking outside | Clean or replace restrictor | 20 min / free–$10 | Easy |
| Blocked inlet screen | Sudden drop after plumbing work or new heater | Remove screen, rinse debris | 10 min / free | Easy |
| Kinked handheld hose | Only the handheld is weak; hose visibly bent | Straighten or replace hose | 10 min / $10–$25 | Easy |
| Worn valve cartridge | Bare arm also weak; temp control off | Replace cartridge (brand-specific) | 45–60 min / $15–$50 | Moderate |
| Old, low-quality head | Weak even after cleaning; 2.0 GPM budget unit | Upgrade to a quality 2.5 GPM head | 15 min / $25–$80 | Easy |
Should I Just Buy a New Shower Head Instead of Cleaning the Old One?
Replace the head if it’s more than 8–10 years old, cheaply made, or so scaled it won’t come clean — a quality 2.5 GPM shower head runs $25–$80 and often solves “low pressure” better than any cleaning. Not all pressure problems are clogs; some heads are just poorly designed.
A good replacement head does two clever things to make weak supply feel strong:
- Pressure-boosting design. Better heads use fewer, tighter nozzles and internal channeling to accelerate the water — the same gallons per minute hit you with more force. Look for heads marketed as “high pressure” or “pressure boost,” especially if your household pressure runs on the low side (below 45 psi).
- Self-cleaning silicone nozzles. Soft rubber tips let you rub scale off with a thumb, so you never get the sideways-spray clog again.
When shopping, check the flow rate printed on the box. Standard U.S. maximum is 2.5 GPM; some water-saving heads go down to 1.8 or 2.0 GPM, which can feel weak if you already have low pressure. For a strong shower on modest supply, a well-engineered 2.5 GPM head is the sweet spot. If you’re renovating the whole shower rather than swapping one part, it may be worth stepping up to a matched valve-and-head setup — our guide to choosing a shower system mixer tap explains what to look for in a complete pressure-balanced system.
Why Does Hard Water Keep Killing My Shower Pressure?
Hard water is loaded with dissolved calcium and magnesium, and every time water evaporates at your nozzles, those minerals stay behind as rock-hard scale — so a cleaned head re-clogs in months if your water is hard. This is the root cause behind most repeat low-pressure showers.
If you’re cleaning your shower head two or three times a year, you have hard water, and you have options:
- Descale on a schedule. A vinegar soak every 3–4 months keeps scale from ever building up enough to matter.
- Add an inline shower filter. These screw on between the arm and head and catch sediment and some minerals, extending the time between cleanings.
- Consider a whole-house water softener if scale is also wrecking your faucets, water heater, and appliances. That’s a bigger investment, but it protects everything, not just the shower.
One more benefit of solving hard water: it protects the finish and internals of every fixture in your home, from your shower valve to your kitchen faucet. If hard water is a running battle in your house, it’s worth reading how it affects your other fixtures too — our roundup of the most reliable kitchen faucets flags which builds hold up best against mineral-heavy water.
A Note on Testing, Standards, and Your Warranty
A quick word from the practical side. In the U.S., shower head flow is regulated under the Energy Policy Act to a maximum of 2.5 GPM at 80 psi, and reputable heads are tested to standards like ASME A112.18.1 / CSA B125.1 for safe, consistent performance. Before you rip out a flow restrictor or crack open a valve, check whether your shower head or valve is still under warranty — many quality brands offer limited lifetime coverage on the head and 5-year-plus coverage on cartridges, and self-modifying a part can void it. If cleaning restores your flow, you’ve spent nothing and kept your warranty intact. If it doesn’t, a warranty claim may get you a free replacement cartridge or head before you ever pay for one.
FAQ
Why does my shower have low pressure but my sink and toilet are fine?
Because the problem is inside the shower fixture, not your home’s supply. If your sink and toilet run strong, your incoming water pressure and pressure regulator are healthy. The weak spot is isolated to the shower — usually a clogged shower head, a scaled flow restrictor, or a worn valve cartridge. Clean the head first; it fixes most cases.
How do I clean a shower head without taking it off the wall?
Fill a sturdy plastic bag with white vinegar, slip it over the shower head so the spray face is fully submerged, and secure it with a rubber band or twist tie. Leave it 2–8 hours, remove it, run hot water, and scrub the nozzles with a toothbrush. It’s not quite as thorough as removing the head to clear the inlet screen and restrictor, but it handles surface nozzle clogs well.
Should I remove the flow restrictor to get more pressure?
Only as a last resort, and know the trade-offs. The restrictor is there for water conservation and, in many areas, code compliance — removing it increases water and energy use. First clean it, because a scaled restrictor is the actual problem far more often than the restrictor itself. If your household pressure is genuinely low and a clean restrictor still chokes flow, removing it will help, but check your local codes and your warranty first.
How much does it cost to fix low shower pressure?
Usually nothing. Cleaning the shower head with vinegar is free and solves most cases. A replacement flow restrictor is a few dollars, a new shower head is $25–$80, and a brand-specific valve cartridge is $15–$50. You only reach plumber territory (roughly $150+) if the problem is inside the wall — a failing valve body or a supply-line issue — which is rare when only the shower is affected.
Can a bad shower valve cartridge cause low pressure?
Yes. A worn, cracked, or debris-jammed cartridge restricts flow and often messes with temperature control too. Suspect the cartridge when cleaning the shower head changes nothing and the bare shower arm also ran weak in the two-test check. Replacing it is a moderate DIY job — just match the exact cartridge to your valve’s brand and model, since Moen, Delta, Kohler, and Pfister are not interchangeable.
Why did my shower pressure suddenly drop after plumbing work or a new water heater?
Debris. Any work on your pipes — or a water heater whose anode rod is shedding — can send rust flakes and sediment downstream that lodge in your shower head’s inlet screen. Unscrew the head, pull out the little mesh screen, rinse the debris away, and reinstall. Flow usually returns immediately.
Author note: This guide was written by the fixture specialists at aleashafaucet, drawing on hands-on repair and installation experience with shower heads, valves, and cartridges across every major U.S. brand. aleashafaucet designs and sells faucets, shower systems, and bathroom fixtures built to ASME/CSA performance standards, and our team fields real customer pressure-and-clog questions every week. Always shut off your water supply before disassembling a valve, and when in doubt about in-wall plumbing, consult a licensed plumber.