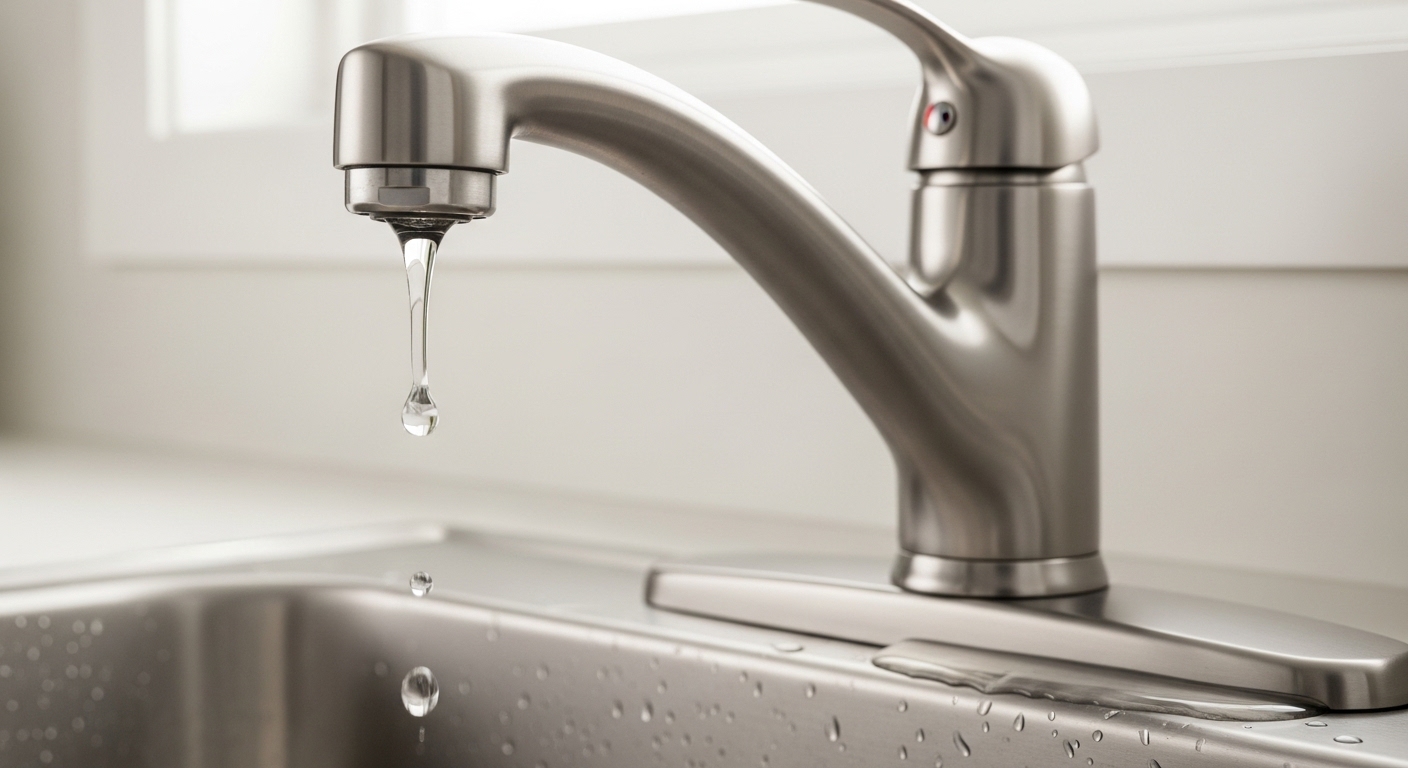
If your single-lever mixer drips when it’s off, gets stuck between hot and cold, or feels gritty when you turn it, learning how to replace kitchen tap cartridge parts yourself is almost always the fix — and it costs a fraction of a plumber’s call-out. The cartridge is the small valve inside the tap body that controls flow and temperature. When it wears out, no amount of tightening will stop the drip; the part itself has to come out. The good news: on most modern kitchen taps this is a genuinely beginner-friendly repair, and you don’t need to disconnect any water lines to do it.
Below I’ll walk you through the exact steps, the tools, how to identify the right replacement cartridge, and the mistakes that cause 90% of “I tried and it still leaks” complaints. I’ve swapped cartridges on ceramic-disc mixers, ball valves, and old compression taps, and the process is more similar than you’d expect once you know what you’re looking at.
How do I know the cartridge is the problem and not something else?
A worn cartridge shows up as three classic symptoms: a persistent drip from the spout when the handle is fully off, a handle that’s hard to move or grinds, or water that won’t reach full hot or full cold anymore. If you’re seeing any of these, the cartridge is the most likely culprit — not the aerator, not the supply lines.
Here’s a quick way to tell the difference. If water leaks from the base of the spout or pools around the neck when the water is running, that’s usually a worn O-ring, not the cartridge — and that’s a different (also easy) repair. If the leak is a slow drip out of the spout while the tap is switched off, that’s the cartridge failing to seal. And if the leak is under the sink at the connections, that’s a supply-line or fitting issue, not the cartridge at all.
- Drip from spout when off → replace the cartridge (this guide).
- Leak from spout base while running → replace the spout O-rings. For a common brand walkthrough, see our Moen kitchen faucet spout O-ring replacement guide.
- Stiff or gritty handle → mineral buildup or a worn cartridge; replacing it restores smooth motion.
- Leak from the handle itself → often a cartridge seal or the retaining nut being loose.
If you have a specific brand acting up, we have brand-specific breakdowns too — for example, how to fix a Moen kitchen faucet from leaking covers the exact quirks of Moen’s system, which uses a cylindrical cartridge held by a horizontal clip.
What tools and parts do I actually need to replace a kitchen tap cartridge?
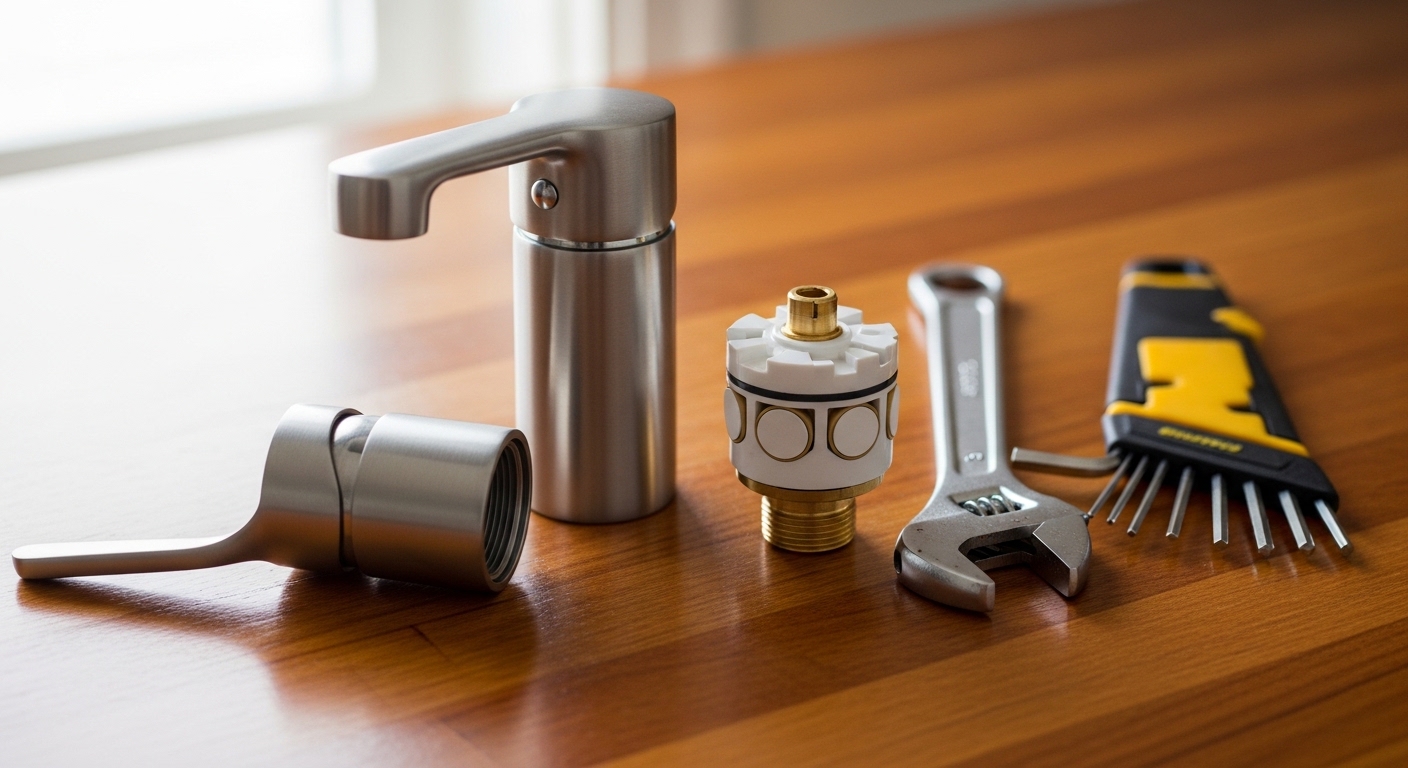
You need surprisingly little: an adjustable wrench, a set of hex (Allen) keys, needle-nose pliers, and — critically — the correct replacement cartridge for your exact tap. That last item is where most DIY jobs go wrong, so we’ll spend real time on it.
Here’s the full kit I’d lay out before starting:
- Adjustable wrench or a set of spanners for the retaining nut.
- Hex/Allen keys — most single-lever handles are held by a tiny grub screw.
- Flathead screwdriver to pop off the decorative cap that hides the screw.
- Needle-nose pliers to grip and pull a stubborn cartridge or remove a retaining clip.
- Cartridge puller (optional) — a cheap tool worth buying for stuck Moen-style cartridges.
- Plumber’s silicone grease to lubricate seals on reassembly.
- White vinegar and an old toothbrush to clean mineral scale from the tap body.
- A towel and a bowl to catch residual water and to plug the drain so you don’t lose small screws.
The single most important step is matching the cartridge. Cartridges are not universal. They vary by diameter, length, spline count on the stem, and the position of the little index tabs that set the hot/cold direction. Put the wrong one in and the tap will run backwards, leak, or not seat at all.
How do I find the exact right replacement cartridge?
The fastest reliable method is to remove your old cartridge first, take it to the store or photograph it against a ruler, and match it physically — don’t guess from the tap’s outside appearance. Note the brand stamped on the tap, the cartridge diameter (commonly 25mm, 28mm, 35mm, or 40mm on ceramic-disc taps), and whether the stem has flat sides or fine splines.
If your tap is a recognizable brand, look up the model — many brands sell the exact cartridge as a spare part, sometimes free under warranty. If it’s a generic or imported tap, a 35mm or 40mm ceramic cartridge is the most common, but always measure. For brand-specific quirks, our guides on the Globe Union faucet cartridge replacement and the faucet cartridge replacement on a Glacier Bay faucet show how the same basic job differs slightly between manufacturers.
What are the step-by-step instructions to replace the cartridge?
Here’s the full sequence. Follow it in order and don’t skip the water shut-off or the “plug the drain” step — a dropped grub screw down the plughole will ruin your afternoon.
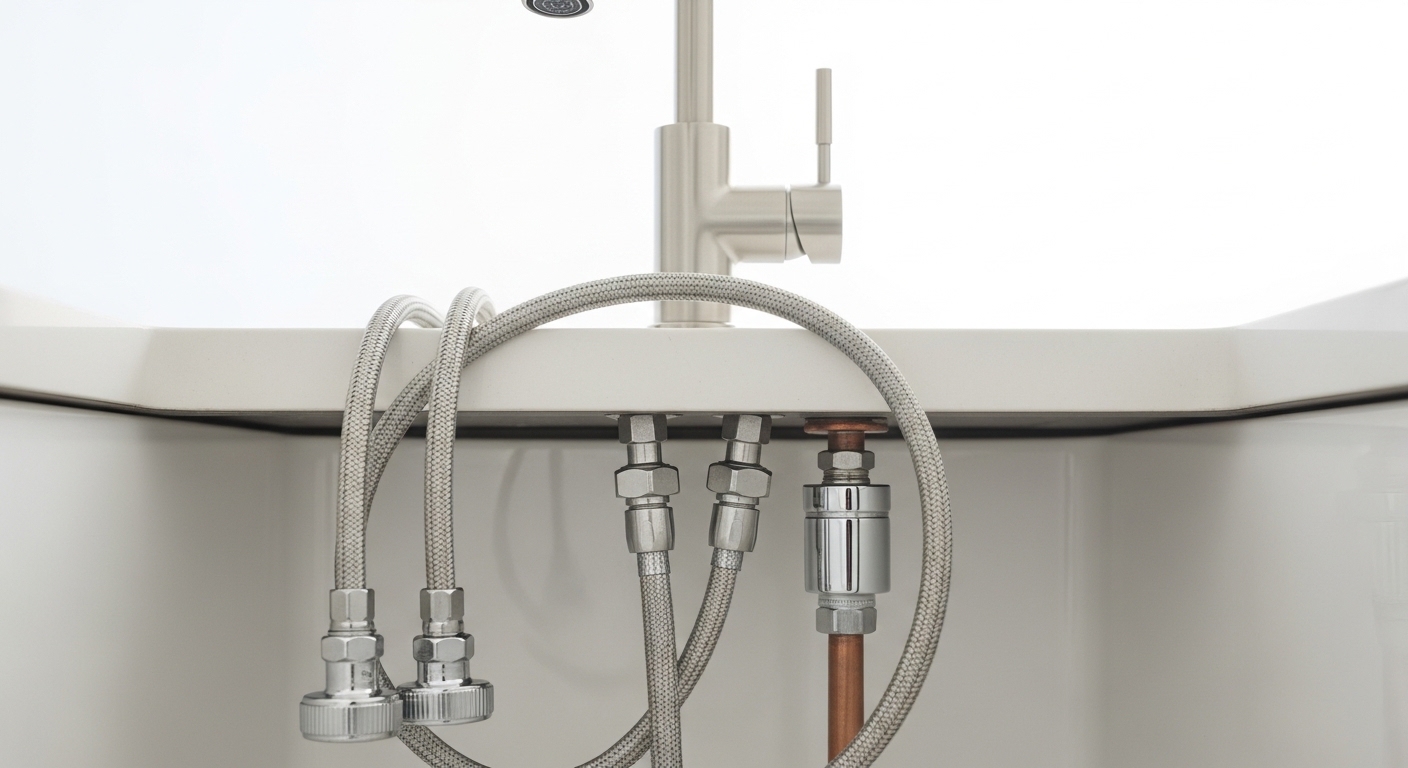
- Turn off the water. Reach under the sink and close both the hot and cold isolation valves (turn clockwise). If there are no isolation valves, shut off your home’s main supply. Then open the tap to release pressure and confirm the water is truly off.
- Plug the drain. Push a rubber stopper or a wad of paper towel into the plughole so nothing small can escape.
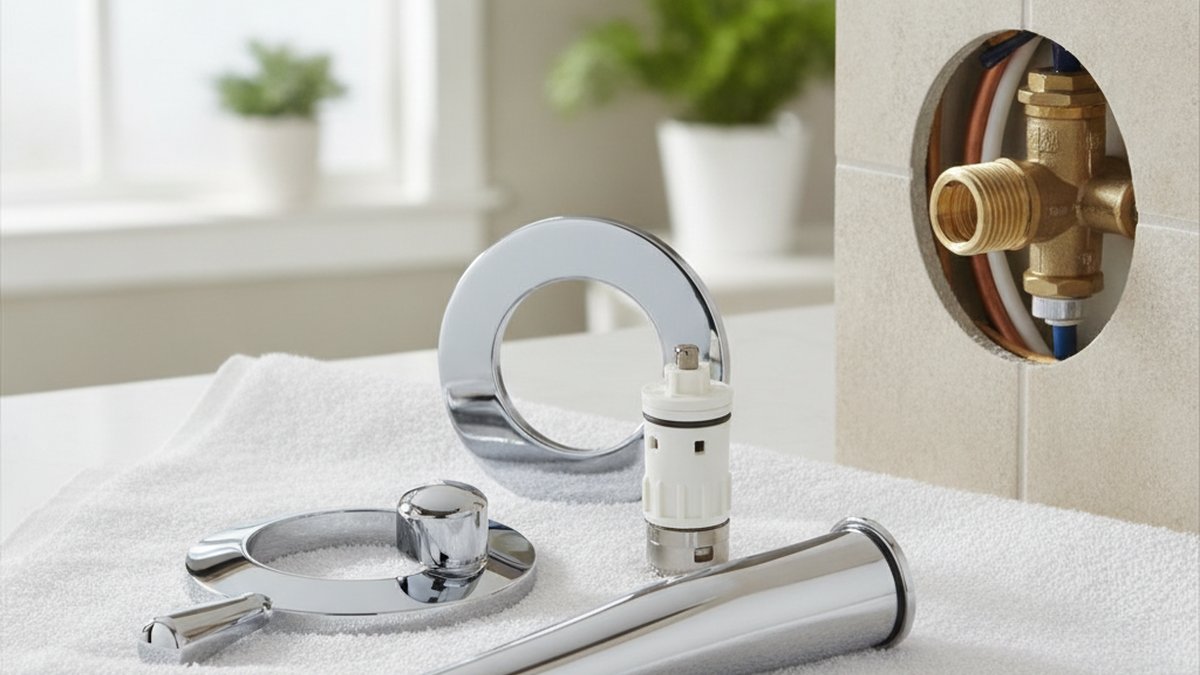
- Remove the handle. Pry off the small colored cap (usually red/blue) on the handle to expose the grub screw. Loosen it with your hex key — you don’t always need to fully remove it — and lift the handle off.
- Remove the cover/dome. Under the handle there’s usually a chrome cover ring or dome nut. Unscrew it by hand or with pliers wrapped in cloth to avoid scratches.
- Release the retaining nut or clip. The cartridge is held by either a brass retaining nut (unscrew counterclockwise with your wrench) or a horizontal U-clip (pull it out with needle-nose pliers). Note which one your tap uses.
- Pull the old cartridge out. Grip the stem and pull straight up. If it’s stuck with scale, wiggle gently or use a cartridge puller — never lever it sideways against the tap body.
- Clean the housing. Wipe out the cavity, and if there’s white mineral crust, soak a vinegar-dampened cloth in there for a few minutes and scrub with the toothbrush.
- Insert the new cartridge. Line up the index tabs or the flat on the stem exactly as the old one sat. Most cartridges only seat correctly in one orientation — force nothing. Lightly grease the seals with silicone first.
- Reassemble in reverse. Retaining nut/clip, cover, handle, grub screw. Snug the retaining nut firmly but don’t overtighten — you can crack a ceramic disc.
- Turn the water back on slowly and test. Run hot and cold, check for drips, and confirm the handle moves smoothly and the temperatures aren’t reversed.
If, after reassembly, hot and cold are swapped, don’t panic — you simply seated the cartridge rotated 180°. Pull it, turn it, and reseat. This is the most common first-attempt mistake and takes two minutes to fix.
What’s the difference between ceramic disc, ball, and compression cartridges?
The three main tap valve types wear and get serviced differently: ceramic-disc cartridges are the modern standard and are simply swapped out, ball valves use a rebuild kit of springs and seats, and old compression taps use a rubber washer rather than a true cartridge. Knowing which you have tells you what part to buy.
| Valve type | How it looks / feels | What you replace | Typical part cost | Difficulty |
|---|---|---|---|---|
| Ceramic disc cartridge | Single lever, smooth quarter-to-half turn, no washer | Whole cartridge unit | $8–$30 | Easy |
| Ball valve | Single lever that pivots in all directions (dome-shaped cap) | Ball + springs/seats rebuild kit | $12–$25 | Moderate |
| Cartridge (Moen-style) | Single lever, cylindrical brass/plastic cartridge with clip | Whole cartridge unit | $15–$45 | Easy–Moderate |
| Compression (two handles) | Separate hot/cold taps, handle turns several times | Rubber washer + O-ring | $2–$8 | Easy |
The overwhelming majority of modern kitchen mixers are ceramic-disc or Moen-style cartridge taps, which is why “replace the cartridge” is the standard fix. Ceramic discs are excellent — they can last 15–20 years and carry a lifetime rating in the hundreds of thousands of on/off cycles — but hard water and grit eventually score the discs, and that’s when the drip starts.
Can hard water damage a new cartridge, and how do I make it last?
Yes — hard water is the number-one killer of tap cartridges, because dissolved calcium and magnesium form scale that scores the ceramic discs and jams the moving parts. If you’re on hard water, a fresh cartridge might only last a few years unless you take a couple of preventive steps.
To extend cartridge life on hard water:
- Clean the aerator regularly. Scale collects there first and back-pressures the whole valve. Our guide on how to clean a rectangular faucet aerator clogged with hard water buildup walks through the soak-and-scrub routine.
- Don’t slam the handle to full. Gentle operation reduces disc wear.
- Choose a quality cartridge. Genuine ceramic-disc cartridges from a reputable maker outlast cheap generics dramatically.
- Consider water flow. Very low or very high pressure both stress the valve. If you’re unsure what “normal” looks like, our piece on the average kitchen tap flow rate gives useful benchmarks.
A quick habit: once a year, unscrew the aerator, drop it in white vinegar for 30 minutes, and give the tap a gentle full-range workout. That alone prevents most premature cartridge failures.
When should you actually call a plumber instead?
Call a plumber if the cartridge is seized solid and won’t budge, if the isolation valves are corroded and won’t shut off, or if the tap body itself is cracked or the threads are stripped. In those cases you risk turning a $15 repair into a flooded cabinet, and a pro can also tell you whether the whole tap is worth replacing.
Honestly, though, most people never reach that point. If your valves work and you can get the handle off, the cartridge swap is well within reach. And if the tap is genuinely old, worn on the outside, and fighting you at every step, replacing the whole faucet is often the smarter long-term move than nursing a failing body — a new mixer with a warranty starts fresh with a healthy cartridge inside.
FAQ
How long does it take to replace a kitchen tap cartridge?
For a first-timer, budget 30–45 minutes; once you’ve done it, it’s a 15–20 minute job. The bulk of the time goes into shutting off the water, getting the handle off, and cleaning any scale from the housing — the actual cartridge swap takes seconds.
Do I need to turn off the water to replace a cartridge?
Yes, always. Close the hot and cold isolation valves under the sink (or the main supply if there are none), then open the tap to relieve pressure. Skipping this step means water under pressure will spray out the moment you lift the cartridge — a guaranteed mess and a potential flood.
Why does my tap still drip after I replaced the cartridge?
The three usual reasons are: you fitted the wrong-size cartridge, the cartridge seated slightly off (leaving a seal gap), or the retaining nut isn’t tight enough. Pull it, confirm the diameter and stem match your old one exactly, reseat it fully in the correct orientation, and snug the retaining nut. If it still drips, the seat in the tap body may be damaged.
Are kitchen tap cartridges universal or brand-specific?
They are brand- and model-specific, not universal. Cartridges differ in diameter, length, stem spline count, and index-tab position. Always match your old cartridge physically — measure it or take it with you — rather than assuming a “close enough” part will work.
Is it cheaper to replace the cartridge or the whole faucet?
Replacing the cartridge is far cheaper — typically $8–$45 for the part versus $80–$300+ for a new faucet plus installation. Replace the whole faucet only if the body is cracked, the finish is failing, the threads are stripped, or the tap is old enough that other parts are also about to go.
Can I replace a cartridge without any plumbing experience?
Yes — this is one of the most beginner-friendly plumbing repairs there is. If you can shut off a valve, use a hex key, and turn a wrench, you can do it. The only real skill is patience: match the part correctly and don’t force anything.
About the author: This guide was written by the aleashafaucet product and fixtures team, who test kitchen and bathroom faucets — including cartridge durability and drip performance — as part of ongoing product development. About aleashafaucet: We design and sell kitchen and bathroom fixtures built around ceramic-disc cartridge technology, and every faucet we ship is pressure- and cycle-tested against standard durability benchmarks before it leaves the factory. Genuine replacement cartridges for our taps are covered under our product warranty, so if a cartridge fails within the warranty period, reach out before you buy a generic part. As always, follow your manufacturer’s specific instructions and local plumbing codes, and if a shut-off valve won’t close, call a licensed plumber.