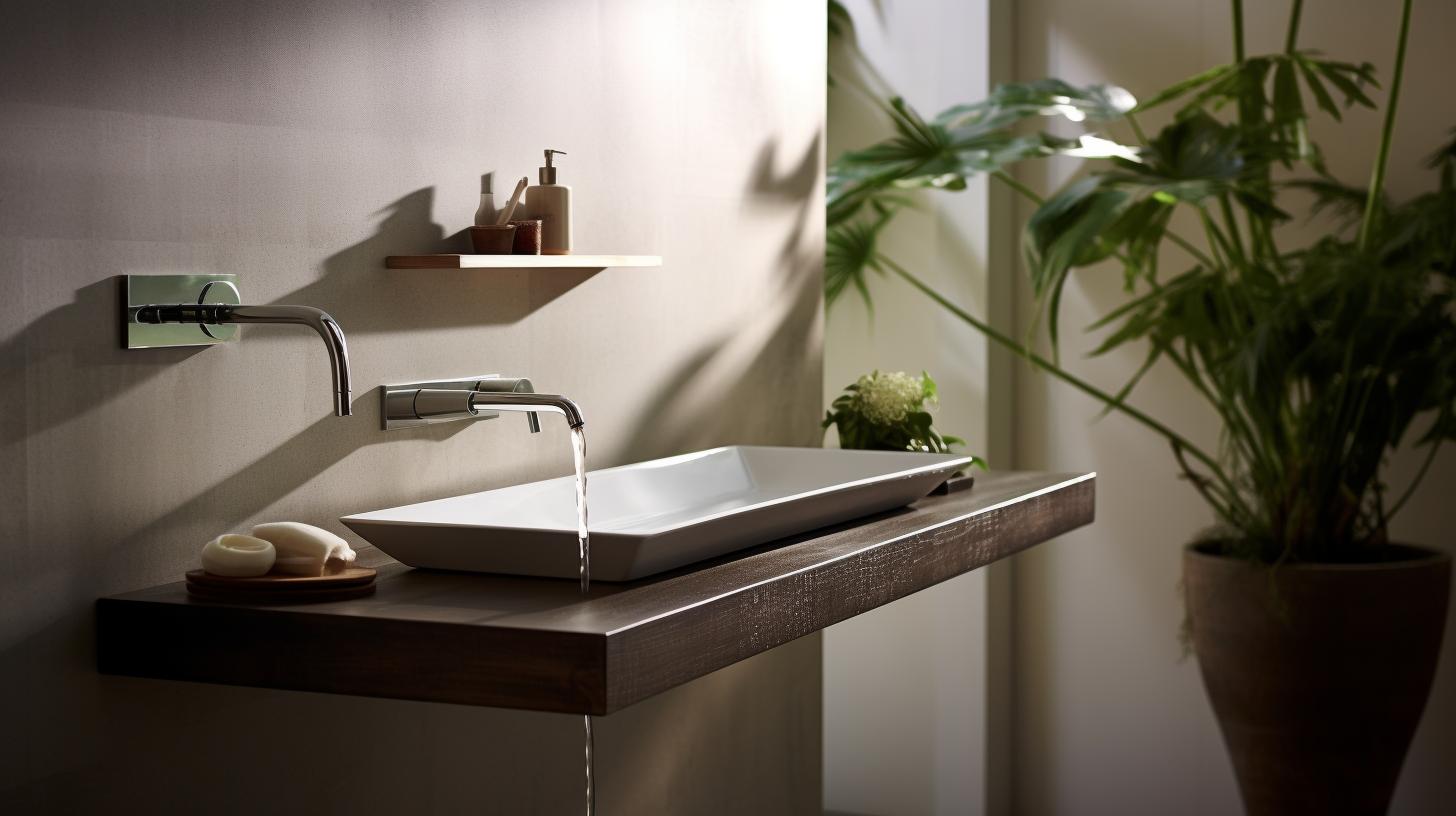
How to Remove a Shower Faucet?Shower faucets play an integral role in your daily routine, providing a steady flow of water for your bathing needs. Over time, these fixtures might require replacement or maintenance, making it essential to understand how to remove a shower faucet. In this comprehensive guide, we will delve into the step-by-step process to safely and effectively remove a shower faucet. Whether you’re a seasoned DIY enthusiast or a beginner, this guide will empower you with the knowledge and confidence to tackle this common household task.
Section 1: How to Remove a Shower Faucet–Gathering Your Tools and Materials
Before you embark on the faucet removal journey, it’s essential to gather the necessary tools and materials. Here’s a list to get you started:
- Screwdrivers (Phillips and flathead)
- Adjustable wrench
- Plumber’s tape
- Pipe wrench
- Safety glasses
- Bucket or container
- Rags or towels
- Replacement faucet (if needed)
- Teflon tape (if needed)
Section 2: How to Remove a Shower Faucet–Turning Off the Water Supply
2.1. The first step in any plumbing project is to turn off the water supply. Locate the main water shut-off valve for your house or the dedicated valve for your shower. Turn it clockwise to stop the water flow.
2.2. To ensure that there’s no remaining water pressure in the pipes, open the shower faucet and allow any residual water to drain into a bucket or container.
Section 3: Removing the Shower Handle
3.1. To access the faucet assembly, you’ll need to remove the shower handle. Examine the handle to identify any decorative caps or covers.
3.2. Carefully pry off these caps using a flathead screwdriver, revealing the screws beneath.
3.3. Unscrew the handle using a Phillips or flathead screwdriver. Keep the screws and handle for reassembly if you’re not replacing the faucet.
Section 4: Removing the Faucet Trim Plate
4.1. The trim plate surrounds the faucet valve. Look for any screws or fasteners securing it to the wall. Use the appropriate tools to remove these fasteners.
4.2. Once the screws are removed, gently pull the trim plate away from the wall. It might be sealed with caulk, so take your time to avoid damaging the surrounding tiles.
Section 5: Disconnecting the Faucet Cartridge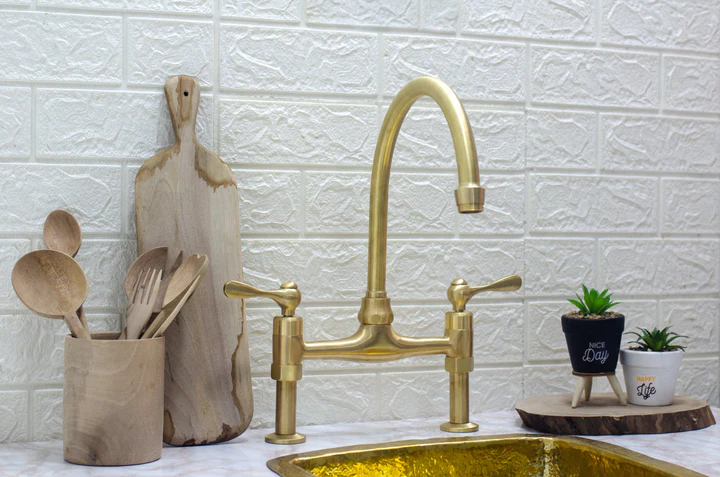
5.1. With the trim plate removed, you’ll have access to the faucet cartridge. If your faucet has a cartridge-based design, locate the retaining nut securing it.
5.2. Use an adjustable wrench or specialized cartridge removal tool to loosen and remove the retaining nut. Turn it counterclockwise.
5.3. Carefully pull out the cartridge from the valve assembly. If it’s stubborn, you might need to wiggle it back and forth while pulling to release it.
Section 6: Removing the Faucet Spout (if applicable)
6.1. Some faucets include a spout that extends from the wall. To remove it, examine the underside for set screws or fasteners.
6.2. Loosen and remove these screws or fasteners, then gently pull the spout away from the wall.
Section 7: Inspecting and Preparing for Reinstallation
7.1. Once you’ve removed the faucet components, inspect the valve and surrounding pipes for any signs of damage, corrosion, or wear. This is the ideal time to address any plumbing issues before reinstallation.
7.2. If you’re replacing the faucet, wrap the threads of the new faucet components with plumber’s tape to ensure a watertight seal.
Section 8: How to Remove a Shower Faucet—Reassembling and Testing
8.1. To reassemble the faucet, follow the removal steps in reverse order. Start by inserting the new faucet cartridge, if applicable.
8.2. Tighten the retaining nut securely and replace the trim plate, handle, and any other removed components.
8.3. Turn on the water supply and test the faucet for leaks or any issues. If you detect leaks, make sure all connections are properly tightened.
Conclusion
How to Remove a Shower Faucet?Removing a shower faucet may seem like a daunting task, but with the right tools and this comprehensive guide, you can tackle it with confidence. Regular maintenance and replacement of shower faucets can help ensure your bathroom fixtures work optimally. Whether you’re a seasoned DIY enthusiast or a beginner, this step-by-step process will empower you to handle this common household task efficiently and effectively. Remember to take your time, use the appropriate safety gear, and always turn off the water supply before starting the removal process.
