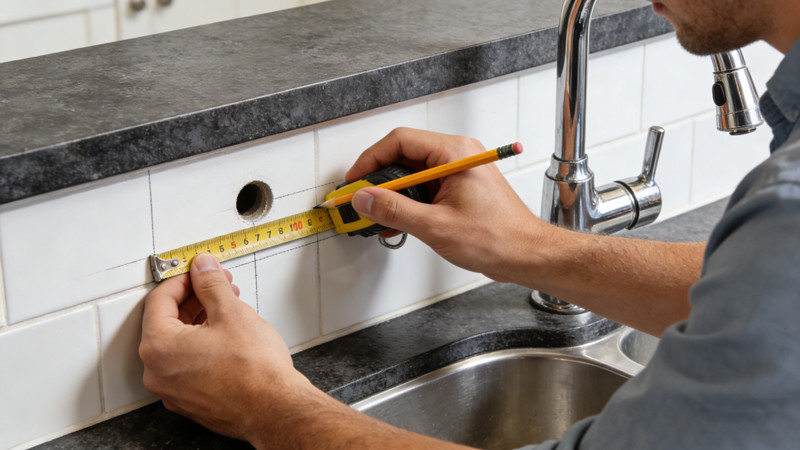
Are you tired of that old, leaky bathroom faucet? It’s time for an upgrade! In this guide, we will walk you through the process of changing a bathroom faucet. Whether you’re a seasoned DIY enthusiast or a beginner, with a few simple tools and some patience, you can successfully replace your bathroom faucet and give your bathroom a fresh new look. So, let’s dive in and learn how to change a bathroom faucet!
Gather the Necessary Tools and Materials Before you start the process, it’s essential to have the right tools and materials on hand. Here are the things you’ll need for this project:
- Adjustable wrench
- Plumber’s tape
- Screwdriver (both flathead and Phillips)
- New bathroom faucet
- Bucket or towel
- Pliers
- Silicone sealant
- Towel or rag
Turn Off the Water Supply Before you begin removing the old faucet, ensure that the water supply is turned off. Locate the shut-off valves underneath the sink and turn them clockwise to shut off the water flow. Turn on the faucet to drain any remaining water from the pipes.
Remove the Old Faucet To remove the old faucet, follow these steps:
- Disconnect the water supply lines: Use an adjustable wrench to unscrew the nuts connecting the water supply lines to the faucet. Have a bucket or towel handy to catch any water that may spill.
- Remove the faucet handle: Depending on the type of faucet you have, there may be a decorative cap covering the screw. Remove the cap and unscrew the handle using a screwdriver. Set aside the handle and any accompanying screws.
- Loosen and remove the mounting nuts: Underneath the sink, locate the mounting nuts that secure the faucet to the countertop. Use an adjustable wrench or pliers to loosen and remove these nuts.
- Take out the old faucet: With the mounting nuts removed, you can now lift the old faucet out of the sink. Be careful not to damage any surrounding fixtures or pipes.
Install the New Faucet Now that you’ve removed the old faucet, it’s time to install the new one. Follow these steps:
- Position the new faucet: Place the new faucet into the mounting holes in the sink. Ensure that it is aligned properly and centered.
- Secure the faucet: Underneath the sink, use your hand or a wrench to tighten the mounting nuts to secure the faucet in place. Be careful not to overtighten, as it may damage the fixture.
- Connect the water supply lines: Attach the water supply lines to the corresponding hot and cold water inlets on the new faucet. Use an adjustable wrench to tighten the nuts securely.
- Apply plumber’s tape: Wrap a few layers of plumber’s tape around the threads of the faucet connections to create a watertight seal.
Test and Finishing Touches Once the new faucet is installed, it’s time to test it and add some finishing touches. Follow these final steps:
- Turn on the water supply: Turn the shut-off valves counterclockwise to restore the water supply. Check for any leaks around the faucet and water supply connections. If you notice any leaks, tighten the connections further.
- Clean up and seal: Wipe away any excess water or debris from the installation. Apply a thin bead of silicone sealant around the base of the faucet to provide an extra layer of protection and prevent water damage.
- Reattach the faucet handle: If your new faucet came with a separate handle, follow the manufacturer’s instructions to attach it securely.
Conclusion: Congratulations! You have successfully changed your bathroom faucet and given your bathroom a fresh new look. By following this step-by-step guide, you can easily complete this DIY project and save money on professional installation. Remember to take your time, follow the instructions, and enjoy the satisfaction of a job well done. Happy faucet changing!