Welcome to our comprehensive guide on installing a matte black kitchen faucet with a sprayer. Upgrading your kitchen fixtures not only enhances the aesthetics but also improves functionality. In this step-by-step tutorial, we’ll walk you through the installation process, ensuring a seamless and successful outcome. So let’s get started on transforming your kitchen with a stylish and convenient matte black faucet!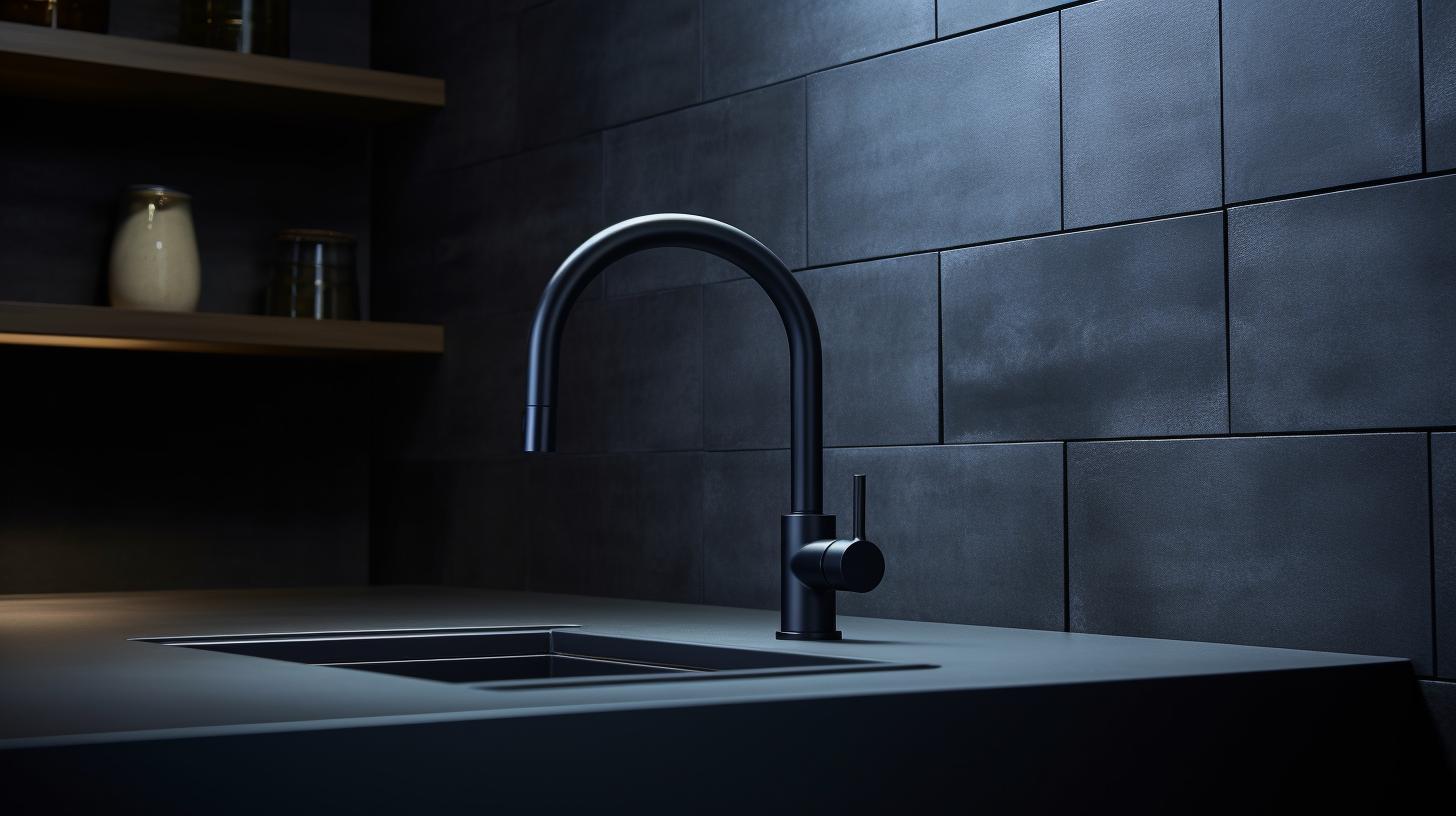
Gathering the Tools and Materials Before embarking on any installation project, it’s crucial to gather the necessary tools and materials. Here’s a list of items you’ll need for this installation:
- Matte black kitchen faucet with sprayer
- Adjustable wrench
- Pliers
- Teflon tape
- Screwdriver
- Bucket
- Towels
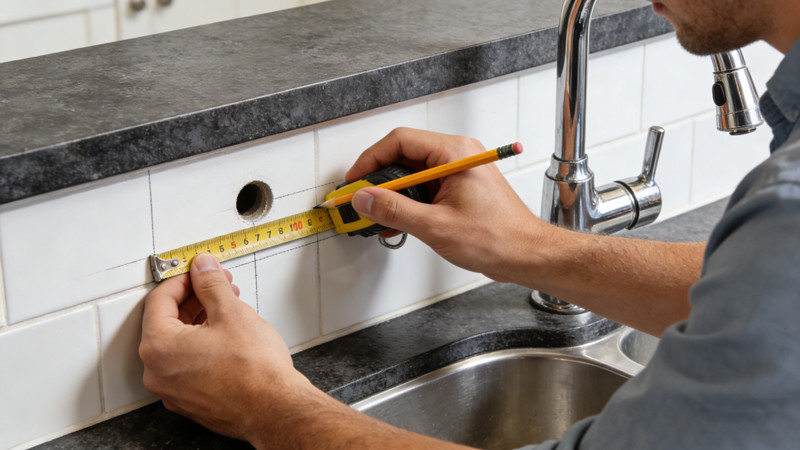
Preparing for Installation Before removing the old faucet, make sure to turn off the water supply. Locate the shutoff valves under the sink and close them. Once the water is off, turn on the faucet to relieve any remaining pressure. Place a bucket under the sink to catch any water that may drip during the process. It’s also a good idea to lay down towels to protect your cabinet from any potential damage.
Removing the Old Faucet To remove the old faucet, start by disconnecting the supply lines. Use an adjustable wrench to loosen the nuts connecting the supply lines to the faucet. Once loosened, you can use pliers to remove the nuts completely. Remember to place a towel or bucket underneath to catch any water that may spill.
Next, remove the mounting nuts that secure the faucet to the sink or countertop. Depending on the type of faucet, you may need to use a screwdriver or wrench to loosen and remove these nuts. Once all the nuts are removed, lift the old faucet off the sink or countertop and set it Installing the New Faucet Begin the installation process by placing a rubber gasket or seal provided with your new faucet onto the mounting holes. This helps create a watertight seal and prevents leaks. Then, position the new faucet over the mounting holes, ensuring it is aligned correctly.
Secure the faucet in place by tightening the mounting nuts underneath the sink or countertop. Use a wrench or screwdriver to tighten them, ensuring the faucet is stable and doesn’t wobble.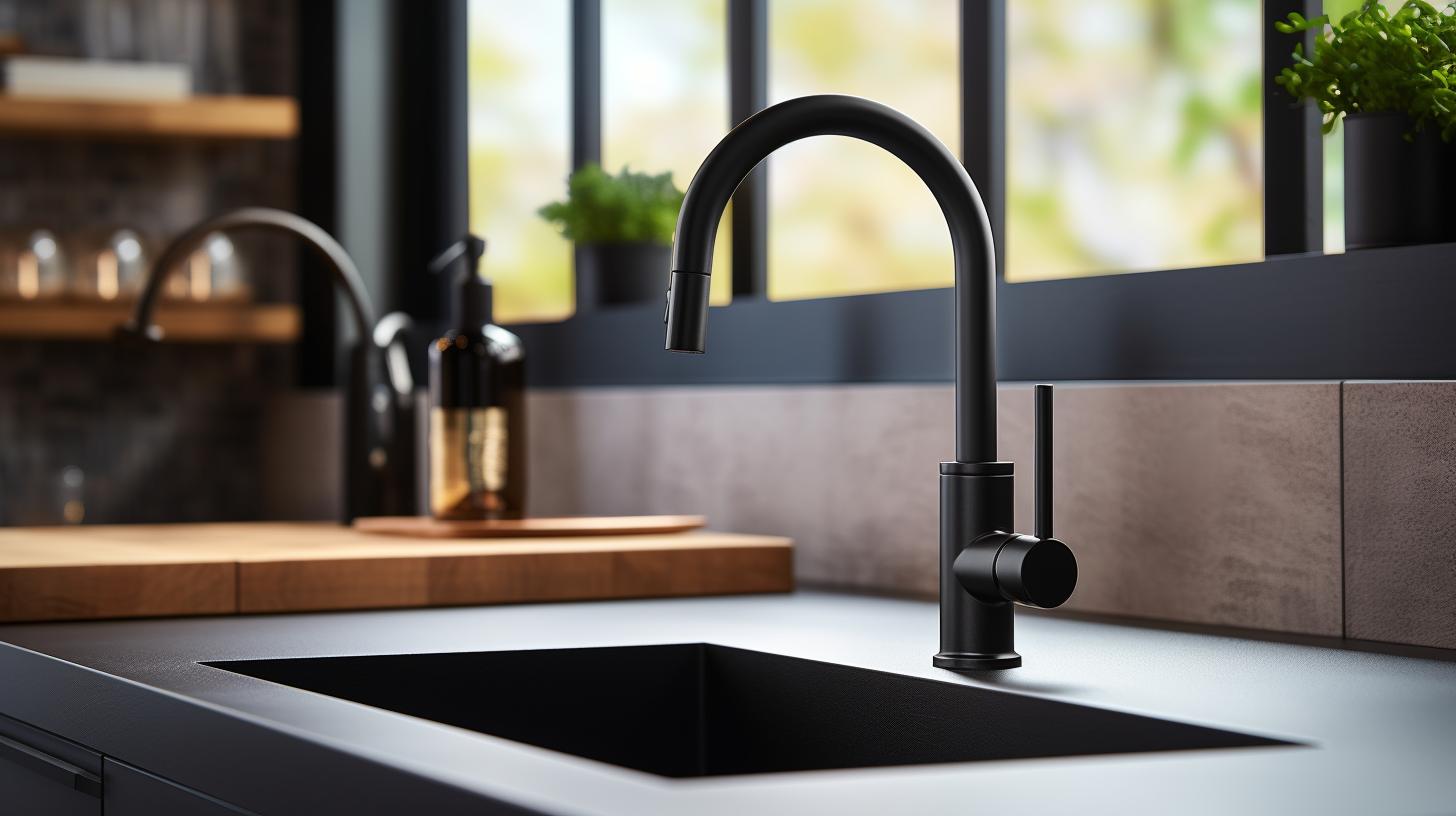
Connecting the Supply Lines Now it’s time to connect the supply lines to the new faucet. Apply Teflon tape to the threaded ends of the supply lines to ensure a tight seal. Then, attach the supply lines to the corresponding hot and cold water inlets on the faucet. Use an adjustable wrench to tighten the nuts securely, but avoid overtightening to prevent damage.
Attaching the Sprayer If your matte black kitchen faucet includes a sprayer, it’s important to connect it properly. Start by inserting the sprayer hose through the faucet’s spout. Then, attach the sprayer’s mounting bracket to the side of the cabinet using screws or adhesive, following the manufacturer’s instructions.
Next, connect the sprayer hose to the water supply nipple located on the bottom of the faucet. Use pliers to tighten the connection, ensuring it is secure.
Testing and Finalizing With the installation complete, it’s time to test your new faucet. Slowly turn on the water supply and check for any leaks. If you notice any leaks, tighten the connections further or apply more Teflon tape as needed.
Once you’ve verified that there are no leaks, test the functionality of the faucet and sprayer. Ensure the water flows smoothly, and the sprayer operates effectively.
Conclusion Congratulations! You have successfully installed a matte black kitchen faucet with a sprayer. Not only does it add a touch of elegance to your kitchen, but it also enhances functionality. Remember to periodically check for any signs of leakage and perform regular maintenance to keep your faucet in optimal condition.
We hope this installation guide has been helpful and that you enjoy the benefits of your new matte black kitchen faucet for years to come. Happy cooking and cleaning!