The first and foremost thing you need to do to how to measure faucet size and replace kitchen faucets. Next grab a tape measure and follow these steps to easily find the right size tap for your sink.

Step 1: How to Measure Faucet Size—-Define the scope of your project
To replace an existing tap with a similar style, simply assess the configuration of its installation and refer to the diagram above to measure the total height, spout height and spout range of this tap. After that, it’s time to move on to choosing a replacement with similar measurements.
It is important to note that when choosing a new style, you should check that the sink has available mounting holes to prevent a situation where it cannot be installed after purchase. Then, following these subsequent steps will basically determine which faucet is best for installing faucets.
Step 2: Take Stock of the Sink and Mounting Holes Before Replacing Kitchen Faucets
The purpose of determining how many number of mounting holes are available is to be able to ensure that the new faucet is compatible with the existing sink. Additionally, checking underneath the sink for a better look can solve the problem of your previous faucet’s indistinguishable mounting plate. Kitchen faucet models typically require between one and five holes, and certain models can be matched to different configurations with mounting plates or add-ons to cover any unused holes. Existing holes, however, may need to be reinforced or completely covered to accommodate the style and installation of a new tap. It is also not uncommon for taps to be mounted on the wall in conditions supported by pipework. These are all necessary preliminaries to ensure that the new tap is compatible with the existing sink.
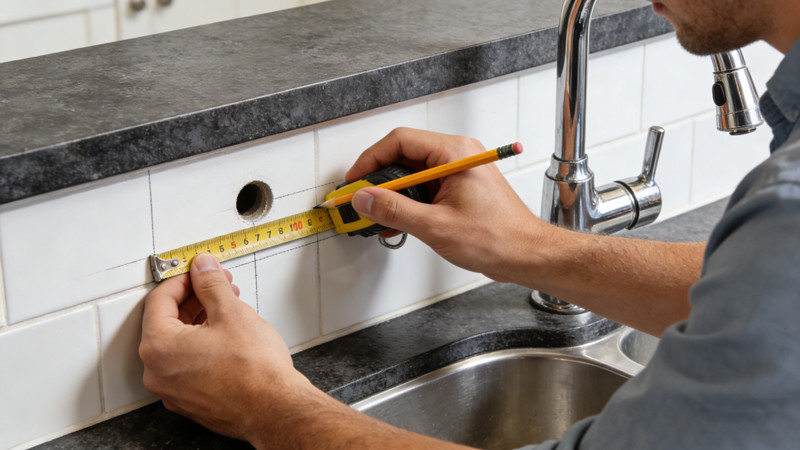
Step 3: Measure the Faucet Centers
A common scenario is that your current installation has more than one hole, in which case measure the distance between the centre of the leftmost hole and the centre of the rightmost hole. To ensure that your new tap fits your current installation and to prevent a failed installation, this measurement should be no less than the ‘minimum tap centre’ width listed in the tap specification.
Step 4: Check the Surrounding Space
If your tap is located in front of a wall, then the distance from the centre of each mounting hole to the wall should be measured, this will help to find the maximum depth of the tap base that the sink area can support. Alternatively, if you have a window or cabinet above the sink, then you should measure upwards from the centre mounting holes and it will not be difficult to find the maximum overall height. This is the time to make sure that the new faucet will fit comfortably underneath. Also, to find the ideal spout range, measure forward from the centre mounting hole to the centre of the sink. This will ensure that your mounting holes are set further beyond the edge of the sink and it will still reach the middle of the sink, making washing dishes easier and more comfortable.
Generally speaking, if there is only one hole in your sink you’ll need a faucet designed with the handle as part of the faucet. If you have three holes but want a decorative set of water lines above the sink, select a “bridge faucet” that mixes the hot and cold.
If you want to change from a two handle set to a one handle you’ll need to buy a single handle faucet with a base that’s wide enough to cover the other two unused holes. Many bases will cover over unused holes that are four inches or less apart. Some single faucets are also available with eight-inch baseplates. Bridge faucets and separate mixing taps can also be installed on a three-hole sink if the new fixture has a base plate wide enough to hide the hole.
When you’re finished with this task, while you may not have quite become a plumber you will be qualified to shop for new fixtures and faucets. Congratulations, smart homeowner!