If you’ve been eyeing that sleek folding faucet above your stove, the first practical question is simple: how much does it cost to install a pot filler faucet, and is it worth the plumbing work? The honest answer is that most homeowners spend somewhere between $300 and $1,000 all-in, but the range stretches in both directions depending on your wall, your water supply, and the finish you choose. In this guide, we break down every line item — the faucet, the rough-in plumbing, the labor hours, and the wall repair — so you can budget with confidence before you call a plumber.
How Much Does It Cost to Install a Pot Filler Faucet in 2026?
Let’s start with the headline number. To understand how much it costs to install a pot filler faucet, you have to separate two budgets that often get lumped together: the hardware (the faucet you buy off the shelf) and the installation (the plumbing labor and materials that get cold water to that spot on the wall). The faucet is the easy part to shop for. The installation is where prices swing, because running a new water line behind a finished kitchen wall is genuinely more involved than swapping a sink faucet.
Here’s a realistic, itemized look at what goes into the final invoice for a typical retrofit in an existing kitchen:
| Cost Component | Budget Range | What You’re Paying For |
|---|---|---|
| Pot filler faucet (the unit) | $80 – $600+ | The articulating faucet, valves, and mounting flange; brass construction and premium finishes cost more |
| Plumbing rough-in (new cold line) | $150 – $500 | Tapping into the existing supply, running pipe through the wall, adding a shutoff valve |
| Plumber labor | $120 – $500 | 2–5 hours at $45–$150/hr, depending on region and wall access |
| Wall opening & backsplash/tile repair | $50 – $400 | Cutting drywall, patching, and re-tiling around the new escutcheon |
| Permit (where required) | $0 – $150 | Local plumbing permit and inspection in some jurisdictions |
| Typical all-in total | $300 – $1,000+ | Most homeowners land in the $400–$750 zone |
If your kitchen is already torn open for a remodel, you can shave hundreds off that number — more on that below. But for a standalone installation in a finished kitchen, the figures above are what you should plan around.
What Is a Pot Filler Faucet (and Why Does Installation Cost More)?
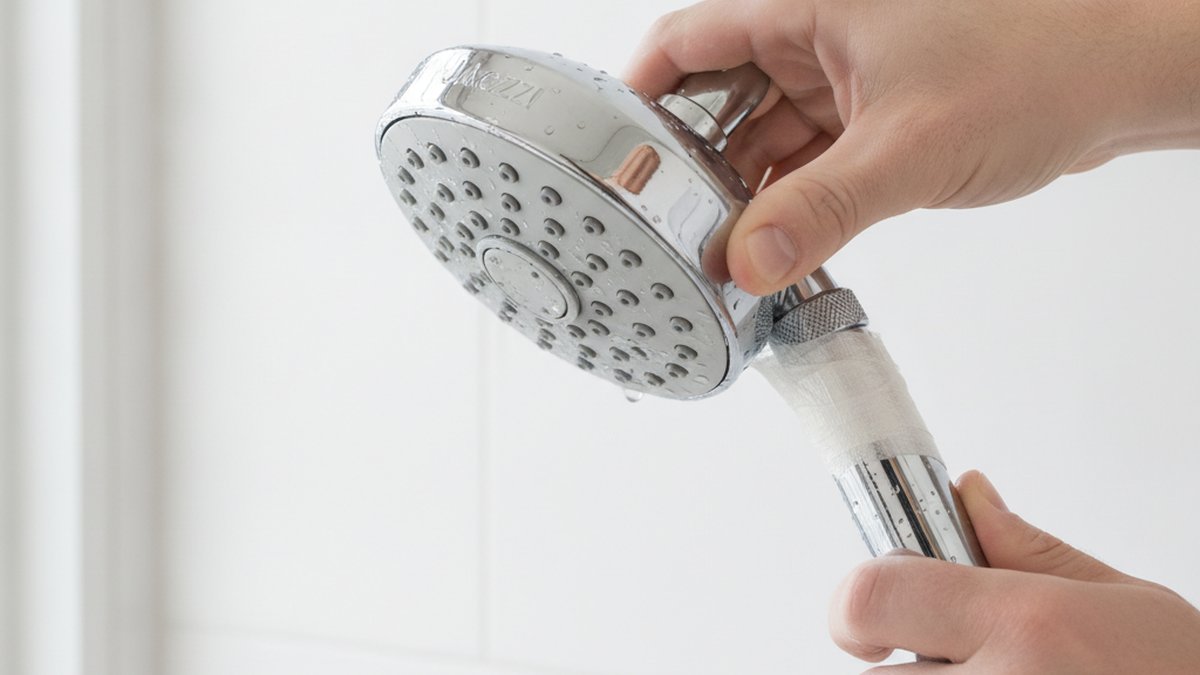
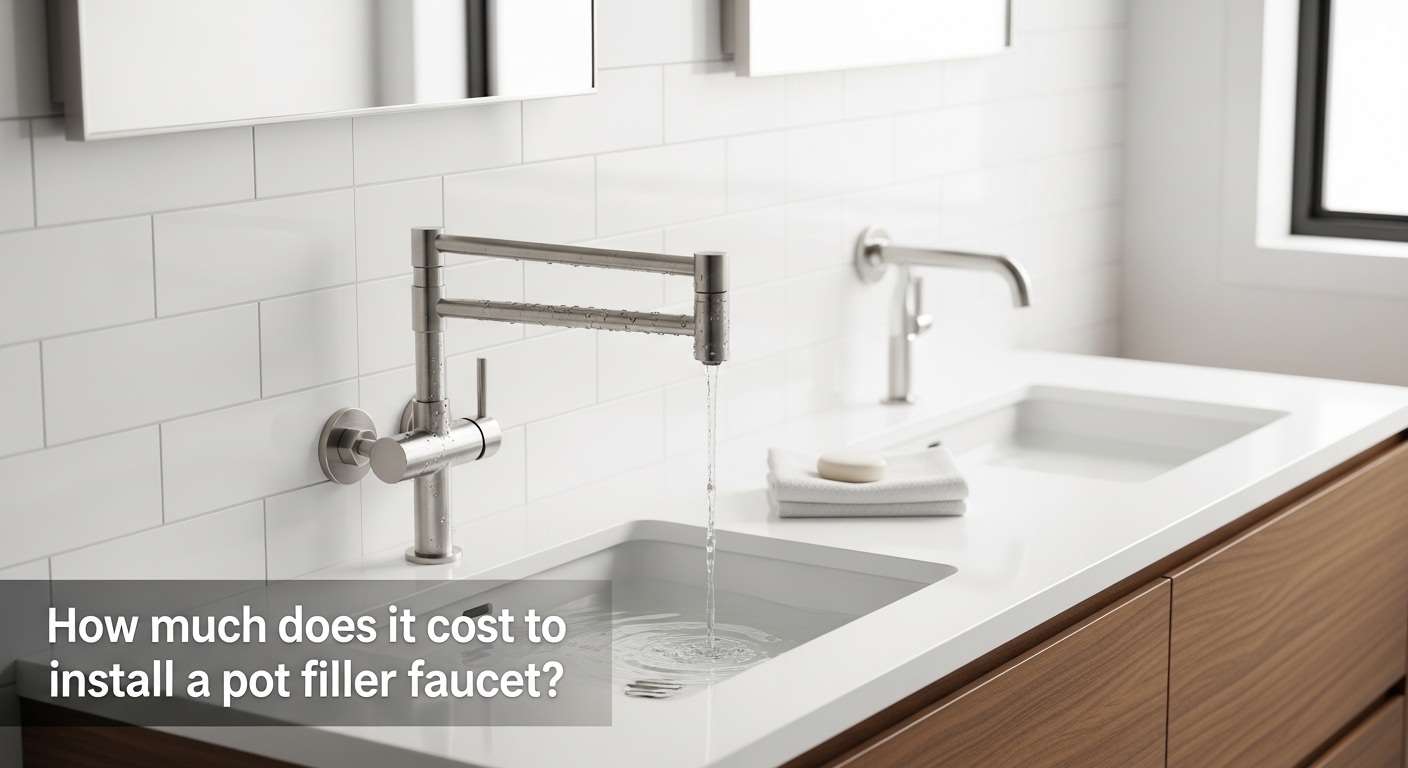
A pot filler is a long, jointed faucet mounted on the wall directly above your cooktop or range. The folding arm extends out over a large stock pot so you can fill it right on the burner instead of hauling a heavy, sloshing pot from the sink. It’s a cook’s luxury that has become a genuine kitchen staple.
Here’s the key cost driver: a pot filler is supplied by a single cold-water line (there’s no hot side and usually no drain), and that line almost never already exists behind your range. A standard kitchen faucet replacement is cheap because the supply lines and drain are sitting right there under the sink. A pot filler, by contrast, requires a plumber to route a new water line to a wall that currently has nothing behind it but studs and insulation. That rough-in work is the single biggest variable in your total.
Pot fillers are close cousins to other specialty fixtures. If you’re drawn to the dramatic, freestanding look in the bath, you might also be researching what a freestanding tub filler is and why you need one — same single-purpose, statement-piece philosophy, different room.
Cost Breakdown: Every Line Item Explained
Let’s go deeper on each component so you know exactly where your money goes and where you have room to adjust.
The Faucet Itself: $80 to $600+
Pot fillers span a wide price spectrum. The differences come down to construction material, valve quality, finish, and reach.
- Budget ($80–$150): Often zinc-alloy or thin brass, with a single joint and a basic chrome or stainless look. Fine for light use, but watch the warranty.
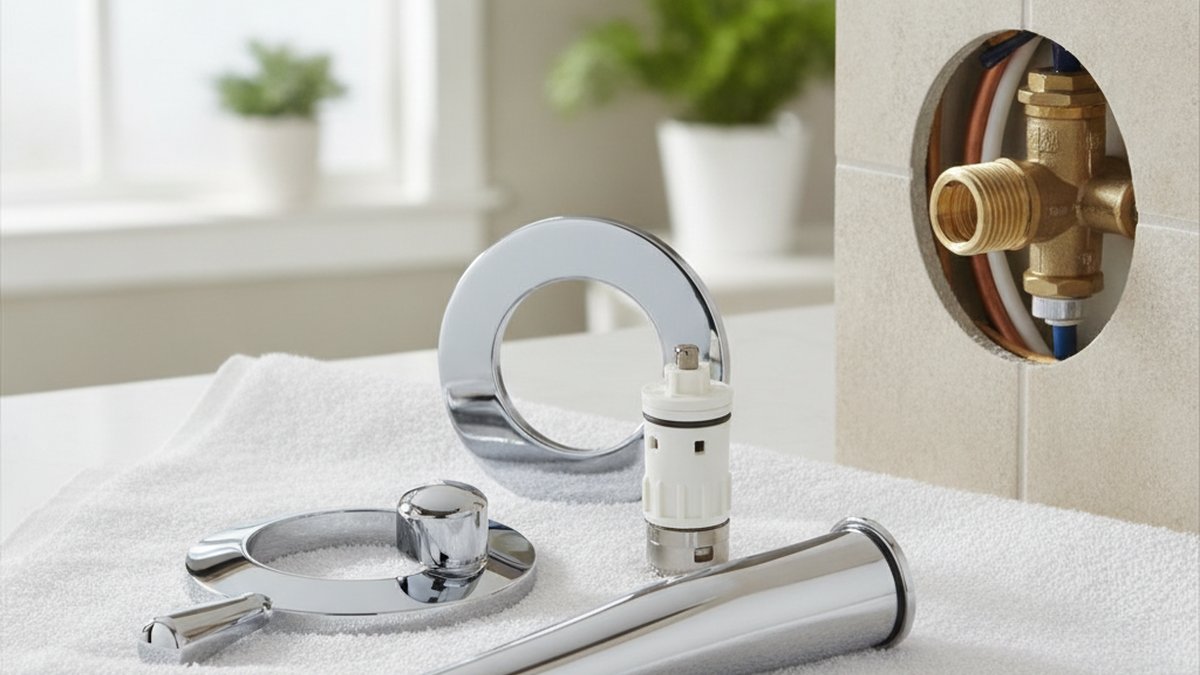
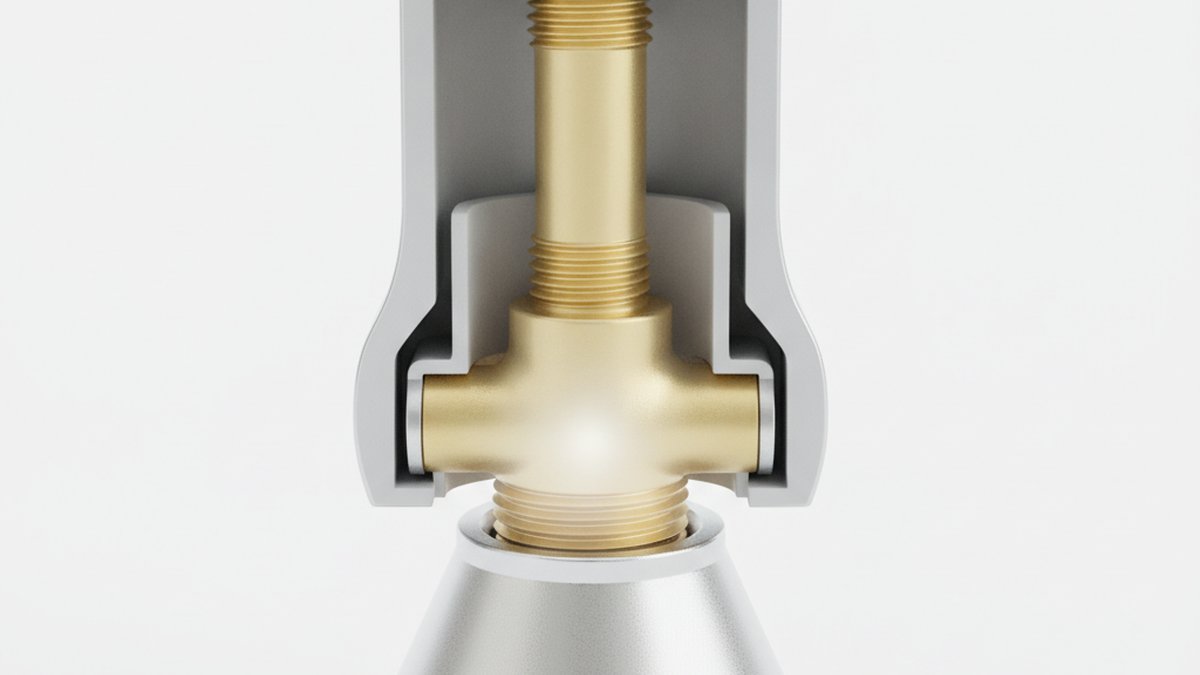
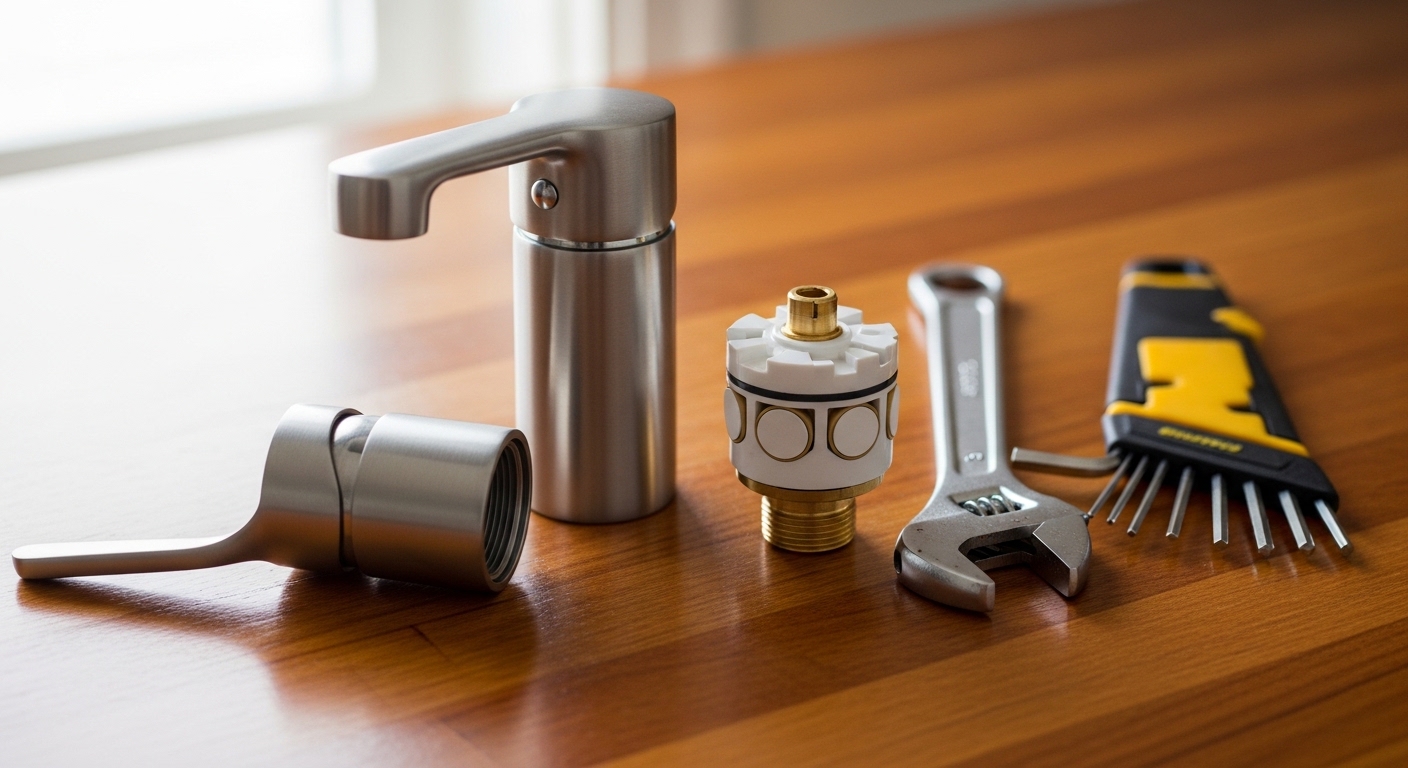
- Mid-range ($150–$350): Solid brass body, dual ceramic-disc valves (one at the wall, one at the spout), double-jointed arm for full reach, and durable PVD finishes in brushed nickel, matte black, or chrome.
- Premium ($350–$600+): Heavy forged brass, designer finishes like brushed gold or aged bronze, longer 22″–24″ reach, and lifetime warranty coverage.
One detail that matters for both cost and safety: confirm the faucet is certified lead-free to NSF/ANSI 372 standards, since this is a fixture that touches your cooking water. Our buyer’s guide on how to identify lead-free faucets walks through the certification marks to look for — the same logic applies in the kitchen.
Plumbing Rough-In and the Water Line: $150 to $500
This is the part you can’t see and the part that costs the most in labor terms. The plumber needs to:
- Locate the nearest cold-water supply (often the line feeding the kitchen sink or a nearby riser).
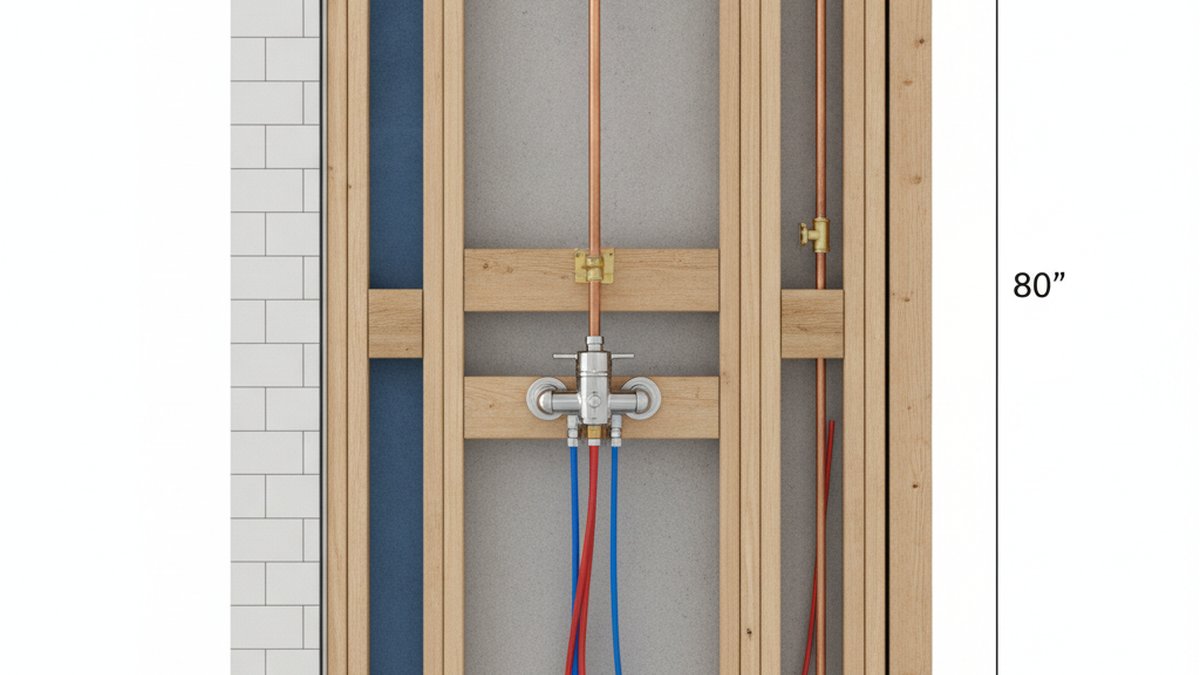
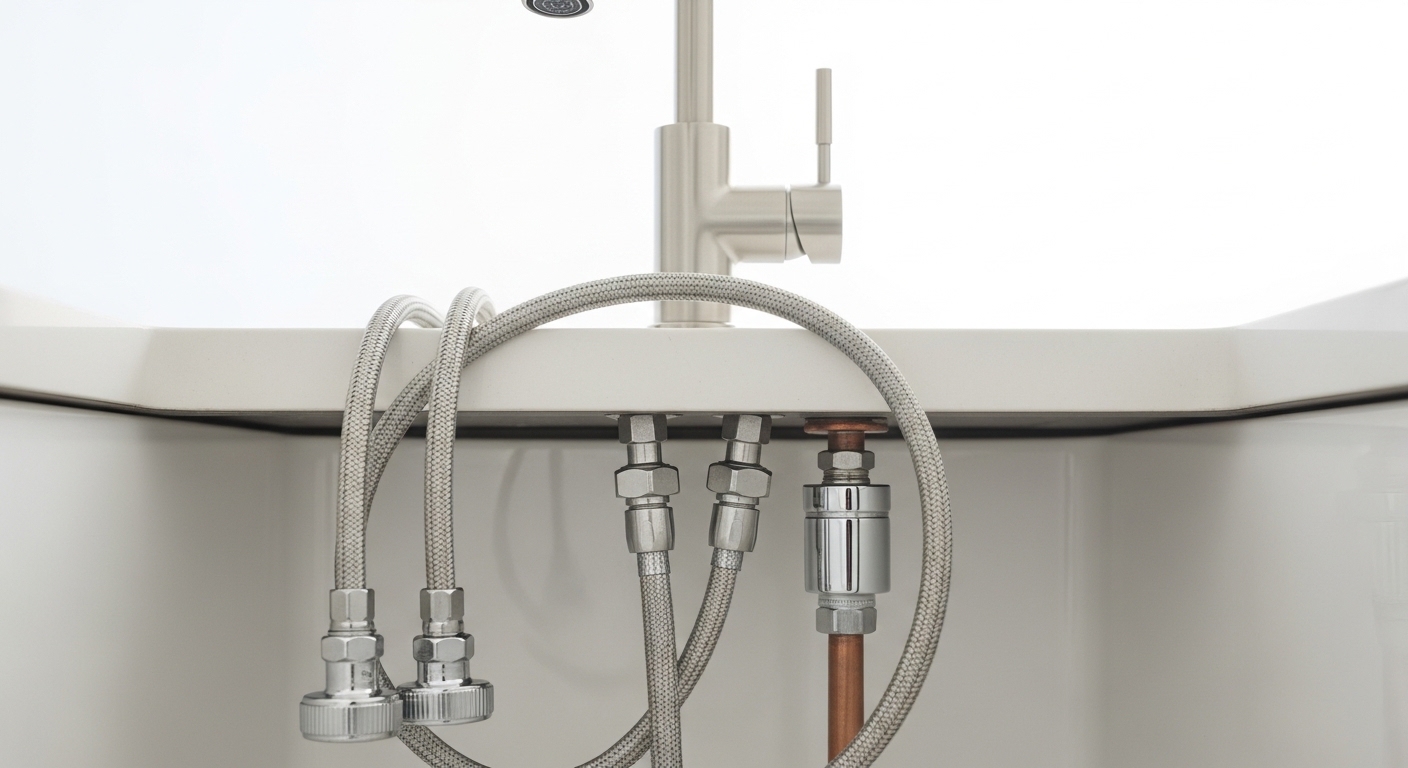
- Tap into that line and run new pipe — usually PEX or copper — through the wall cavity to the spot above the range.
- Install a shutoff valve so the pot filler can be isolated for future service.
- Secure a backing board or bracket inside the wall to anchor the faucet so it doesn’t wobble under the weight of a full pot.
If the supply line is close and the wall is easy to open, this is a few hundred dollars. If the plumber has to fish a line across the kitchen, through a floor, or around obstacles, costs climb. Homes with finished basements below the kitchen often have the easiest (cheapest) access from underneath.
Labor and Installation Time: $120 to $500
Plumber rates run roughly $45–$150 per hour depending on your region, and a clean pot filler install takes about 2–5 hours. Add time if the wall is masonry, if the run is long, or if old galvanized pipe needs adapting. Always get an itemized quote that separates the rough-in from the trim-out (final faucet mounting), and ask whether wall patching is included or billed separately.
Wall, Tile, and Backsplash Repair: $50 to $400
Cutting into a finished wall means patching it afterward. If you have plain painted drywall, repair is cheap. If your pot filler lands in the middle of a tiled backsplash, you may need a tile setter to cut and refit tile around the escutcheon — and matching existing tile can be tricky. Because pot fillers so often mount onto a tiled wall, it’s worth reading our guide on how to mount a faucet to a backsplash before the tile work begins, so the rough-in height and stub-out land in the right spot the first time.
Wall-Mount vs. Deck-Mount Pot Fillers: Cost Comparison
Most pot fillers are wall-mounted above the range, but deck-mounted versions exist for kitchen islands with a cooktop. The mounting style changes both the install method and the price.
| Feature | Wall-Mount Pot Filler | Deck-Mount Pot Filler |
|---|---|---|
| Typical install cost | $300 – $1,000 | $250 – $800 |
| Best for | Range against a wall | Island or peninsula cooktop |
| Plumbing route | Through the wall cavity | Up through cabinetry/countertop |
| Wall repair needed | Yes (drywall/tile patch) | Minimal; countertop drilling instead |
| Visual statement | High — the classic look | Moderate — lower profile |
The trade-off mirrors the broader debate every kitchen and bath shopper runs into. If you want a deeper dive into how the two mounting philosophies compare on cost, cleaning, and installation, see our breakdown of deck mount vs. wall mount faucets. The plumbing access behind the wall is also the same challenge you face with any wall-fed fixture, so the techniques in how to install a wall-mounted faucet without hassle apply directly here.
Factors That Raise or Lower Your Total Cost
Two homeowners can get wildly different quotes for the “same” pot filler. Here’s what moves the needle:
- Distance to the water supply. The closer the existing cold line, the cheaper the rough-in. A range backing onto a bathroom or sink wall is ideal.
- Wall type. Standard drywall is easy; plaster, brick, or stone walls add labor and may need specialty anchors.
- Access from below or behind. A finished basement, crawl space, or accessible cabinet next door can cut the plumbing route dramatically.
- Tile and backsplash complexity. Patching paint is cheap; matching discontinued tile is not.
- Finish and brand tier. A premium brushed-gold forged-brass model simply costs more than a builder-grade chrome unit.
- Permits and inspection. Some municipalities require a permit for new water lines, adding fees and a scheduled inspection.
- Regional labor rates. Urban coastal markets run higher than rural areas.
New Construction vs. Retrofit: The Single Biggest Savings
If you take one budgeting lesson from this article, make it this one: install your pot filler while the wall is already open. During new construction or a gut remodel, the studs are exposed, the water lines are being run anyway, and there’s no demolition or patching to pay for. In that scenario, the incremental cost of adding a pot filler rough-in can drop to $100–$250 plus the faucet — a fraction of the retrofit price.
Retrofitting into a finished, occupied kitchen is where the costs in our table apply, because every dollar of demolition and repair gets added back. So if a kitchen remodel is anywhere on your horizon, rough in the pot filler line now even if you install the faucet later. The plumber can cap the line in the wall and you finish the job when the budget allows.
How to Save Money Without Cutting Corners
You can trim the bill without ending up with a faucet that drips or wobbles. Smart savings include:
- Buy the faucet yourself instead of paying a contractor markup — just confirm it’s a quality, certified, lead-free model with solid valves.
- Bundle the work with other plumbing so you’re not paying a trip charge for a single fixture.
- Choose a mid-range solid-brass model rather than the cheapest unit; replacing a failed budget faucet costs more than buying right the first time.
- Position the faucet near an existing supply if you have any flexibility in layout.
- Prioritize warranty. A lifetime warranty on the valves and finish protects the bigger investment — the labor you’ll pay if it fails. Read the fine print, though; we explain what’s really covered in our look at the truth about “lifetime warranty” faucets.
Is a Pot Filler Faucet Worth the Cost?
For people who cook with large pots — pasta, stock, canning, big-batch soups — a pot filler earns its keep daily by eliminating the heavy carry from sink to stove. It’s also a recognized resale feature in higher-end kitchens. For a household that rarely fills oversized pots, the convenience may not justify a four-figure retrofit. The sweet spot is adding one during a remodel, when the marginal cost is low and the payoff in everyday convenience is high.
Whatever you decide, budget for the whole job — faucet plus plumbing plus repair — rather than just the price tag on the box. That’s the difference between a smooth install and a surprise invoice.
FAQ
How much does it cost to install a pot filler faucet on average?
Most homeowners spend between $300 and $1,000 total for a retrofit in a finished kitchen, with the typical job landing around $400–$750. That includes the faucet ($80–$600), the new cold-water line, plumber labor, and wall or backsplash repair. Installing during new construction or a remodel can cut the added cost to $100–$250 plus the faucet.
Do I need a plumber to install a pot filler, or can I DIY it?
Running a new water line inside a wall, adding a shutoff valve, and securing the faucet to handle the weight of a full pot is best left to a licensed plumber — and some areas require a permit and inspection for new supply lines. A confident DIYer can sometimes handle the final trim-out (mounting the faucet to an existing stub-out), but the rough-in plumbing is where mistakes get expensive and lead to leaks behind the wall.
Does a pot filler need a hot water line?
No. A pot filler runs on a single cold-water line only, since you’re filling pots that you’ll heat on the stove anyway. This actually simplifies the plumbing compared to a standard two-line faucet — but the line still usually has to be newly run to the wall above your range, which is the main cost.
What height should a pot filler be installed at?
A common guideline is to center the faucet roughly 18–24 inches above the cooktop surface, high enough to clear your tallest stock pot but low enough for the folding arm to reach comfortably. Confirm the exact height with your specific pot filler’s reach and your tallest cookware before the plumber sets the rough-in, because moving it later means reopening the wall.
Will a pot filler leak or drip over my stove?
A quality pot filler with dual ceramic-disc valves — one at the wall and one at the spout — should not drip when properly installed. The two-valve design is the standard safeguard against leaks above your range. Stick with a solid-brass, certified model and have the connections pressure-tested at installation to be sure.
Does adding a pot filler increase home value?
In mid- to high-end kitchens, a pot filler is viewed as a desirable convenience feature that can support resale appeal, though it’s not a guaranteed dollar-for-dollar return. Its biggest value is everyday usability for people who cook with large pots. Installing it during a remodel maximizes the value-to-cost ratio.
About the author: This guide was written by the Aleasha Faucet editorial team, drawing on hands-on installation experience and plumber-sourced cost data from real kitchen projects. We test and review faucet hardware for build quality, valve performance, and finish durability before recommending it.
Why trust Aleasha Faucet: Aleasha Faucet is a dedicated faucet and bathroom-fixture brand focused on certified, lead-free fixtures that meet NSF/ANSI standards. Every pot filler we carry is engineered with solid-brass construction and dual ceramic-disc valves, and is backed by warranty coverage so your installation investment is protected for the long haul.