Clean water is something most homeowners take for granted—until the moment the faucet starts producing cloudy, rusty, or foul-smelling water. Whether you’ve just completed plumbing repairs, returned from a long vacation, noticed sediment buildup, or simply want to ensure safe, fresh water, flushing your bathroom faucet is one of the easiest and most effective maintenance steps you can perform. Flushing helps clear out debris, mineral particles, stagnant water, and any contaminants lingering inside your faucet or supply lines.
This guide explains why flushing matters, when to do it, and how to flush a bathroom faucet properly, step by step.
Why Flushing Bathroom Faucets Is Important
Many people assume once a faucet is installed, it delivers clean water forever without intervention. In reality, water lines can accumulate sediment or bacterial film over time. Flushing keeps your faucet functioning safely and efficiently. Here’s why it matters:
1. Removes Sediment and Mineral Particles
Public water systems and well supplies both carry small amounts of sand, rust, scale, and mineral deposits. Over time, these particles settle in:
-
Faucet aerators
-
Supply lines
-
Cartridges and mixing chambers
Flushing sweeps these particles out before they cause clogs or restrict water flow.
2. Clears Stagnant Water After Inactivity
If a home has been unoccupied—even for a week—water inside the lines can turn stale. Flushing replaces it with fresh, fully circulated water from the main supply.
3. Prevents Metallic or Musty Odors
Older pipes can release dissolved metals like iron or copper when water sits too long. Flushing quickly eliminates unpleasant smells or discoloration.
4. Protects New Plumbing Work
Any time plumbing repairs or installations are done, debris such as solder, plastic shavings, or scale can enter the lines. Licensed plumbers always flush after service, but homeowners should do an additional rinse at all fixtures to ensure cleanliness.
5. Improves Water Taste and Health
Although bathroom faucets aren’t typically used for drinking, many people rinse their mouths, brush their teeth, or wash their faces there. Clean, fresh water is essential for hygiene.
When Should You Flush Your Bathroom Faucet?
You should flush bathroom faucets:
-
After plumbing repairs or installations
-
After the water has been shut off (for maintenance or emergencies)
-
After returning from travel
-
When the water appears cloudy or rusty
-
When the faucet flow becomes weak or uneven
-
Every 3–6 months as part of routine maintenance
Think of flushing as basic housekeeping for your plumbing system—simple but important.
How to Flush Bathroom Faucets for Clean Water: Step-by-Step Guide
The flushing process is straightforward, but doing it correctly ensures you remove debris without harming faucet components. Here is the recommended method:
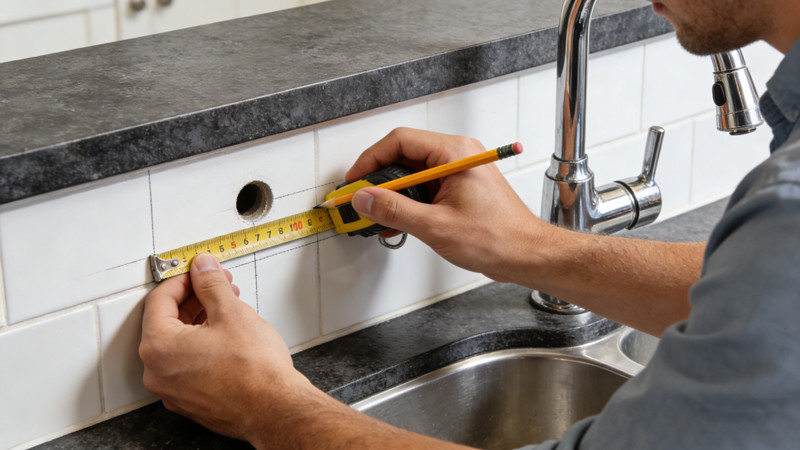
Step 1: Remove the Aerator or Filter Screen
Most bathroom faucets have a small aerator at the tip of the spout. This piece traps debris and shapes the water stream.
-
Wrap the aerator with a cloth to protect the finish.
-
Use your fingers or pliers to twist it counterclockwise.
-
Take note of the internal parts:
-
Screen
-
Rubber washer
-
Flow restrictor (in some models)
-
Set the pieces aside for cleaning. This step prevents loosened debris from clogging the aerator during flushing.
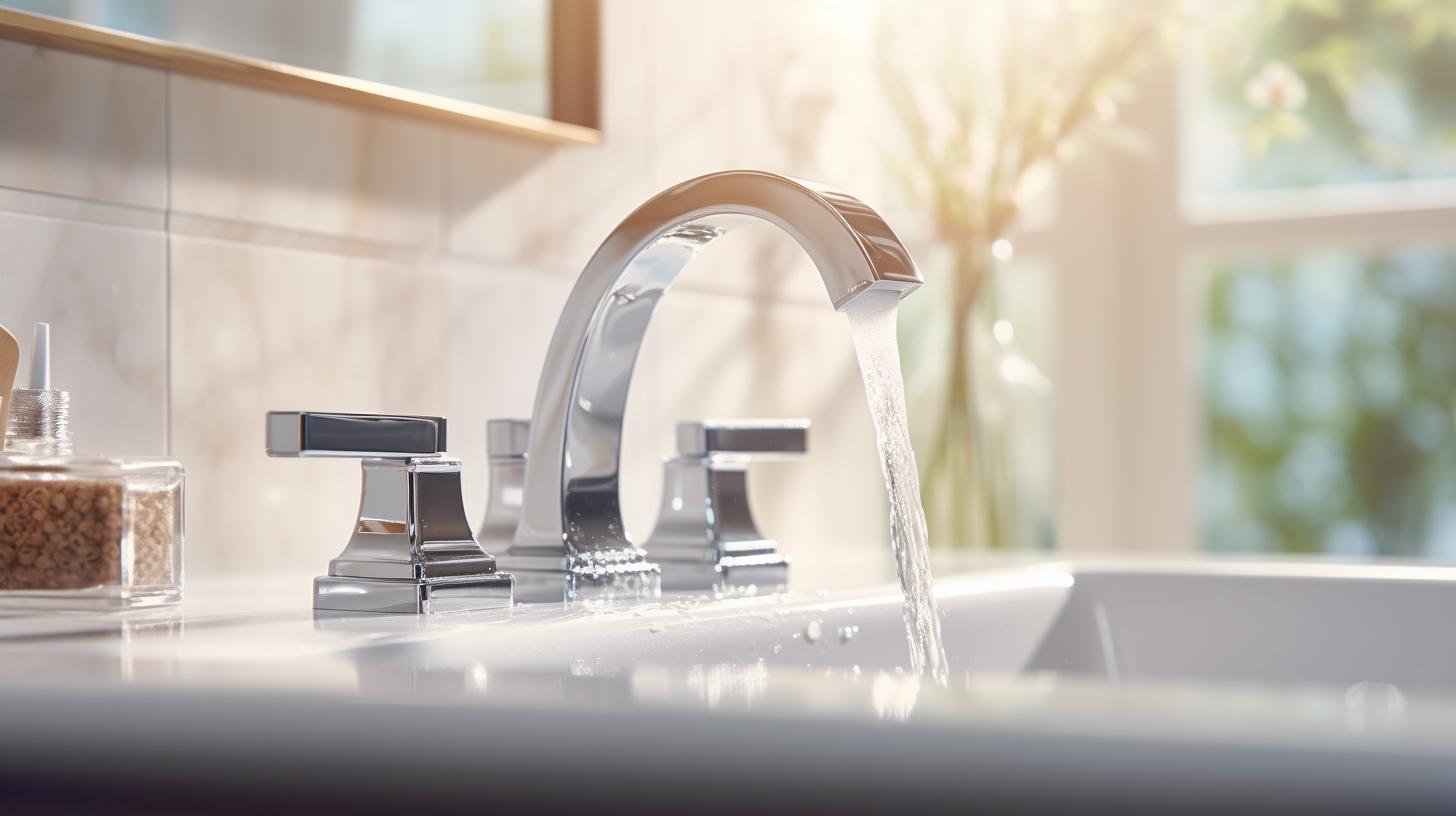
Step 2: Turn on Cold Water at Full Flow
Start with cold water only. Cold water lines tend to carry more sediment, so flushing them first removes the bulk of particles.
Let the water run for 2–3 minutes or until it becomes clear and steady.
Step 3: Turn on Hot Water at Full Flow
Next, switch to the hot water. Hot water tanks and heaters often accumulate mineral deposits, which can enter the faucet.
Flush for another 2–3 minutes, or longer if the water was sitting unused for a long time.
Step 4: Flush Both Sides Together (If You Have a Mixer Faucet)
Most bathroom faucets are mixing faucets, meaning hot and cold water meet inside the cartridge. After flushing each side independently, turn both handles to run warm or mixed water for an additional 1–2 minutes.
This clears the internal mixing chamber and ensures both lines have fully refreshed water.
Step 5: Clean the Aerator Thoroughly
The aerator you removed earlier likely holds:
-
Sand
-
Rust flakes
-
Mineral crystals
-
Small plastic pieces
-
Biofilm residue
To clean it:
-
Soak the parts in vinegar for 10–15 minutes.
-
Scrub with a soft toothbrush.
-
Rinse well.
If the aerator is damaged or heavily clogged, replacement is inexpensive and recommended.
Step 6: Reinstall the Aerator
Reassemble the aerator in the same order you removed it. Screw it back onto the faucet by hand, then tighten slightly with pliers if needed—don’t overtighten.
Once installed, run water again briefly to ensure:
-
Proper flow
-
No leaks
-
A smooth, even stream
Additional Tips for a Cleaner, Healthier Faucet
Flushing alone is powerful, but these extra tips can extend the life of your faucet and improve water quality even more.
1. Flush After Any Discoloration Event
If you see brown or yellow water after a municipal pipe flush or main line break, flush your faucets for several minutes to remove stirred-up mineral deposits.
2. Clean Aerators Every 2–3 Months
Regular cleaning prevents buildup that leads to low flow or side-spraying water.
3. Check Supply Lines for Corrosion
Braided hoses should be replaced every 5–7 years. Corrosion flakes can enter the faucet and cause cloudiness.
4. Consider Installing a Whole-House Filter
For homes with hard water or sediment issues, filtration reduces buildup significantly.
5. Flush After Water Heater Maintenance
Tank sediment frequently travels to faucets after flushing the water heater, so clean bathroom faucets afterward.